Build a Homelab Dashboard: Part 2, Organizr
Welcome to Part 2 of the my soon to be one million part series about building your own Homelab Dashboard. Today we will be laying the foundation for our dashboard using an open source piece of software name Organizr. Before we dig any deeper into Organizr, let’s re-cap the series so far (yes, only two parts…so far):
- Part 1, An Introduction
- Part 2, Organizr
What is Organizr?
So I know what you are thinking…in part 1 of this series I mentioned that I prefer the custom dashboard built by Gabisonfire and extended by me. And while that is still true, I think that the broader audience would benefit more from the far larger set of functionality. Additionally, the installer does a fantastic job of taking a base Linux install and bring along all of the dependencies without any real effort. I’m always a fan of that. But, what is Organizr? Essentially, it is a pre-built homelab organization tool that is built on PHP and totally open source. It has really great integration with many of the major media and server platforms out there. Here’s a short list:
I also find that it just works with things like Grafana and really anything that works inside an iframe. And if it doesn’t work in an iframe, just set it to pop out so that you can still have links to everything in one place. I use it for these non-media related items:
- Grafana
- IPMI for all of my server (pop-out)
- FreeNAS
- pfSense (pop-out)
- vCenter (pop-out)
- My Hyperion instances (this is now officially a Hyperion post!)
Getting Started
As I mentioned earlier, the goal of this set of tutorials is to provide a soup-to-nuts solution. As a result, I’m going to assume that you need to install an operating system, configure that operating system, and then you will be ready to proceed.
Why am I making all of these assumptions? Mostly because that’s what I went through when I started this process. I’ve used Linux quite a bit over the years, but at the end of the day, I’m still a “Windows Guy.” In my industry, most of my work is done…in Windows. While a lot of this software will “work” in Windows, in most cases Windows is an afterthought, or beta…forever. So where do we start?
Installing Linux
We start at the very beginning with our operating system. I’ve worked with a lot of distributions over the years, but I always seem to end up on Debian. So I’ve decided to use Debian 9 (stretch). When I install, I use the net installer. You can find more information here:
https://www.debian.org/distrib/netinst
Or, you can just skip directly to downloading Debian 9.4 (netdist) here:
https://cdimage.debian.org/debian-cd/current/amd64/iso-cd/debian-9.4.0-amd64-netinst.iso
The reason I use the net installer is that it makes future package installer easier. It will configure the package manager during the installation and we’ll be ready to do basic configuration prior to installing Organizr. You can skip all of this if you already have a system you will be using or if you happen to know what you are doing…better than I do.
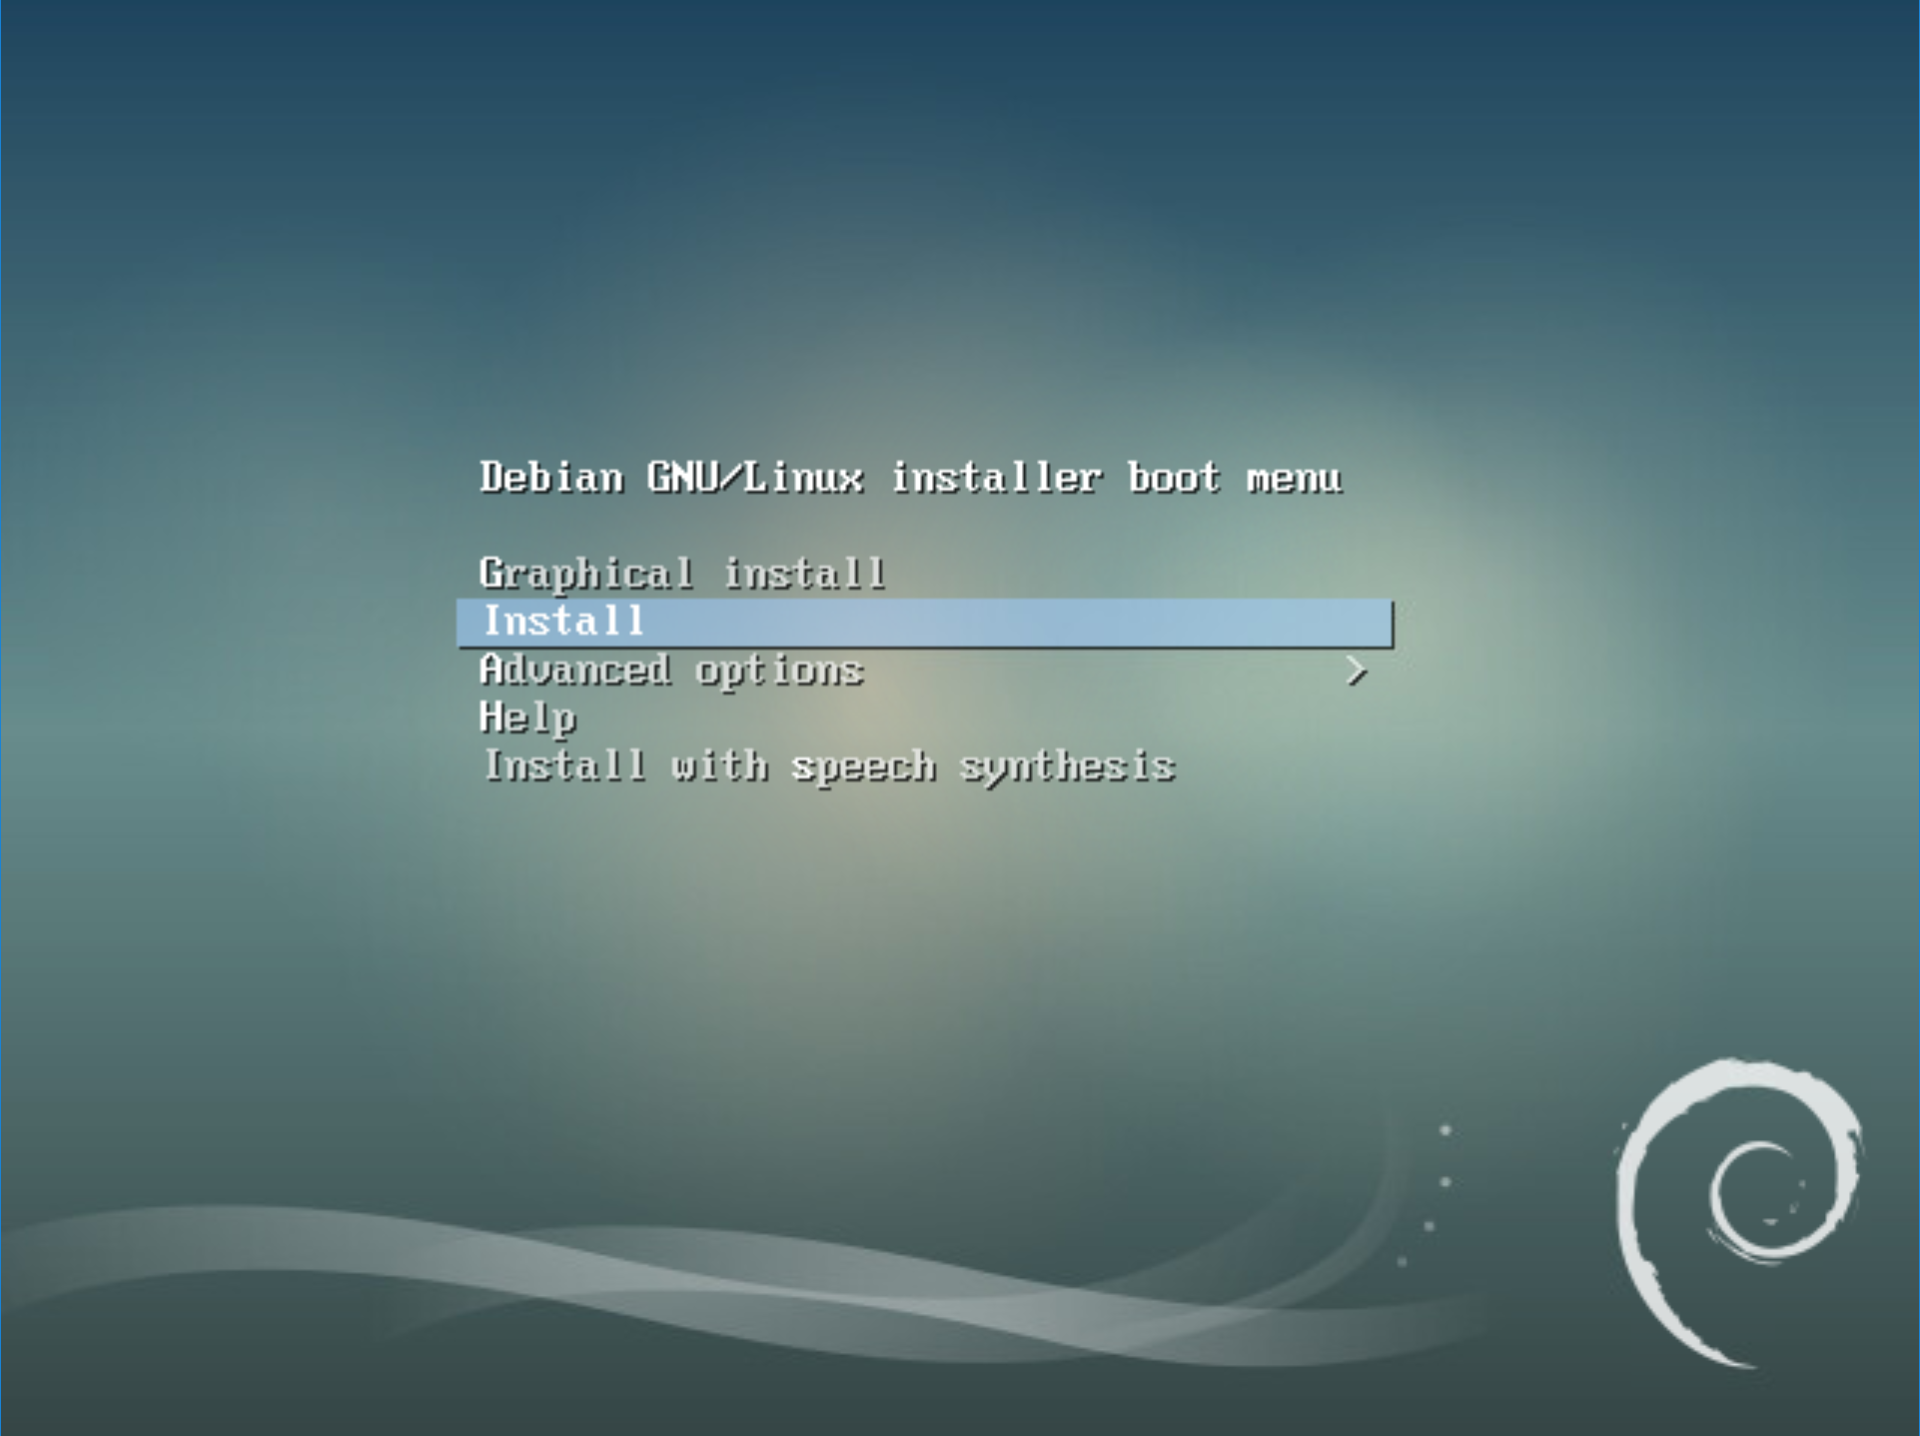
We start off by selecting the old-school installer:
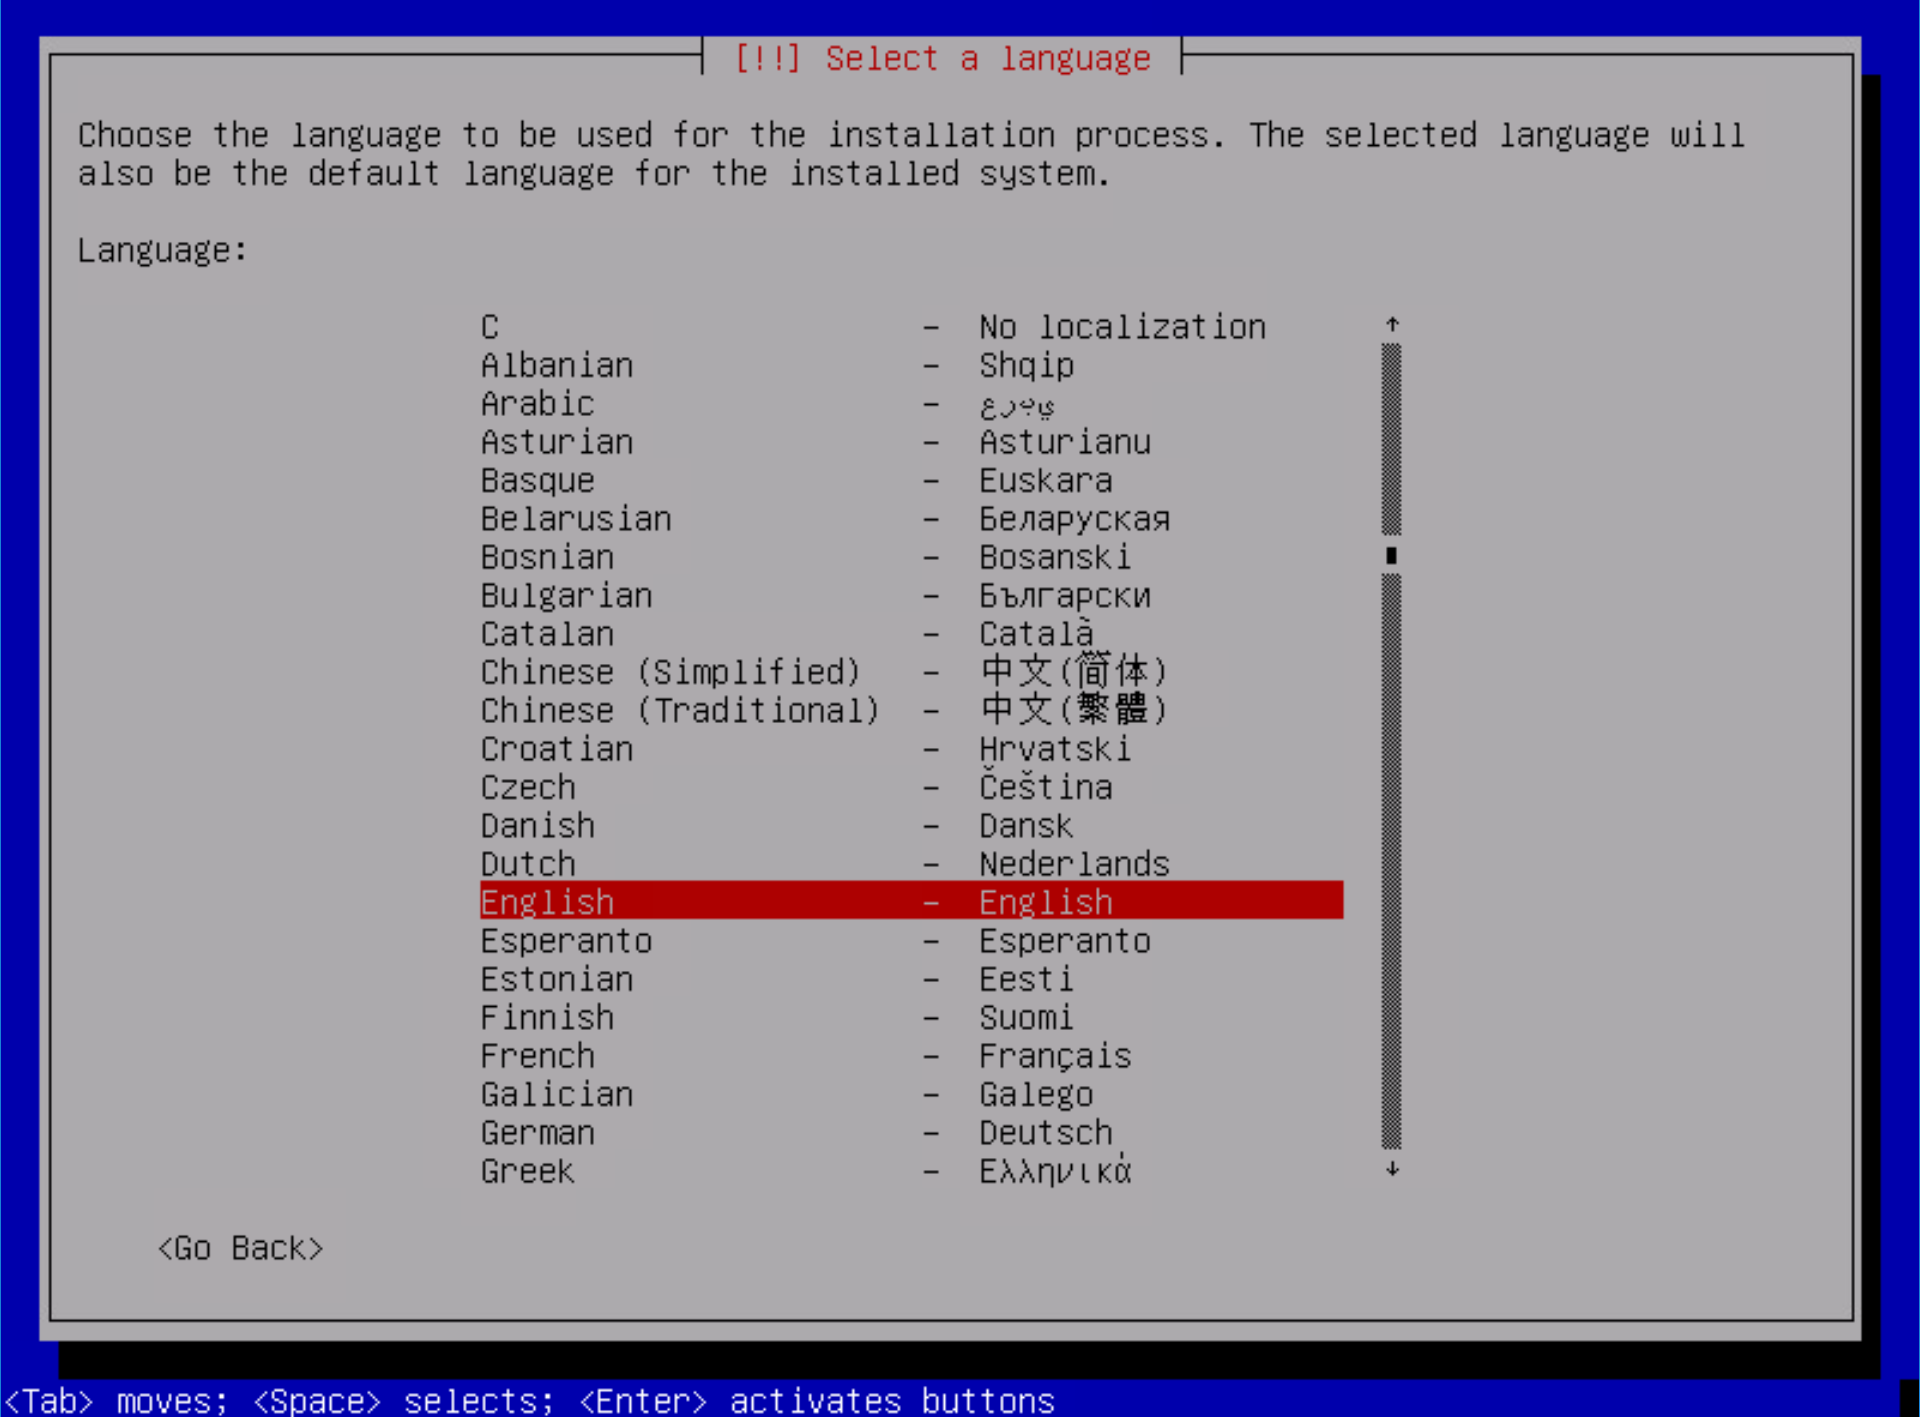
Select your language:
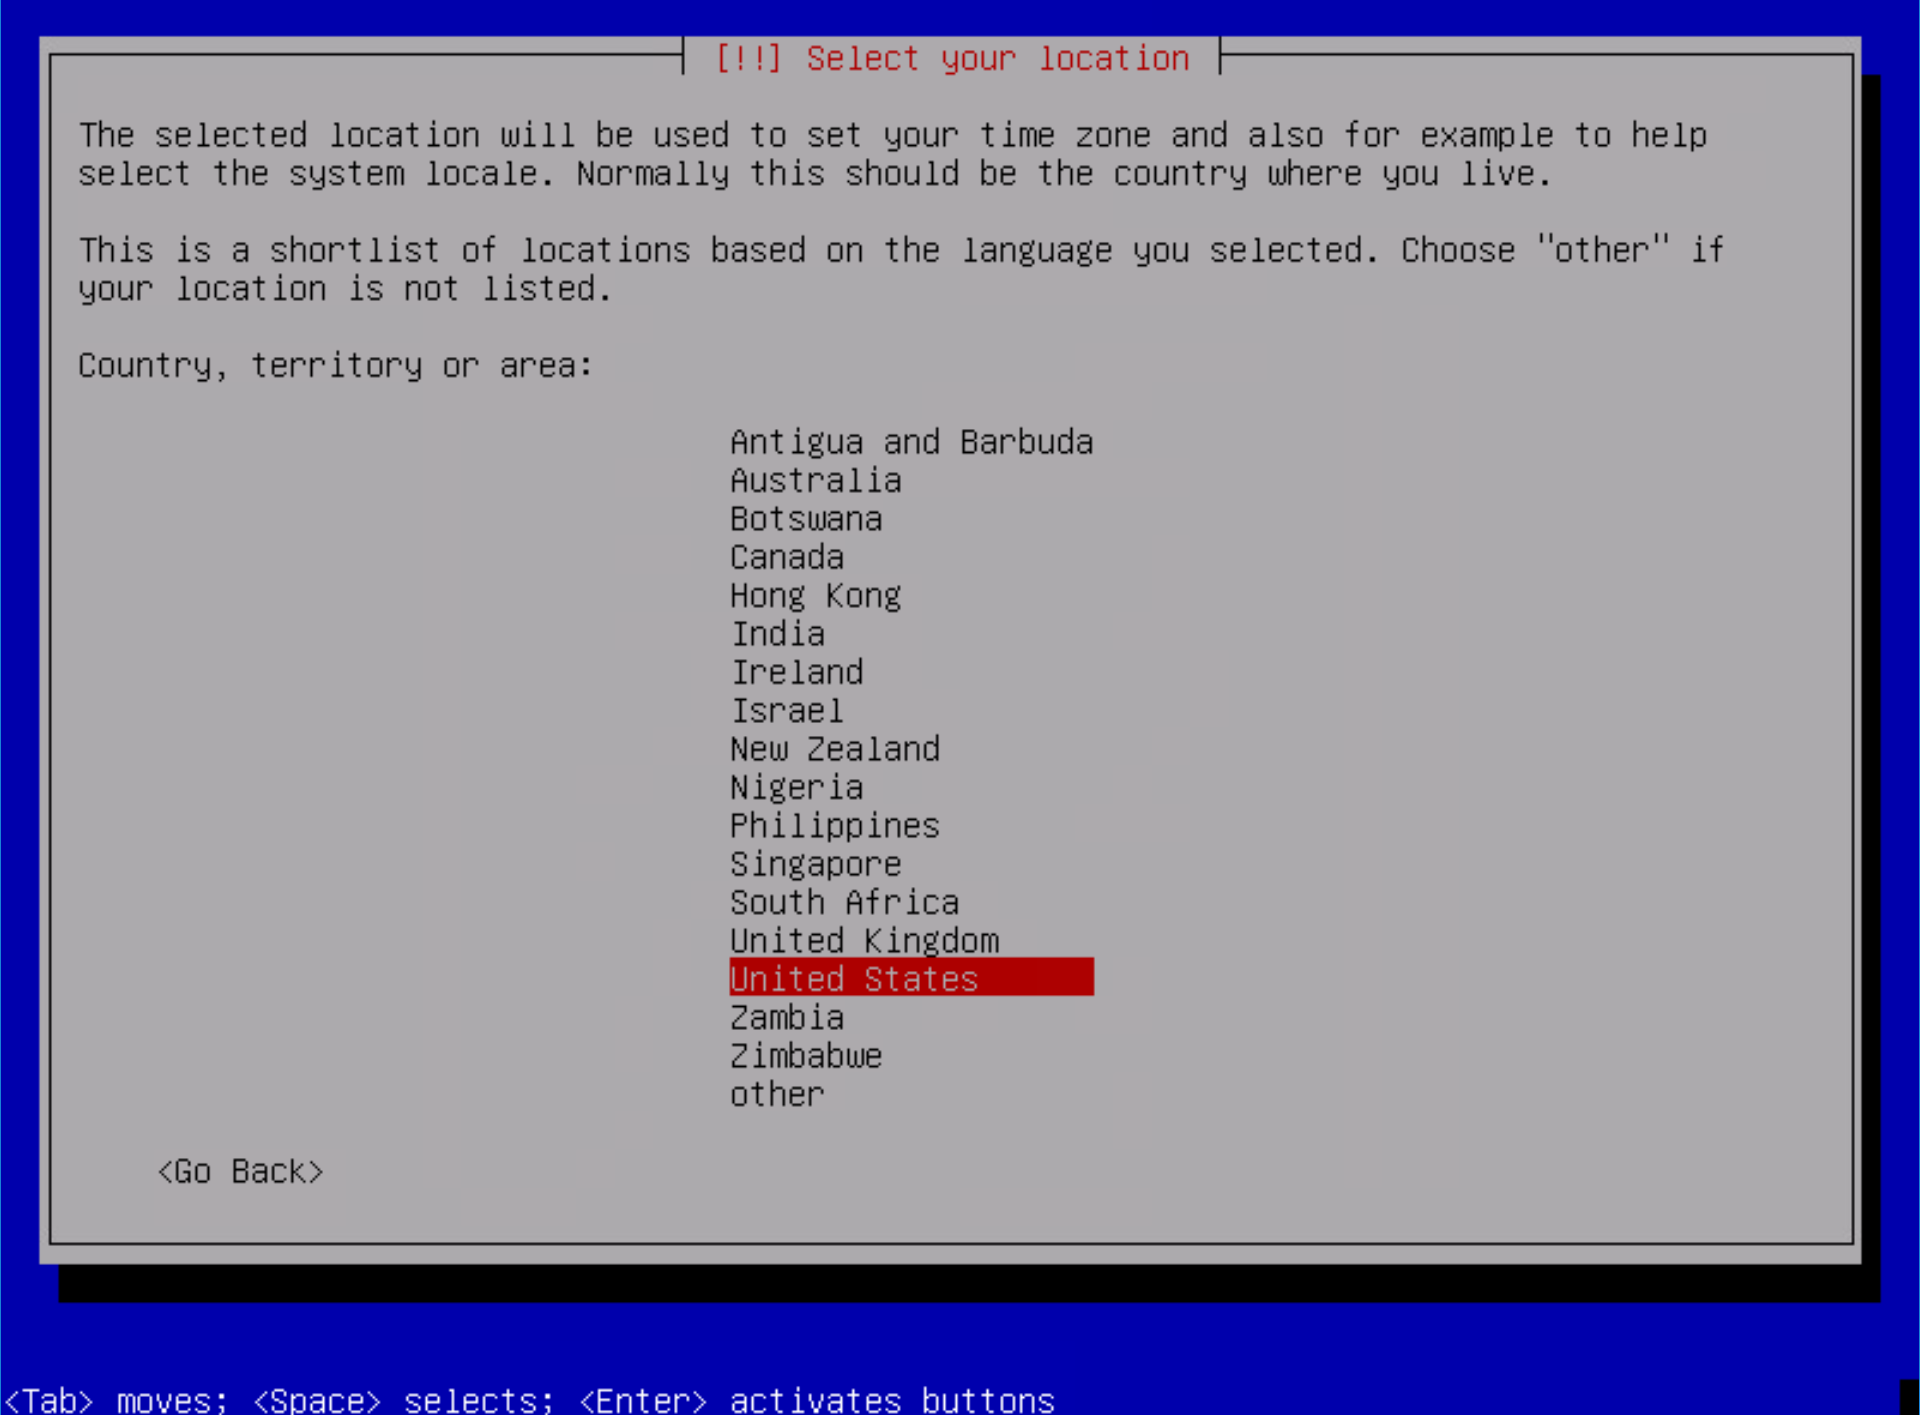
Next select your location:
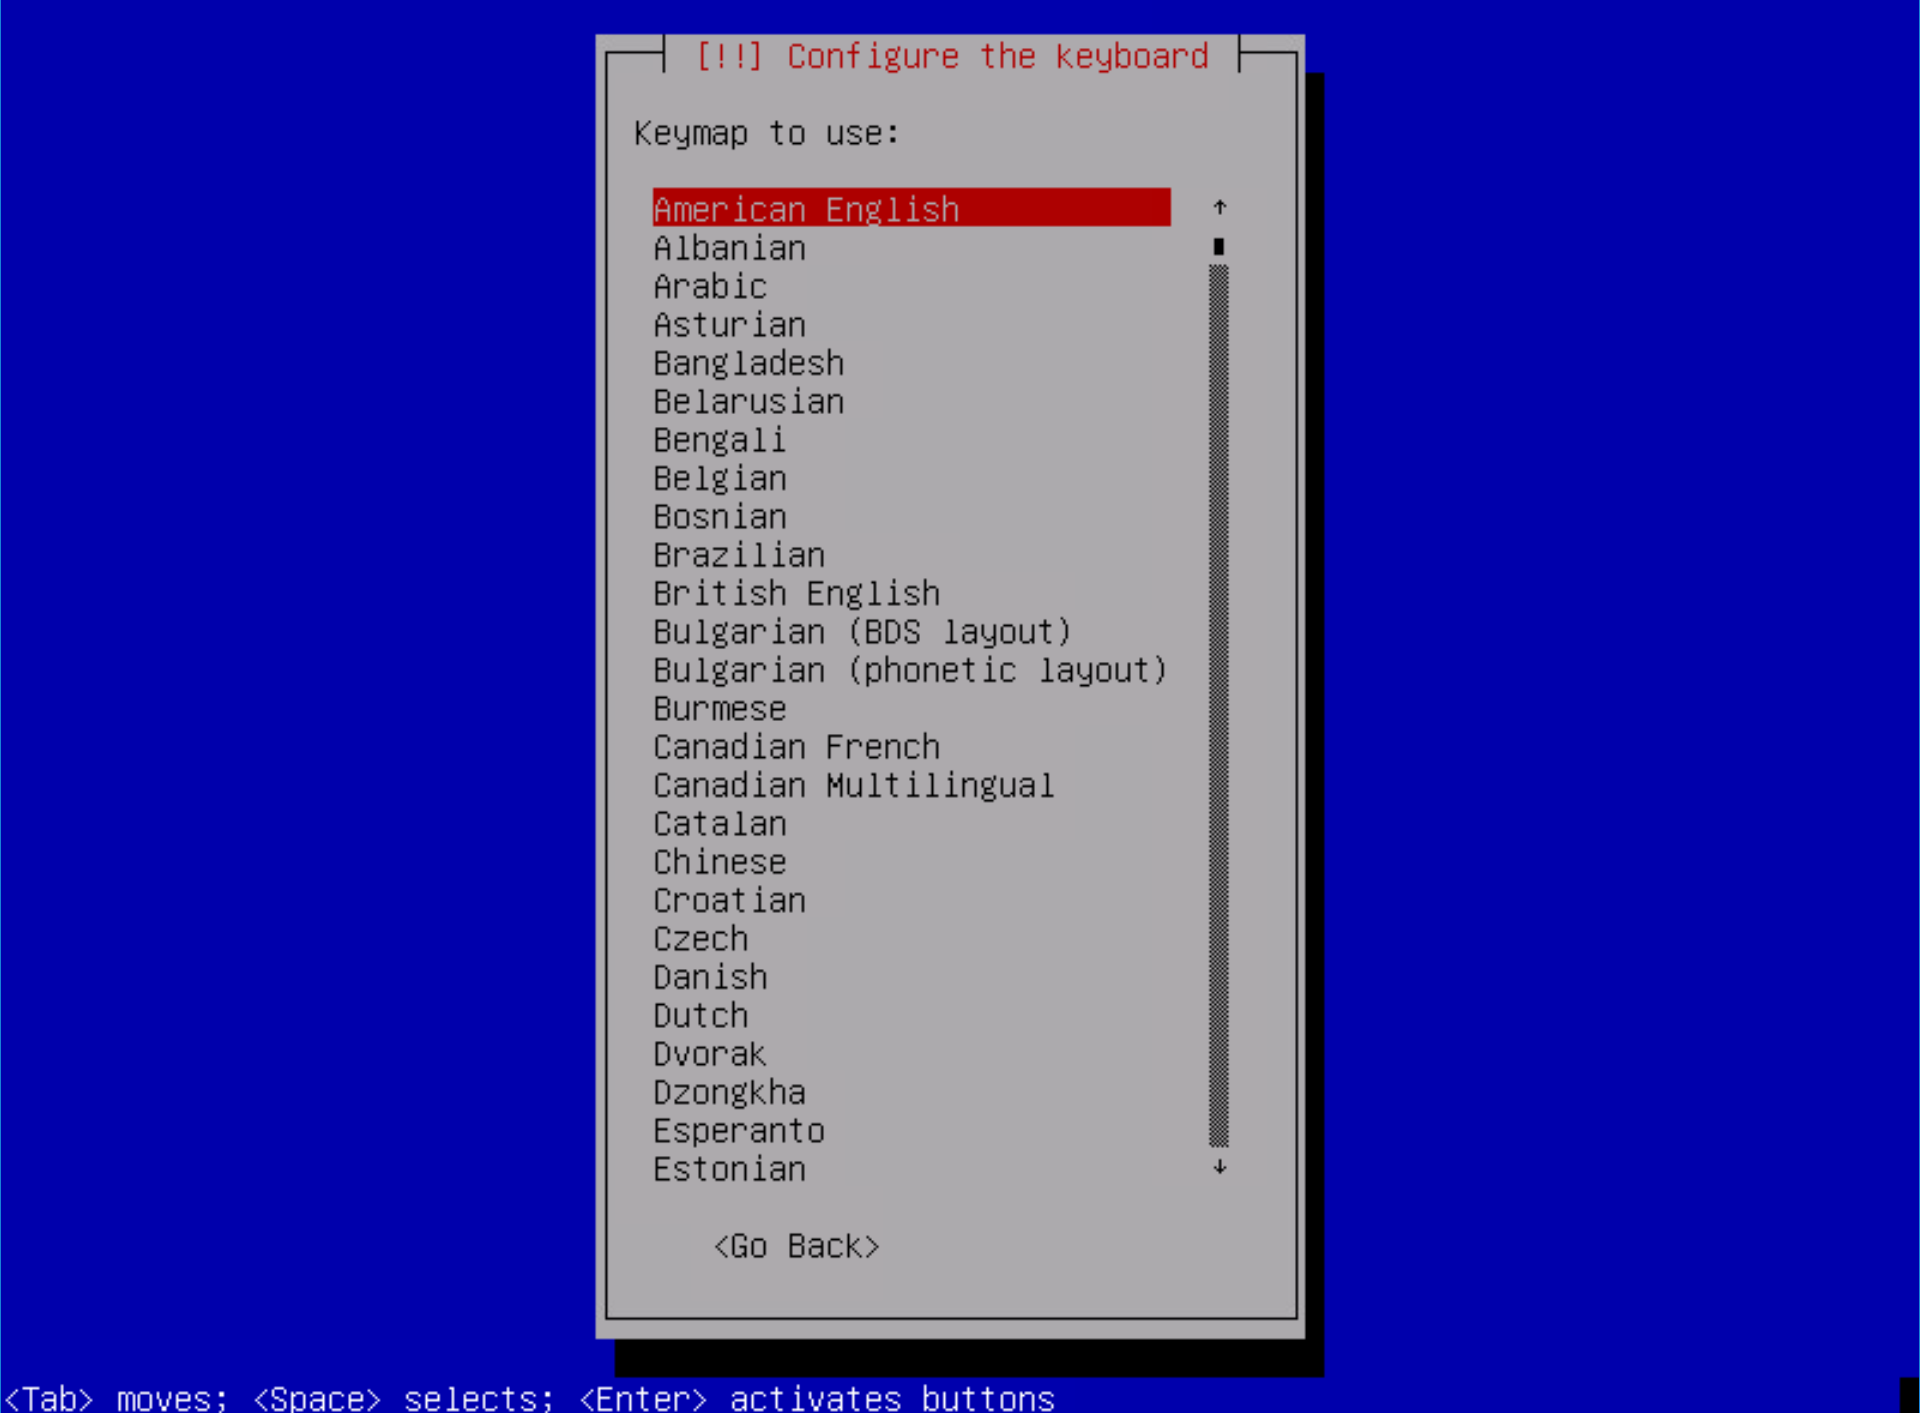
Select a keymap:
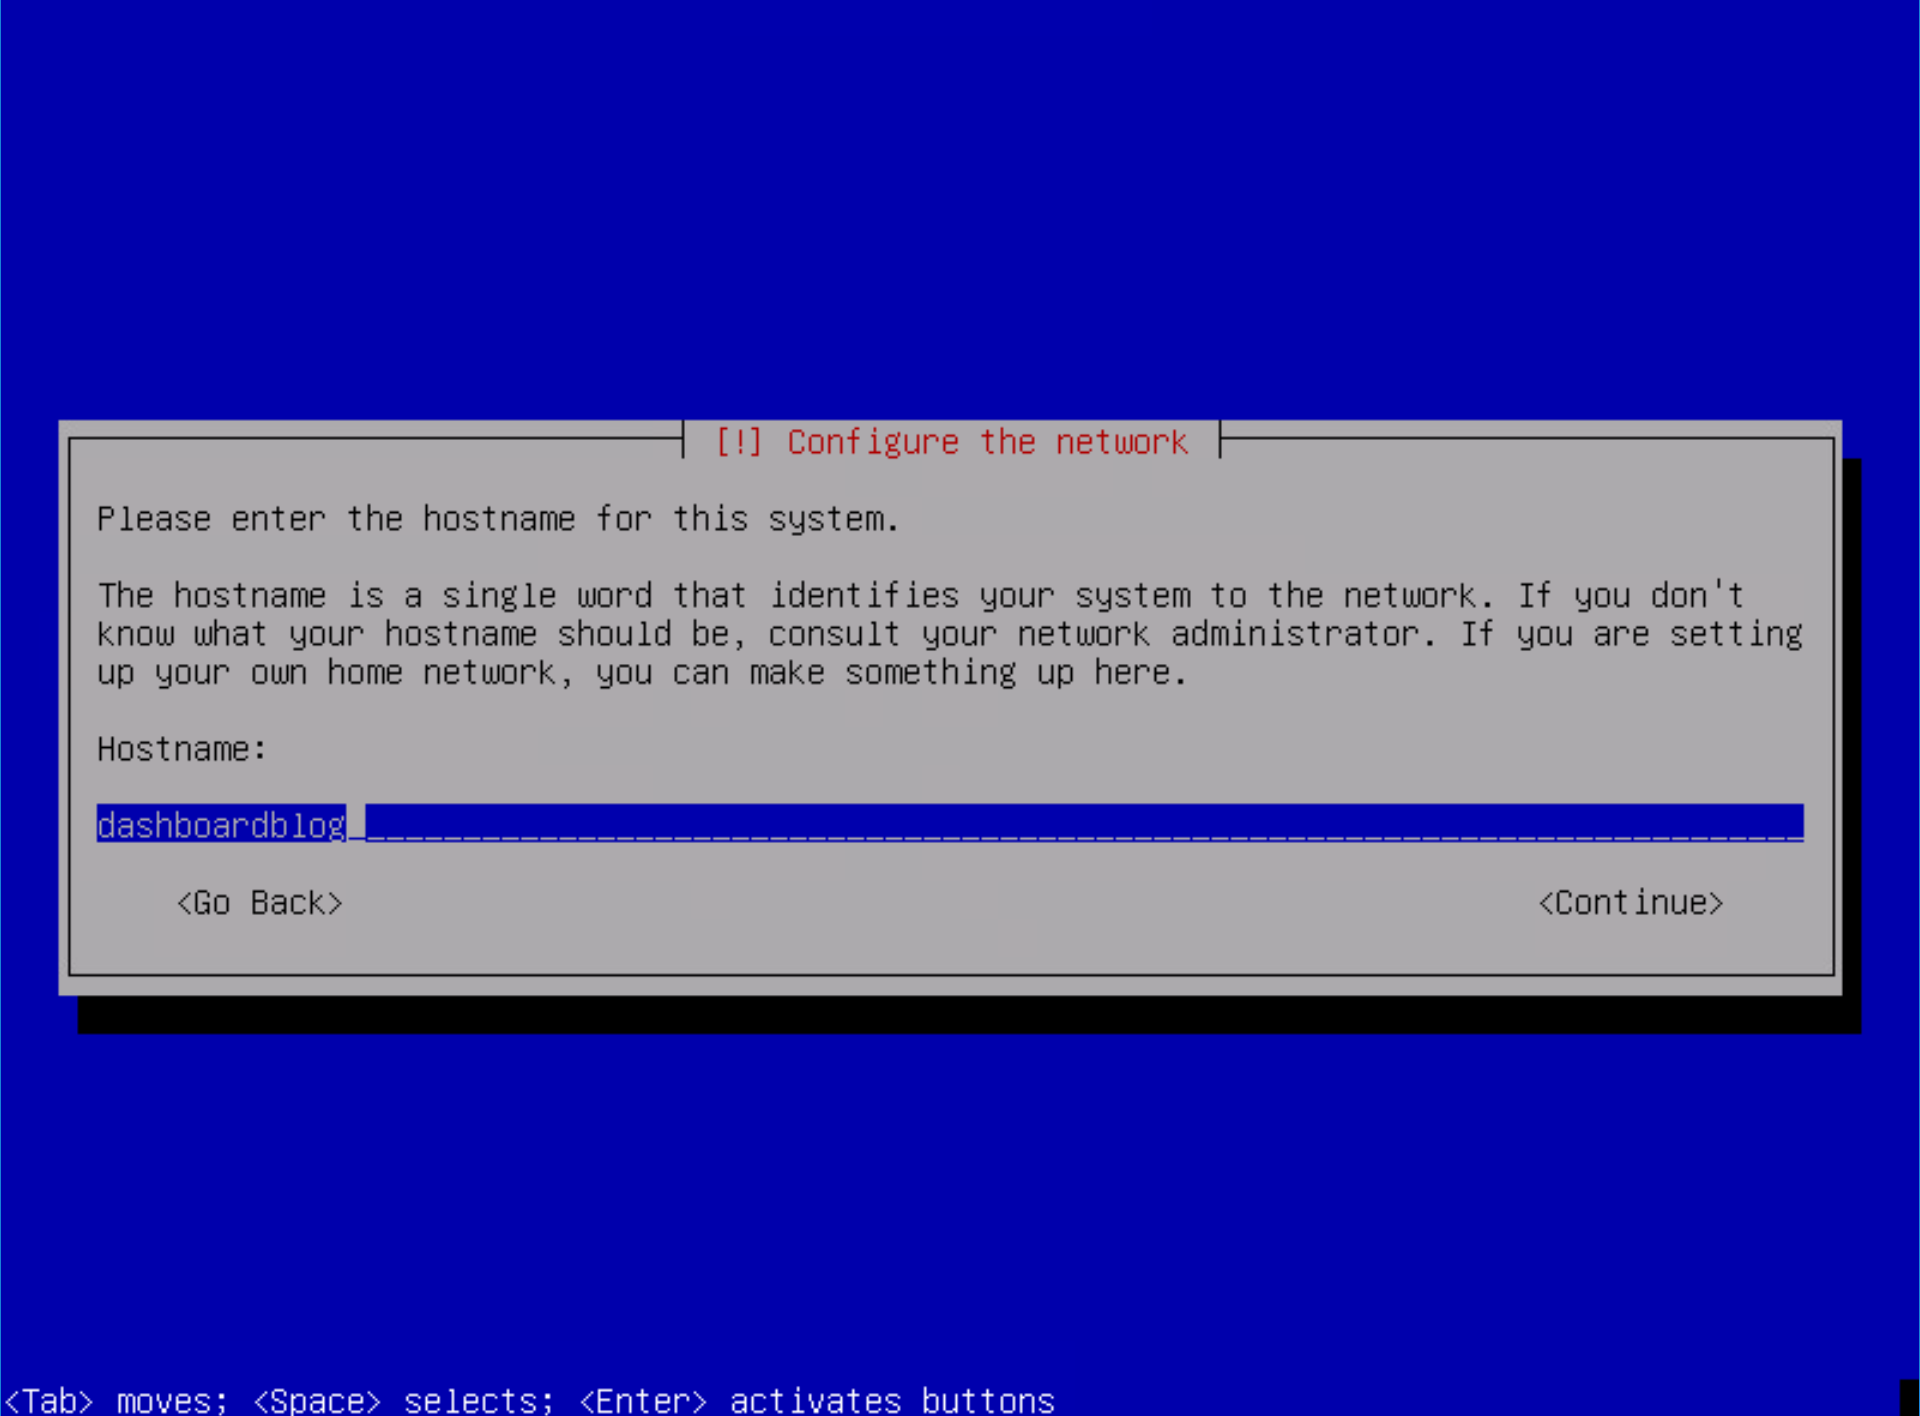
Enter your hostname:
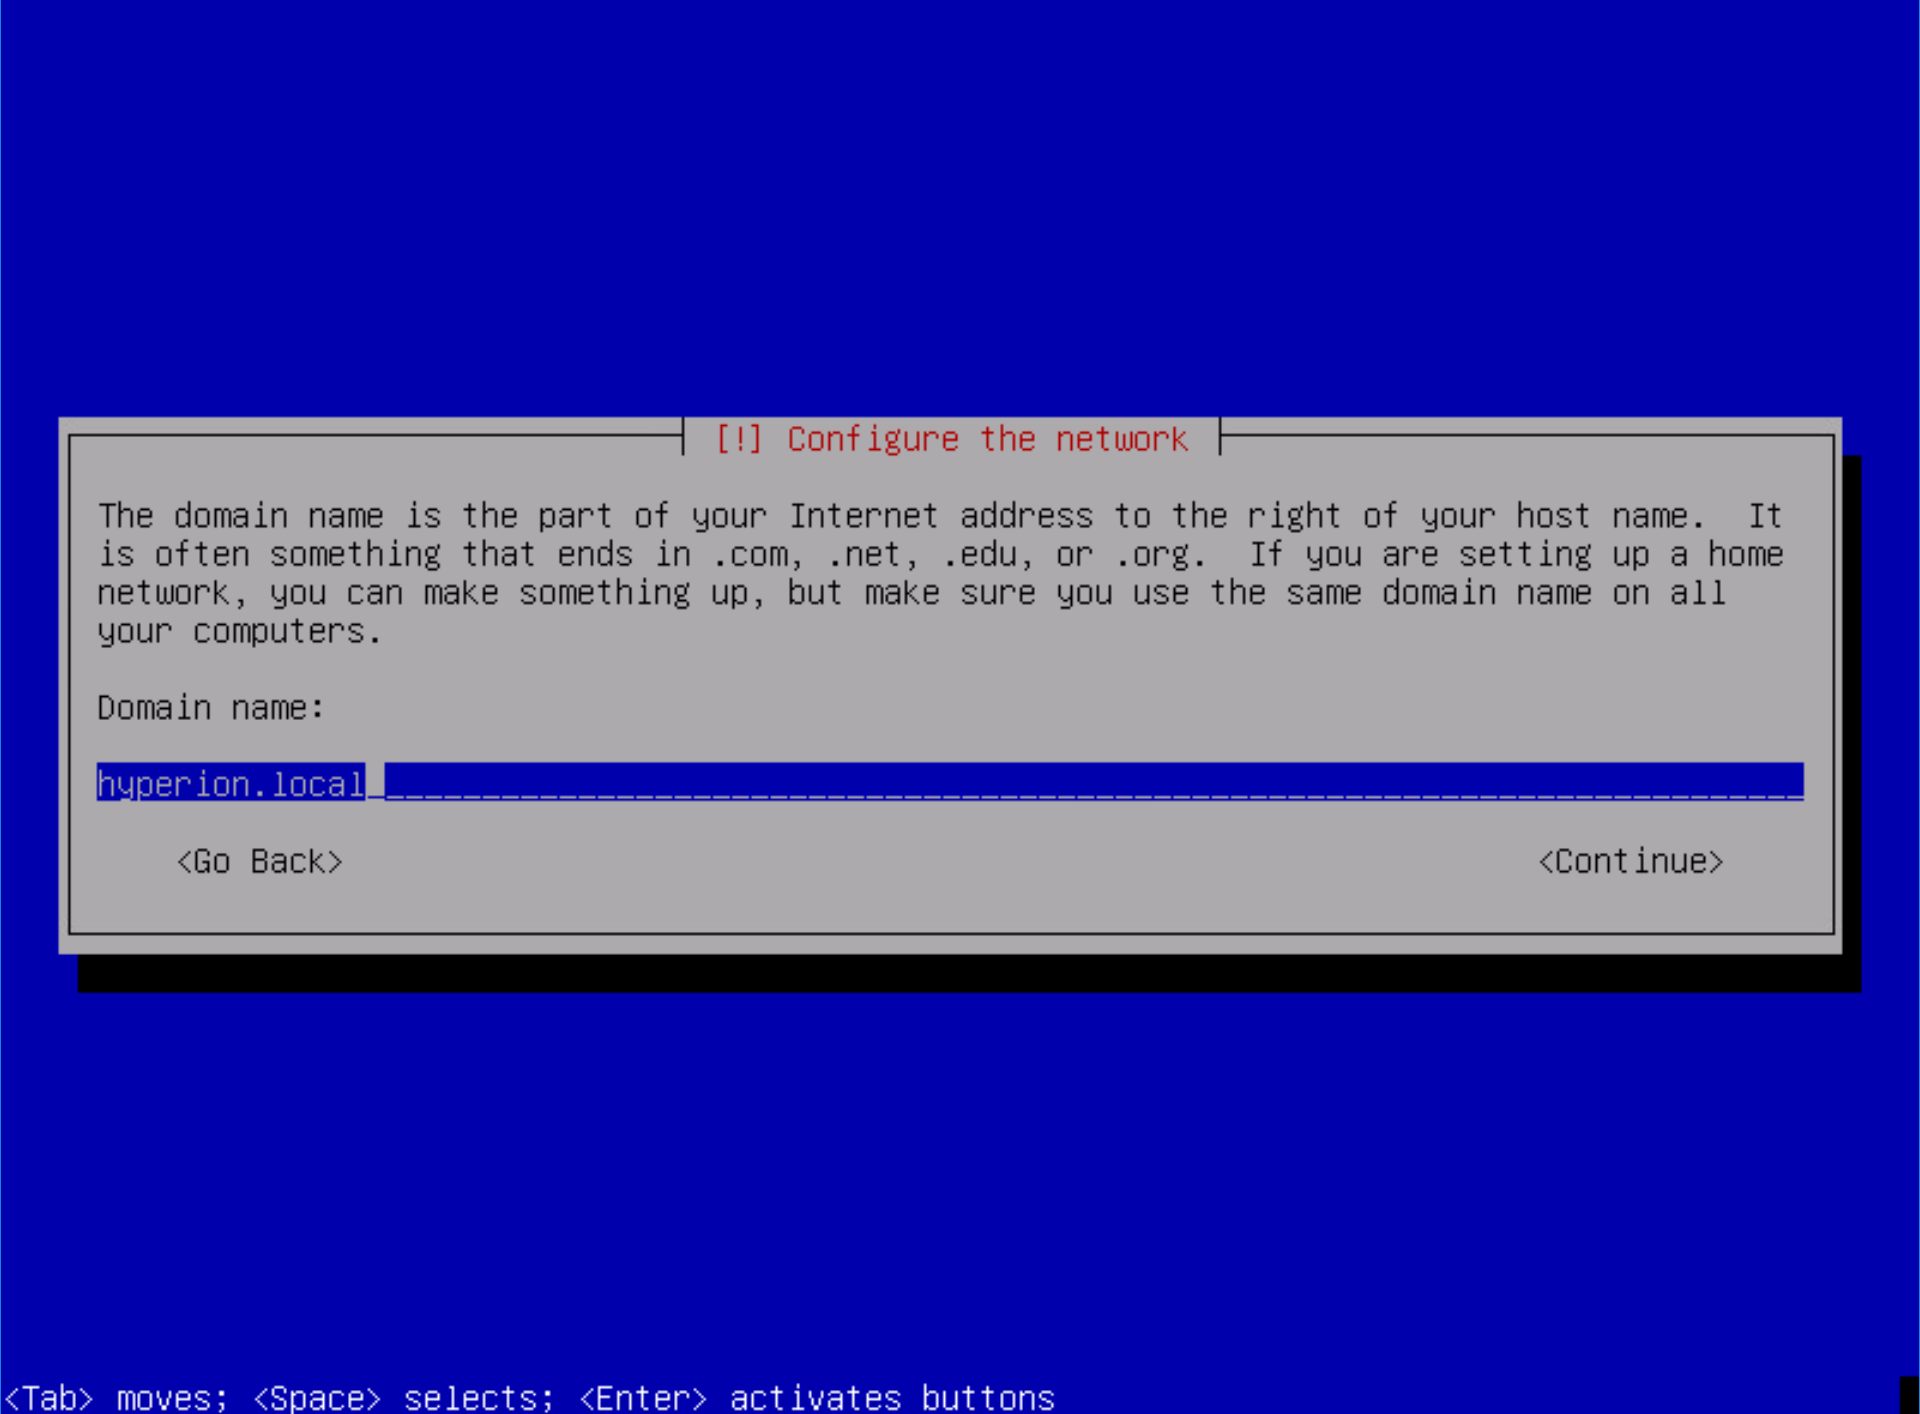
Now, enter your domain name:
Enter your password for the root account:
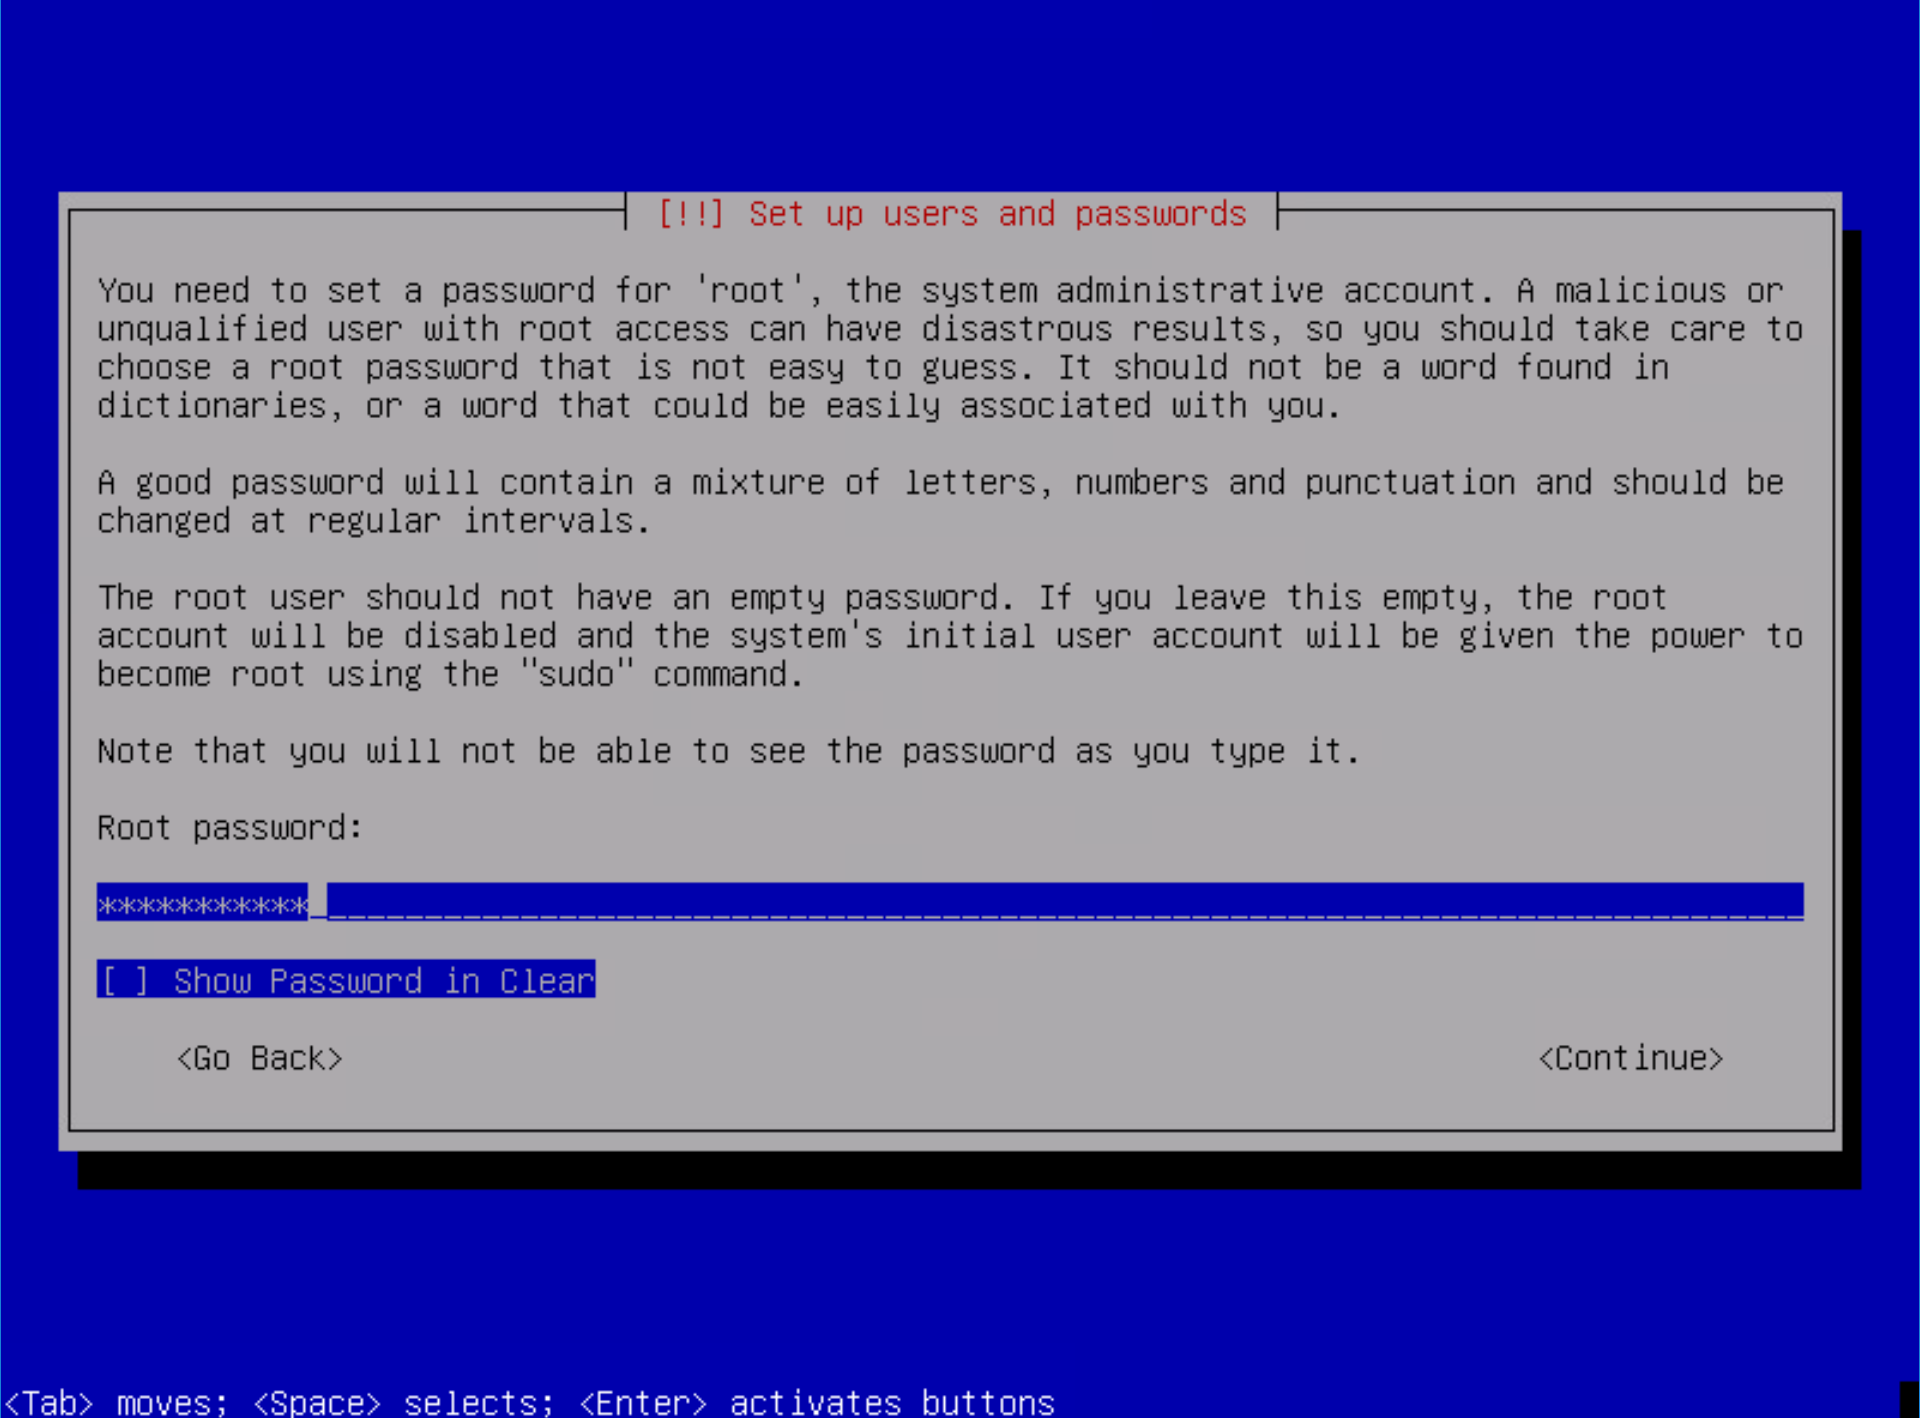
Re-enter your password for the root account:

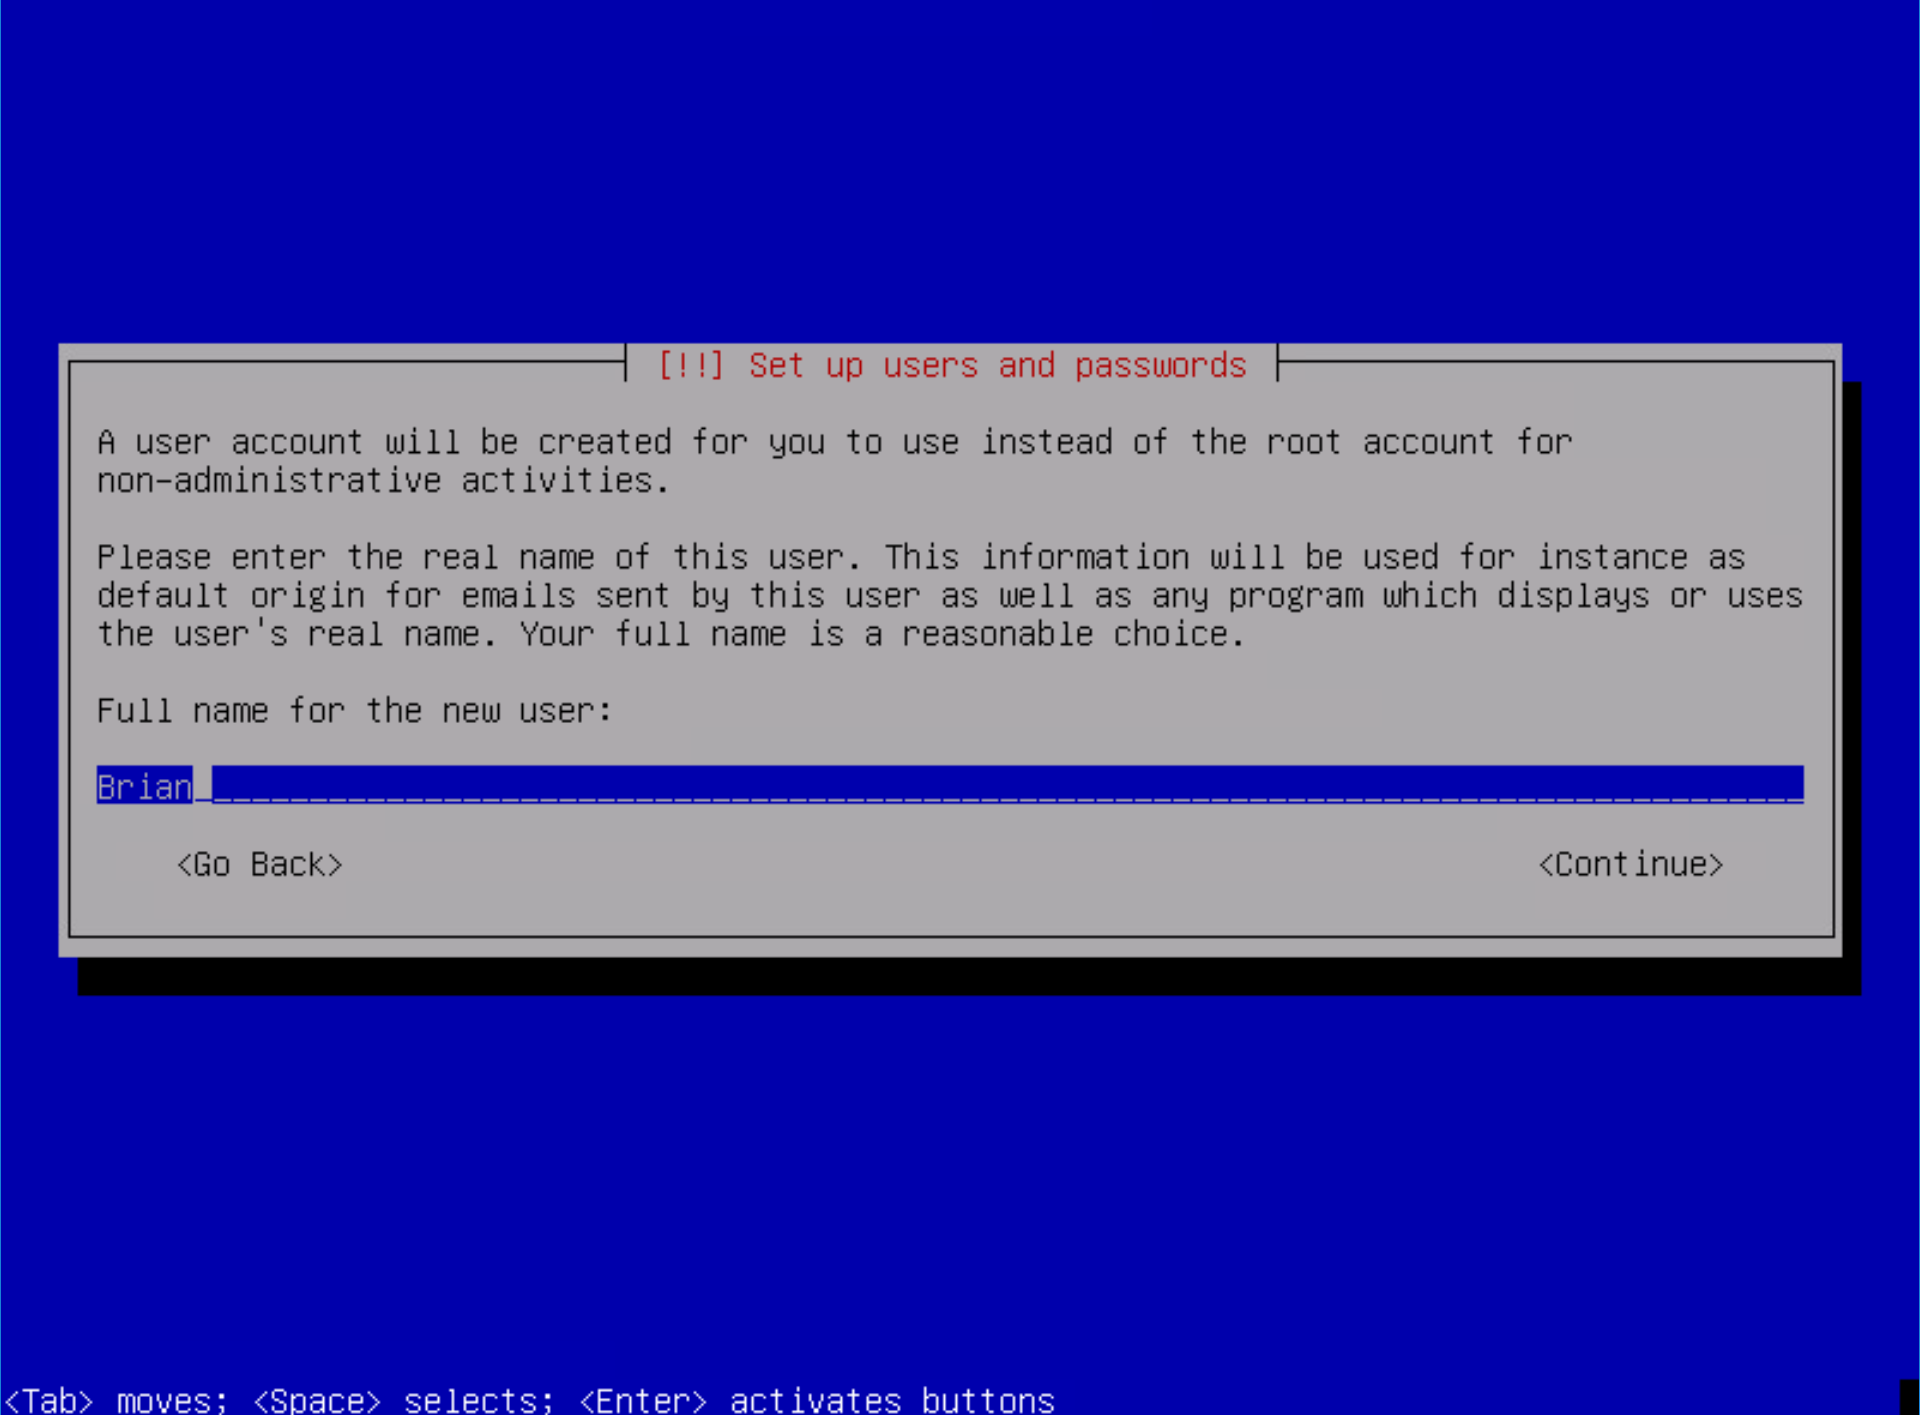
Enter the name of your non-administrative user:
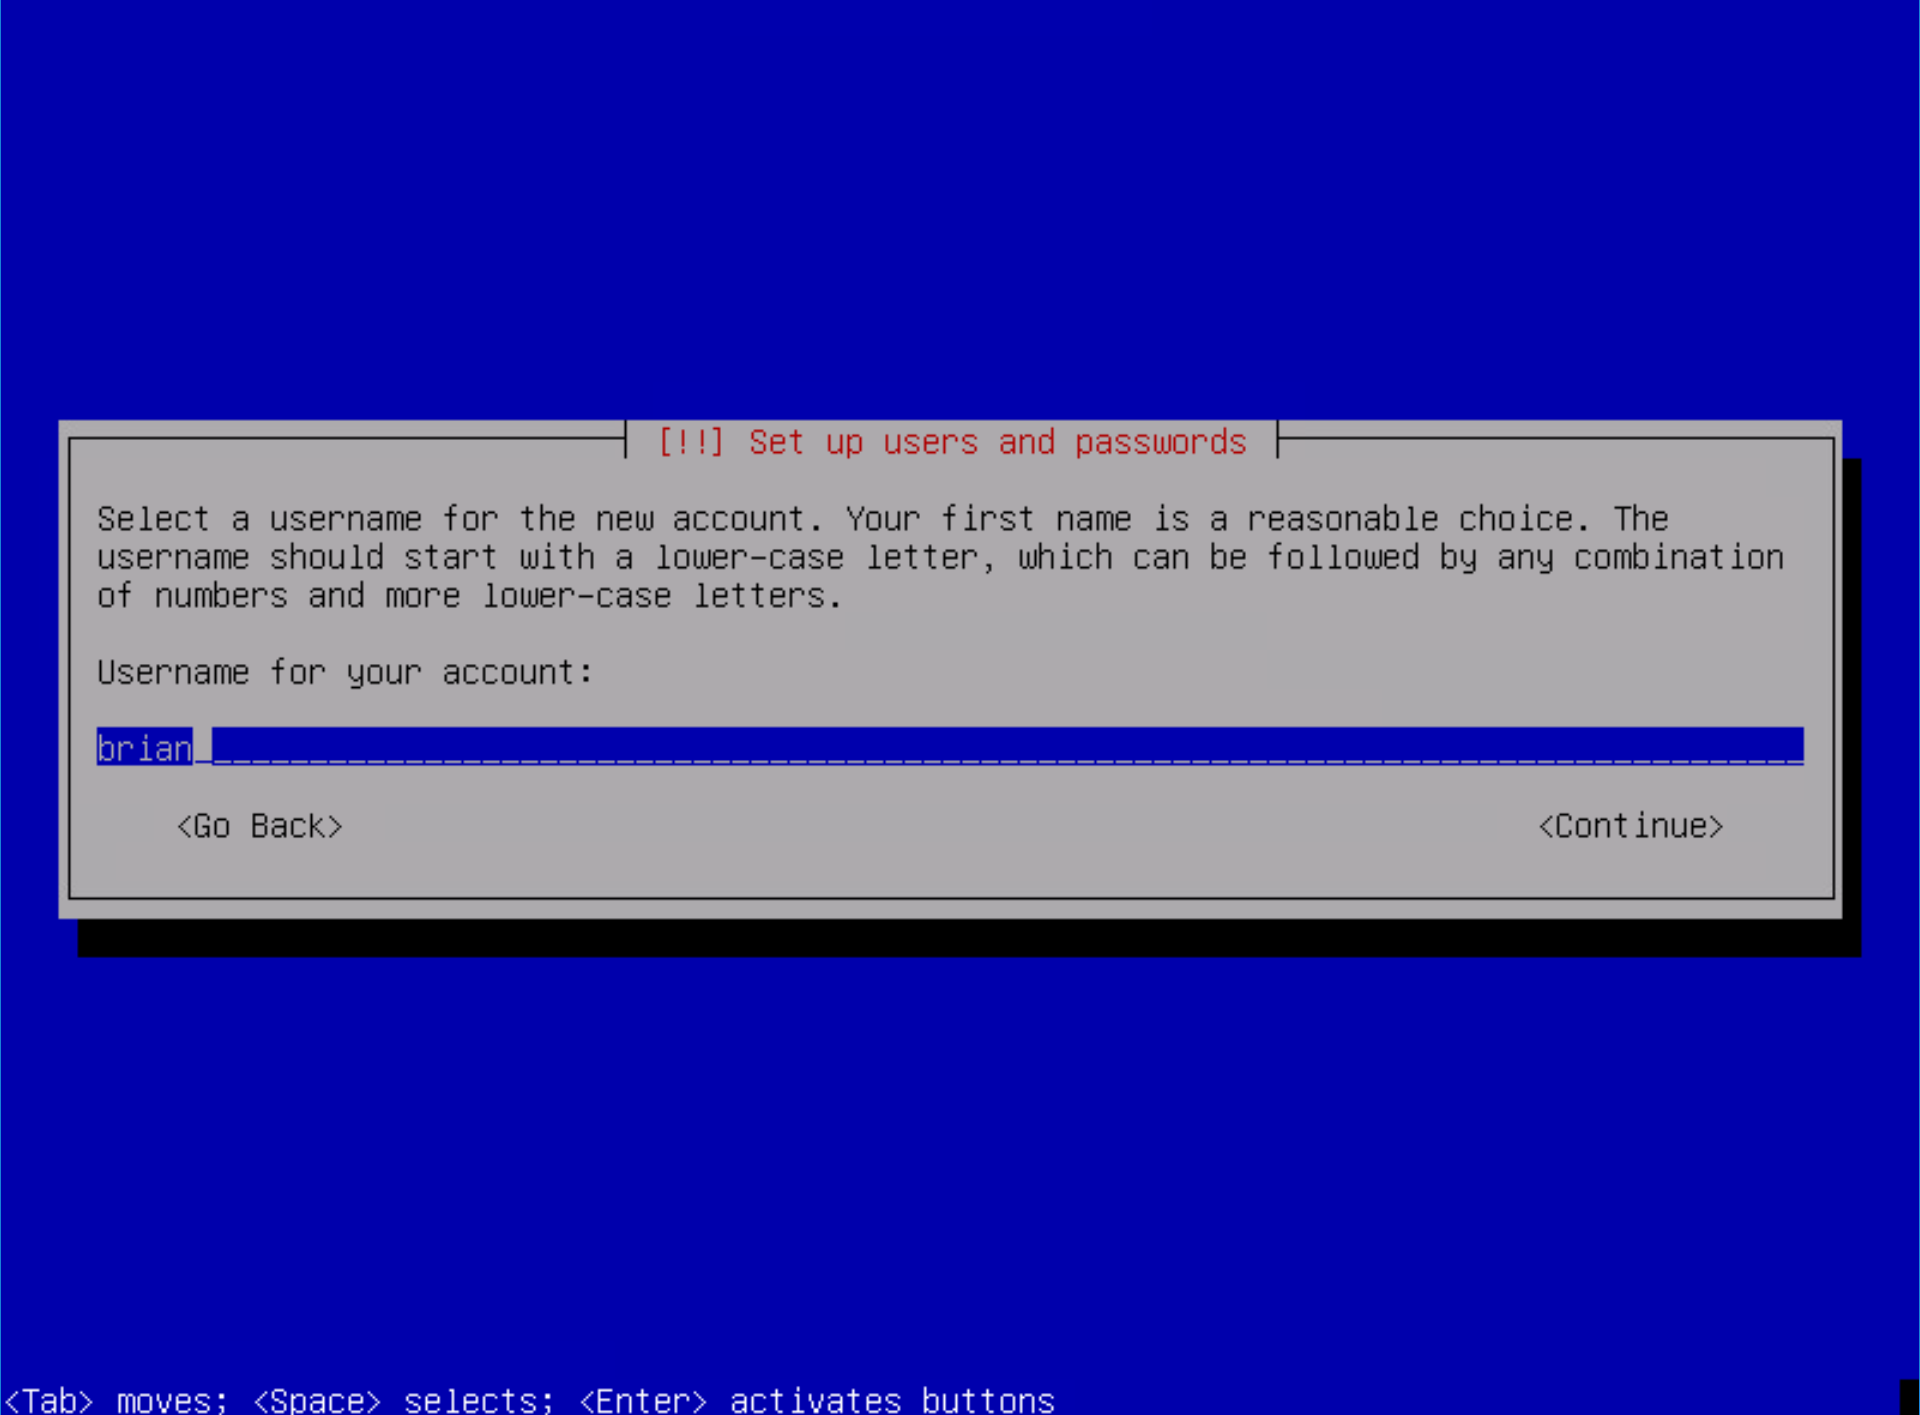
Enter the username of your non-administrative user:
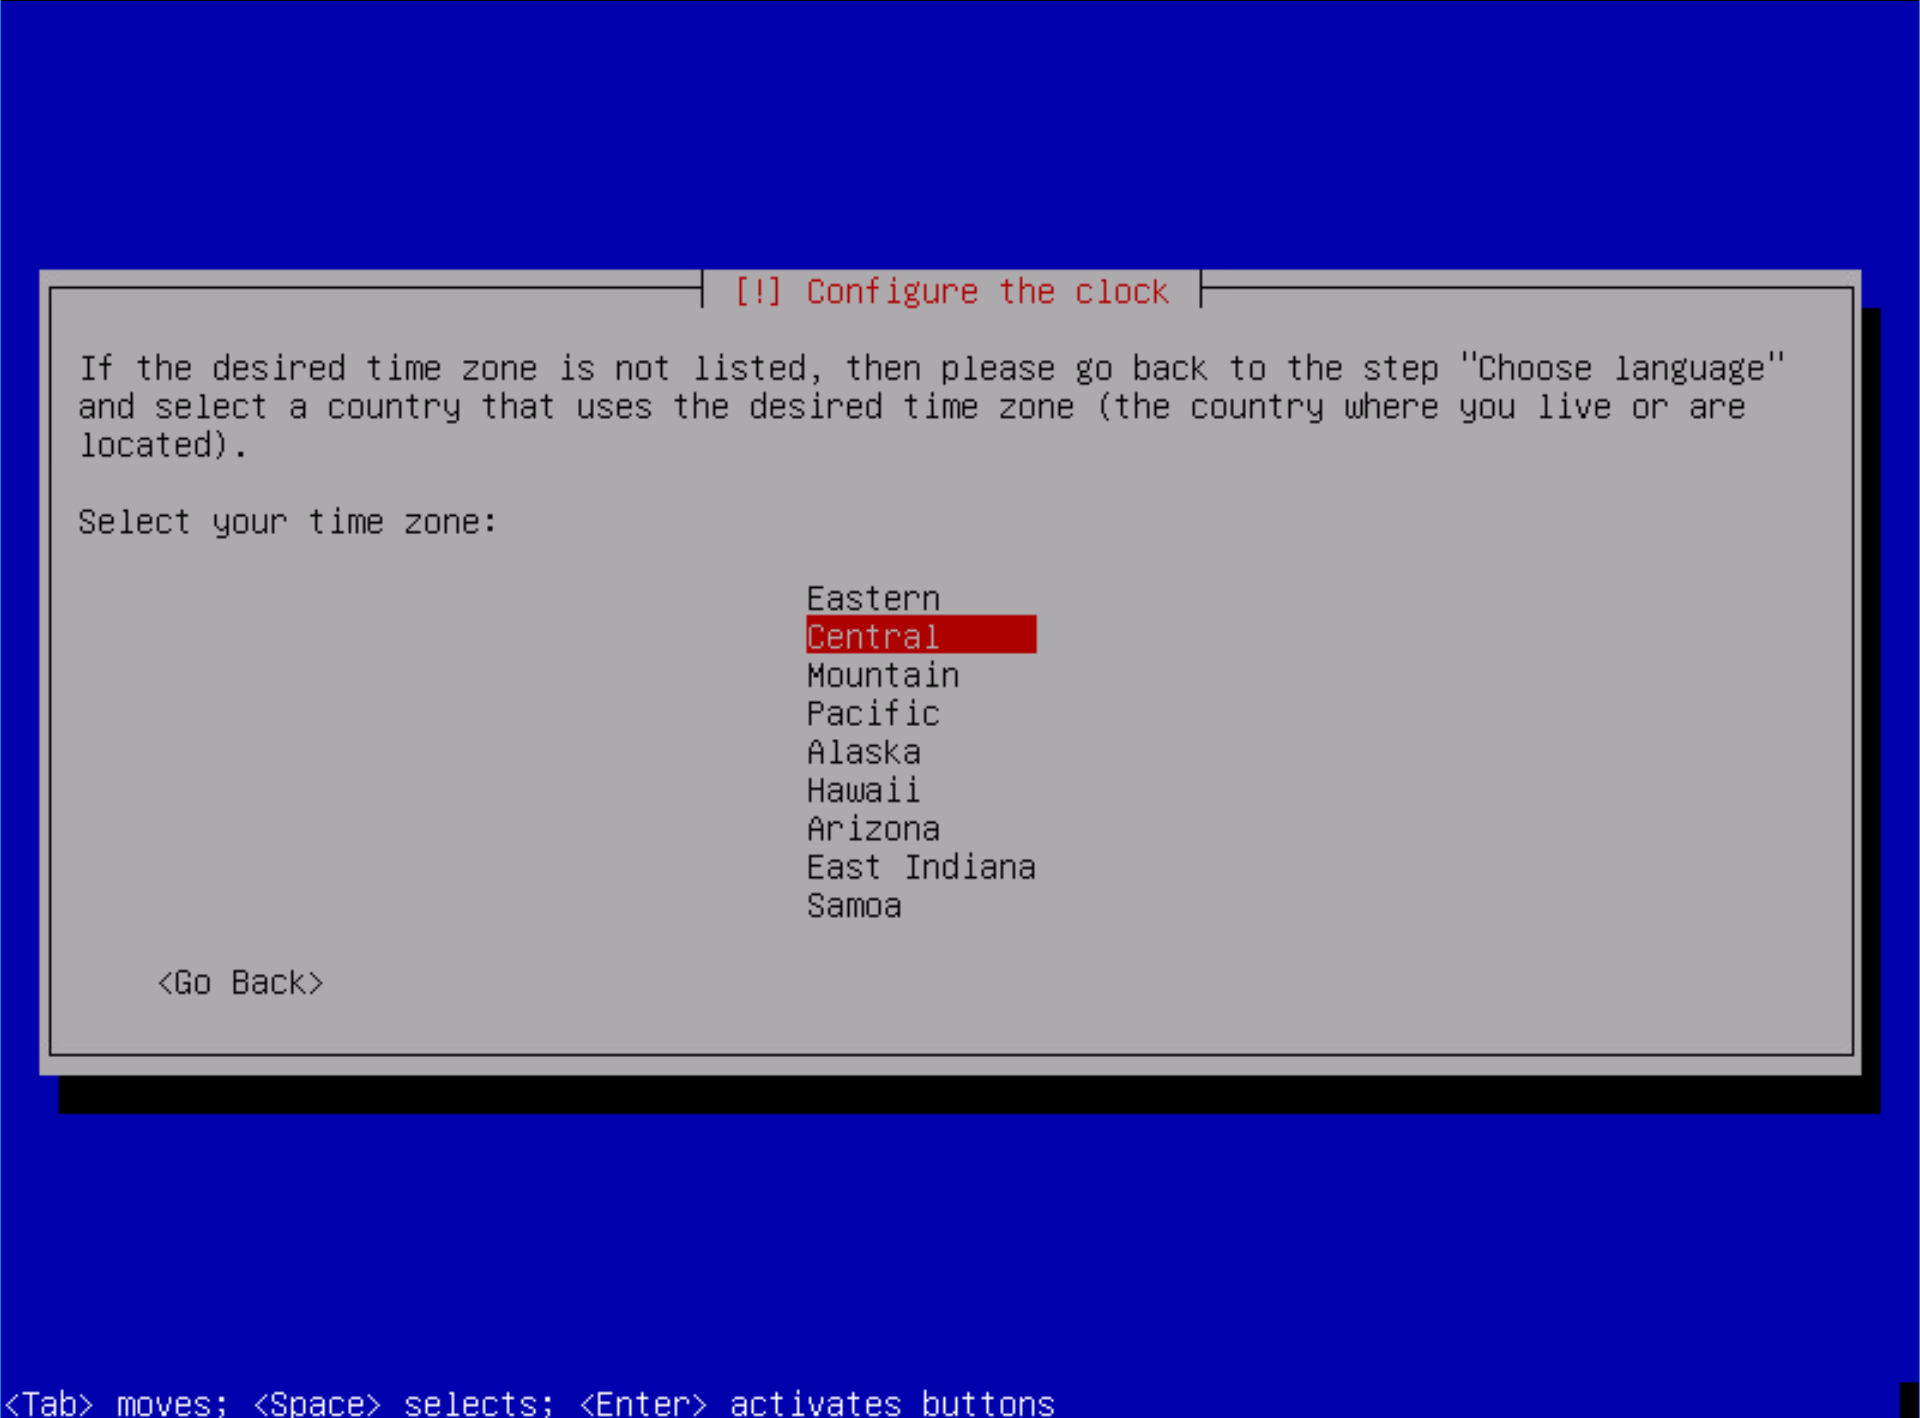
Select your time zone:
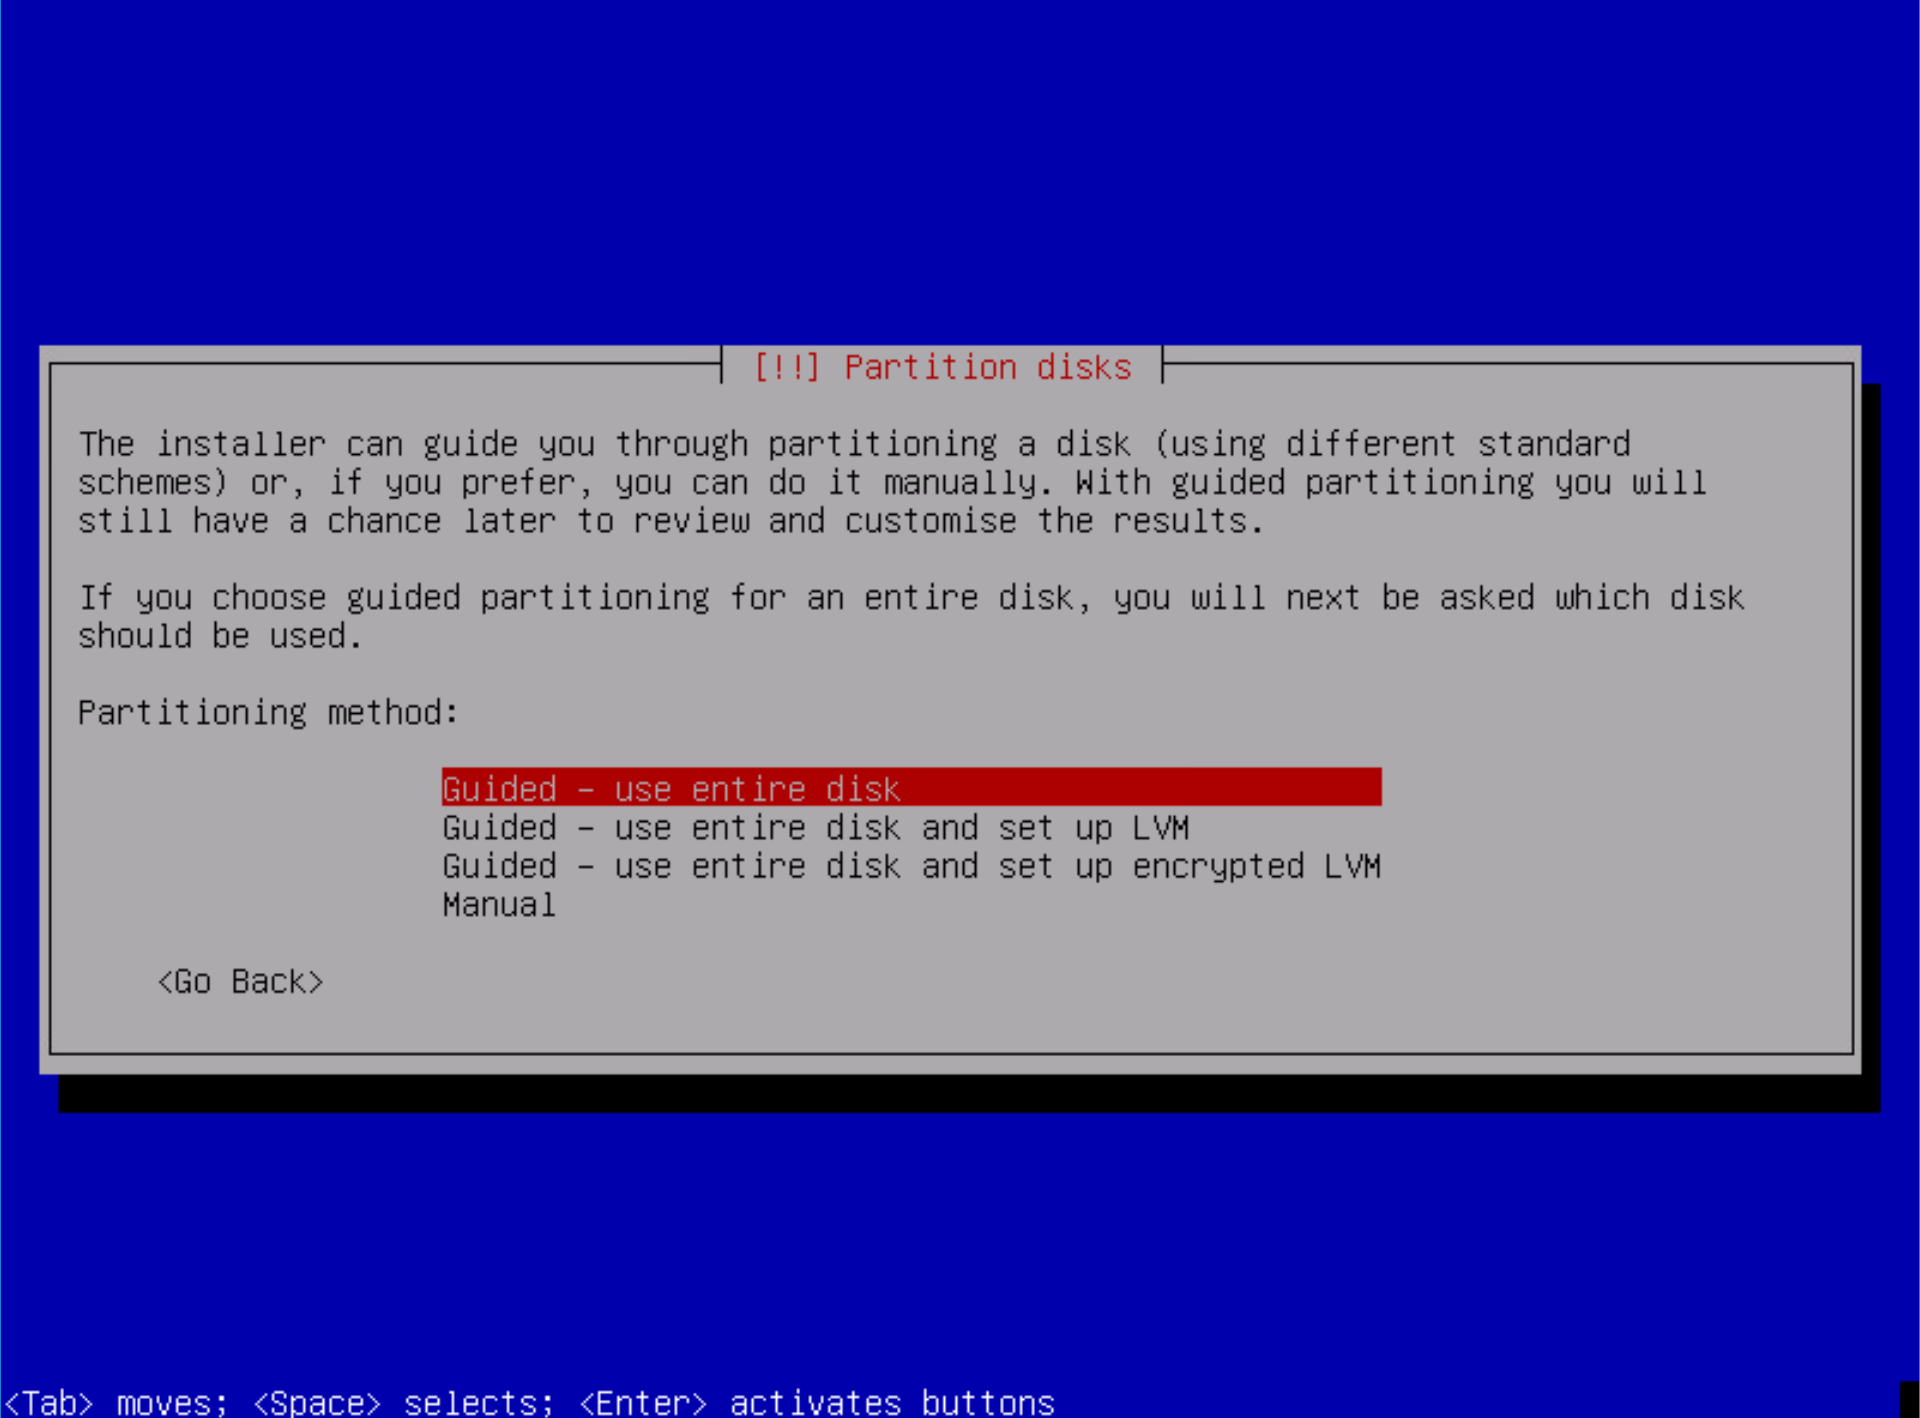
Use the guided partition using the entire disk (this is up to you, this is just the setting that I used):
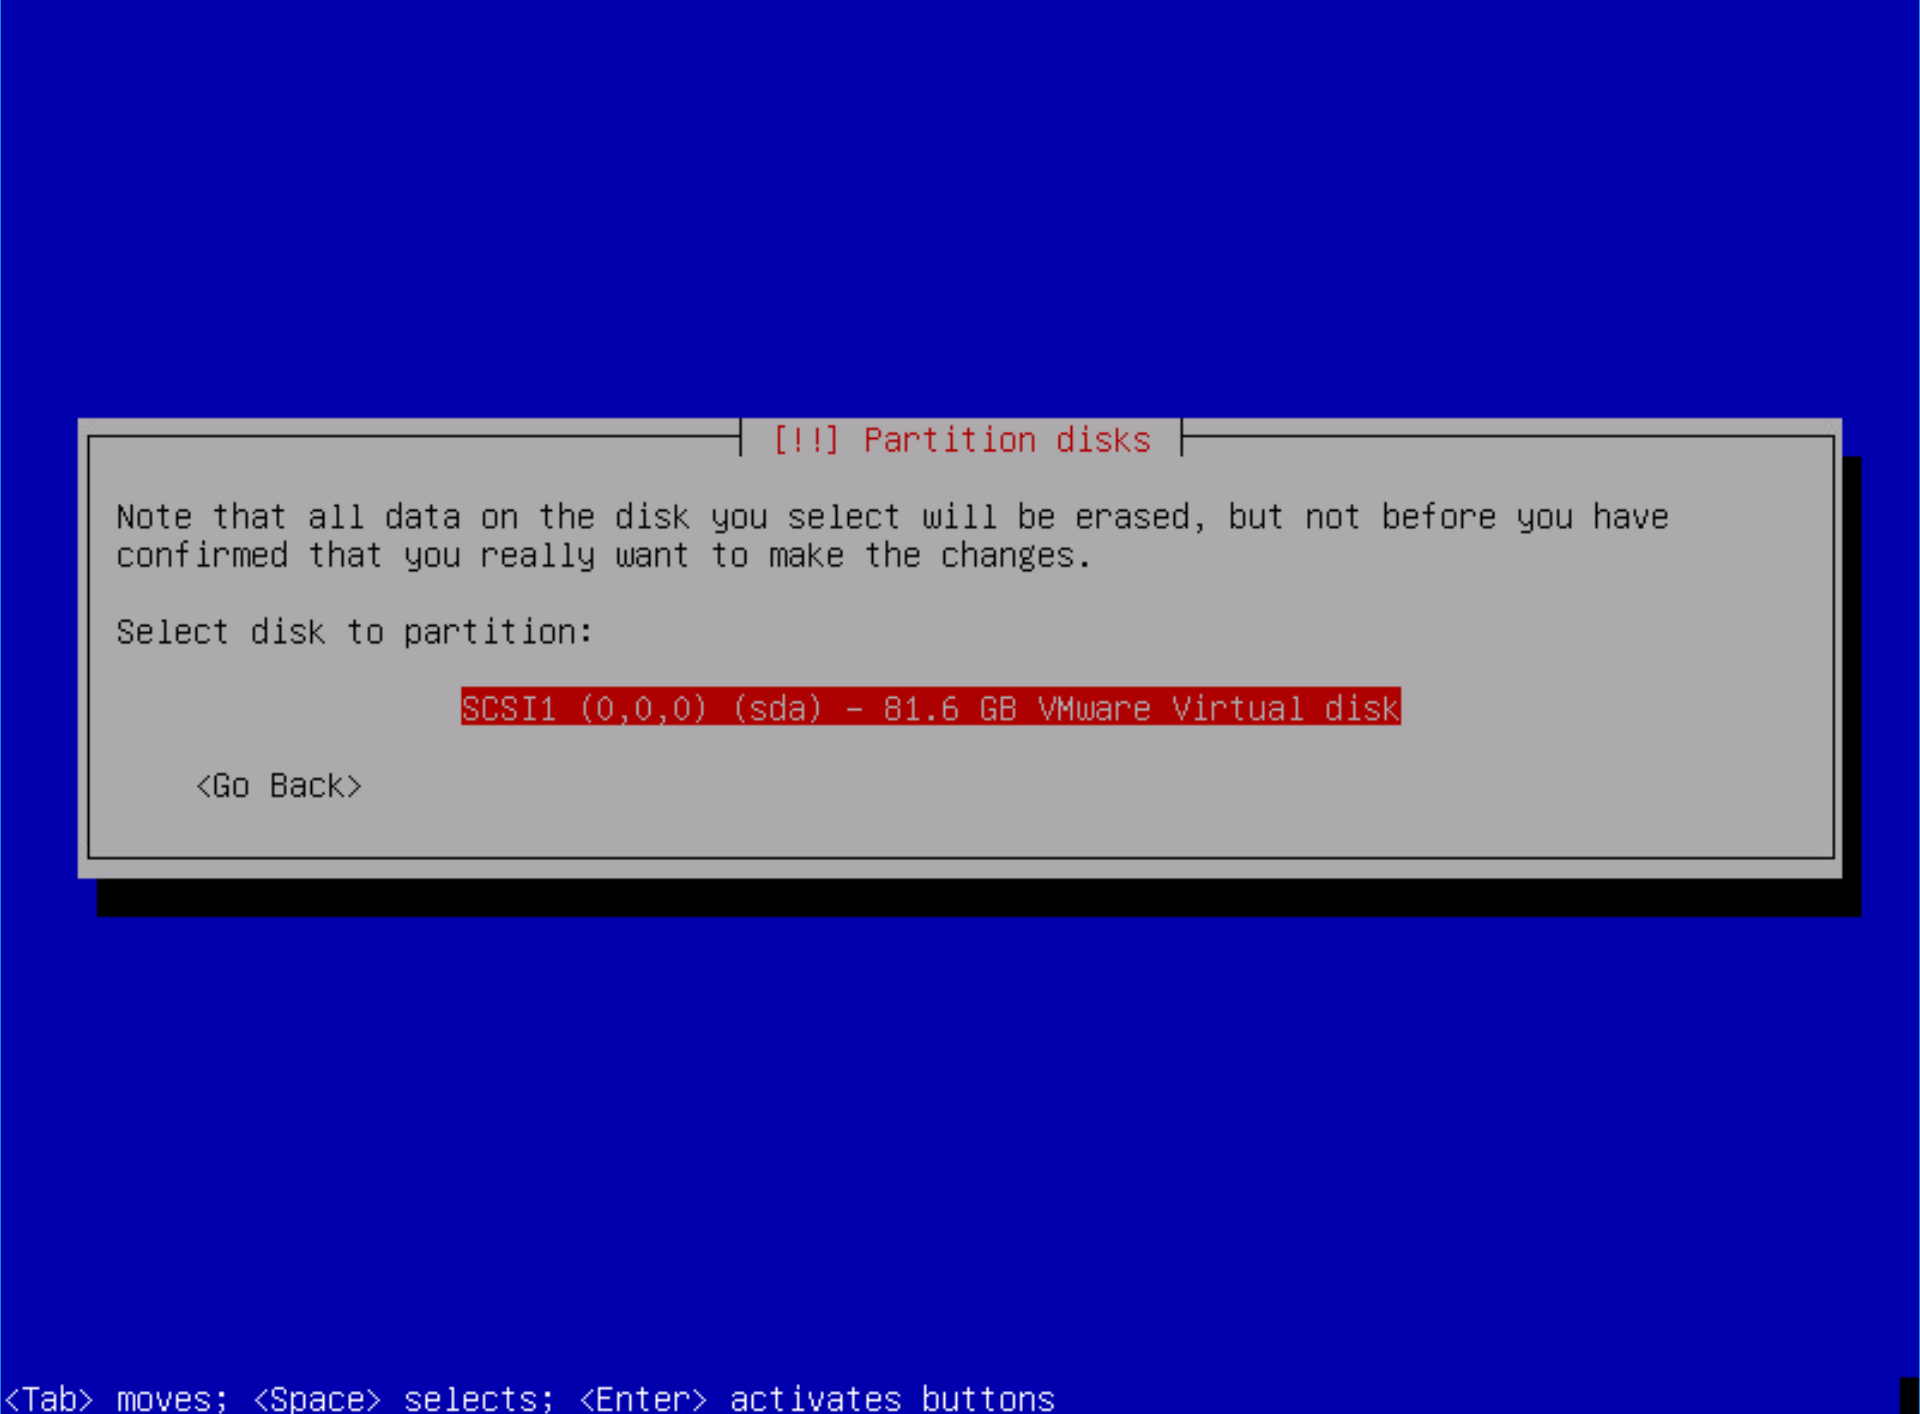
Select the disk to partition (I only have one on the VM that I created):
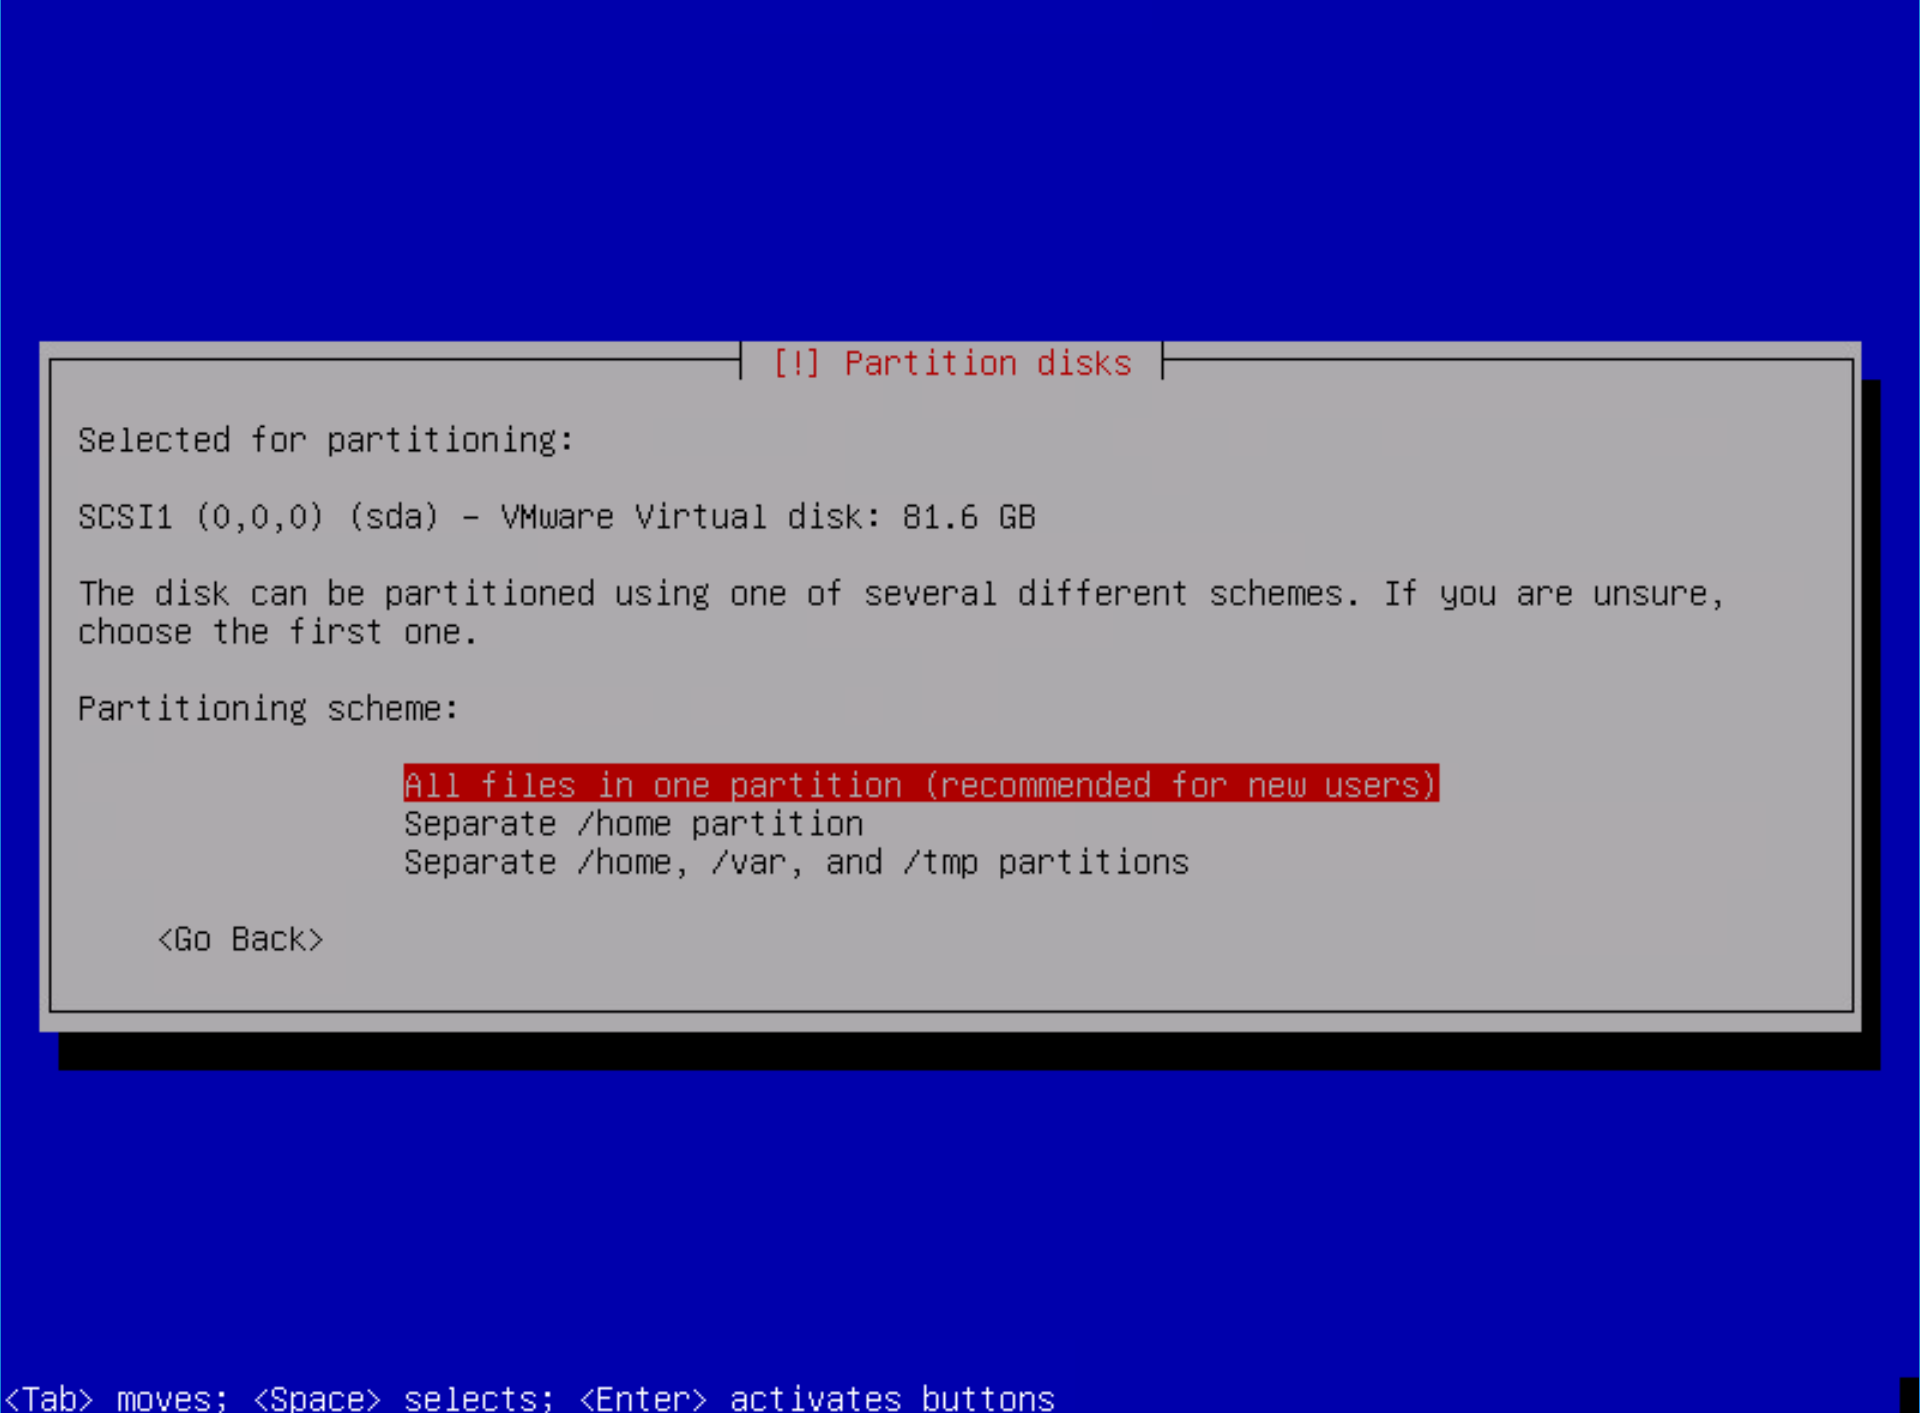
Select a partitioning scheme (I went the new user route):
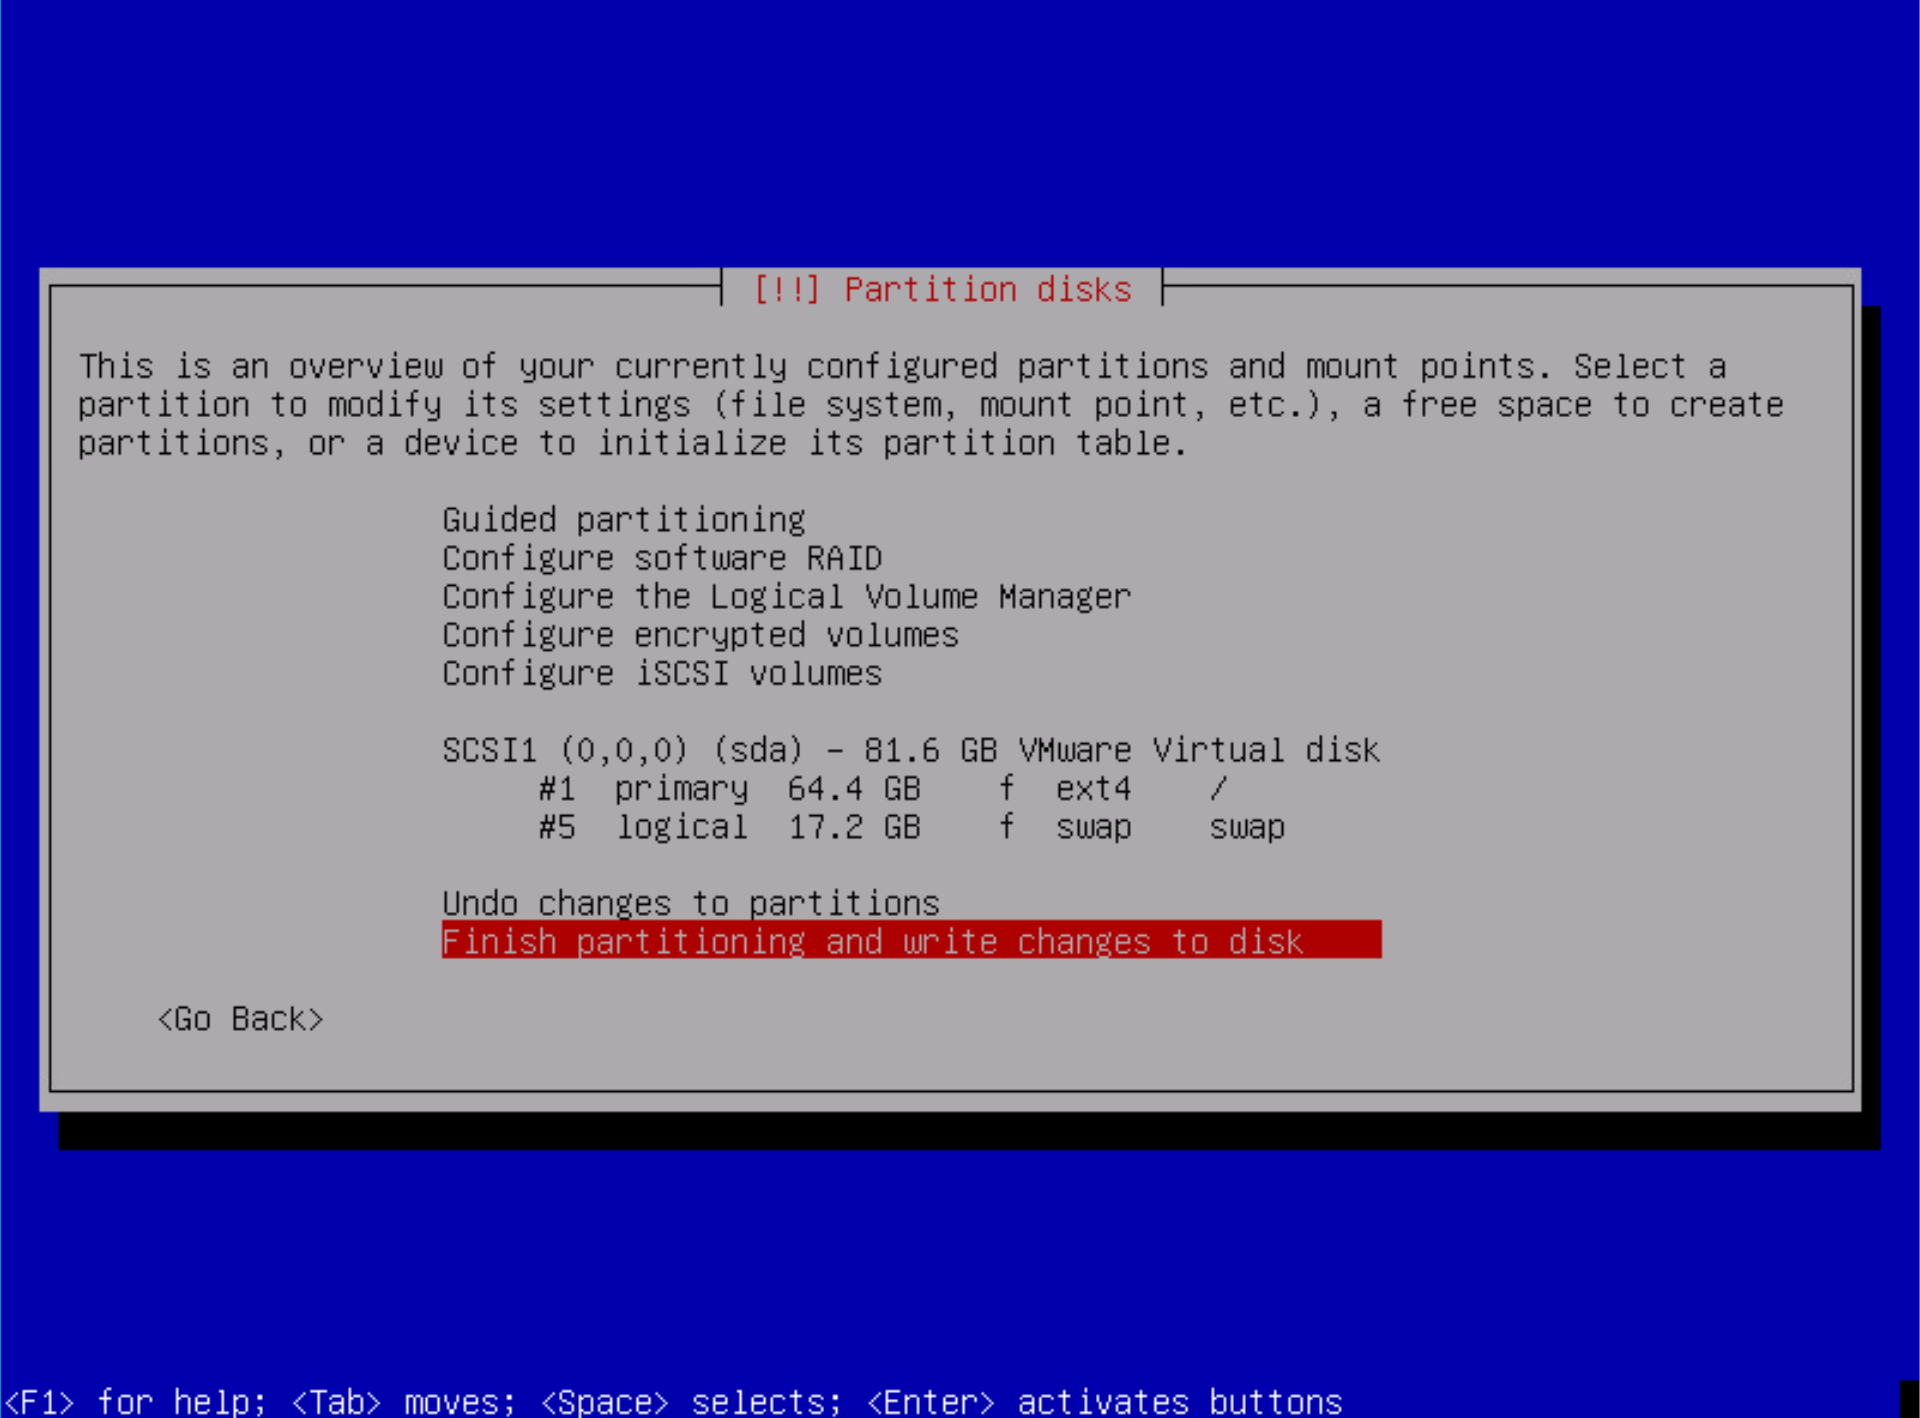
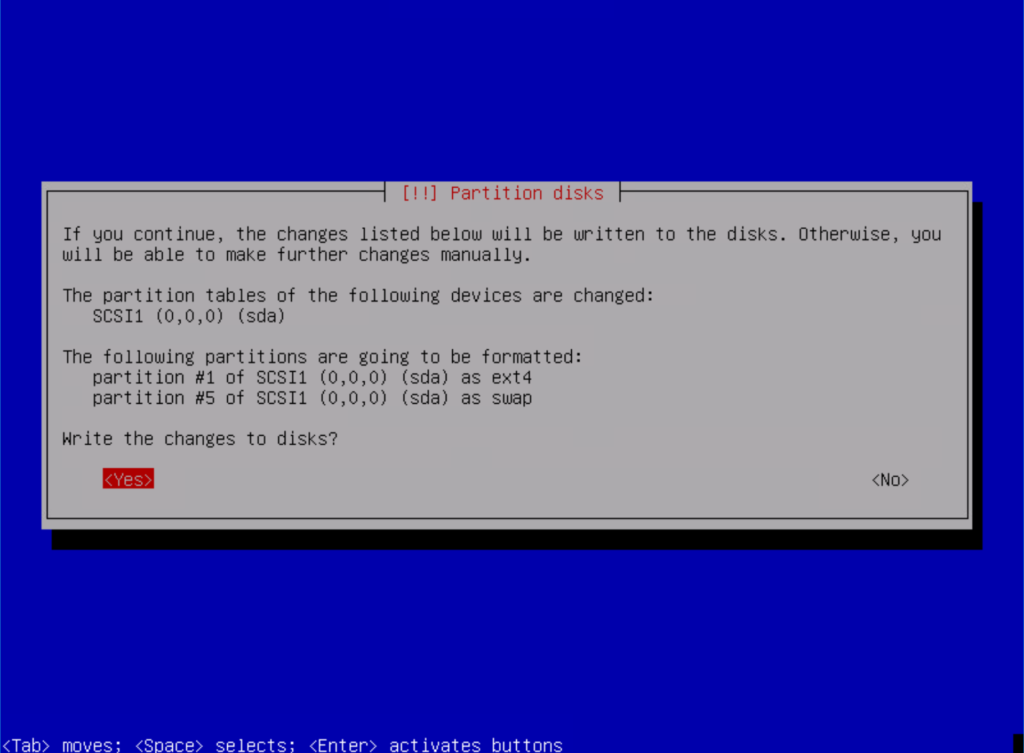
Write your changes to the disk(s):
Confirm that you REALLY want to make those changes:
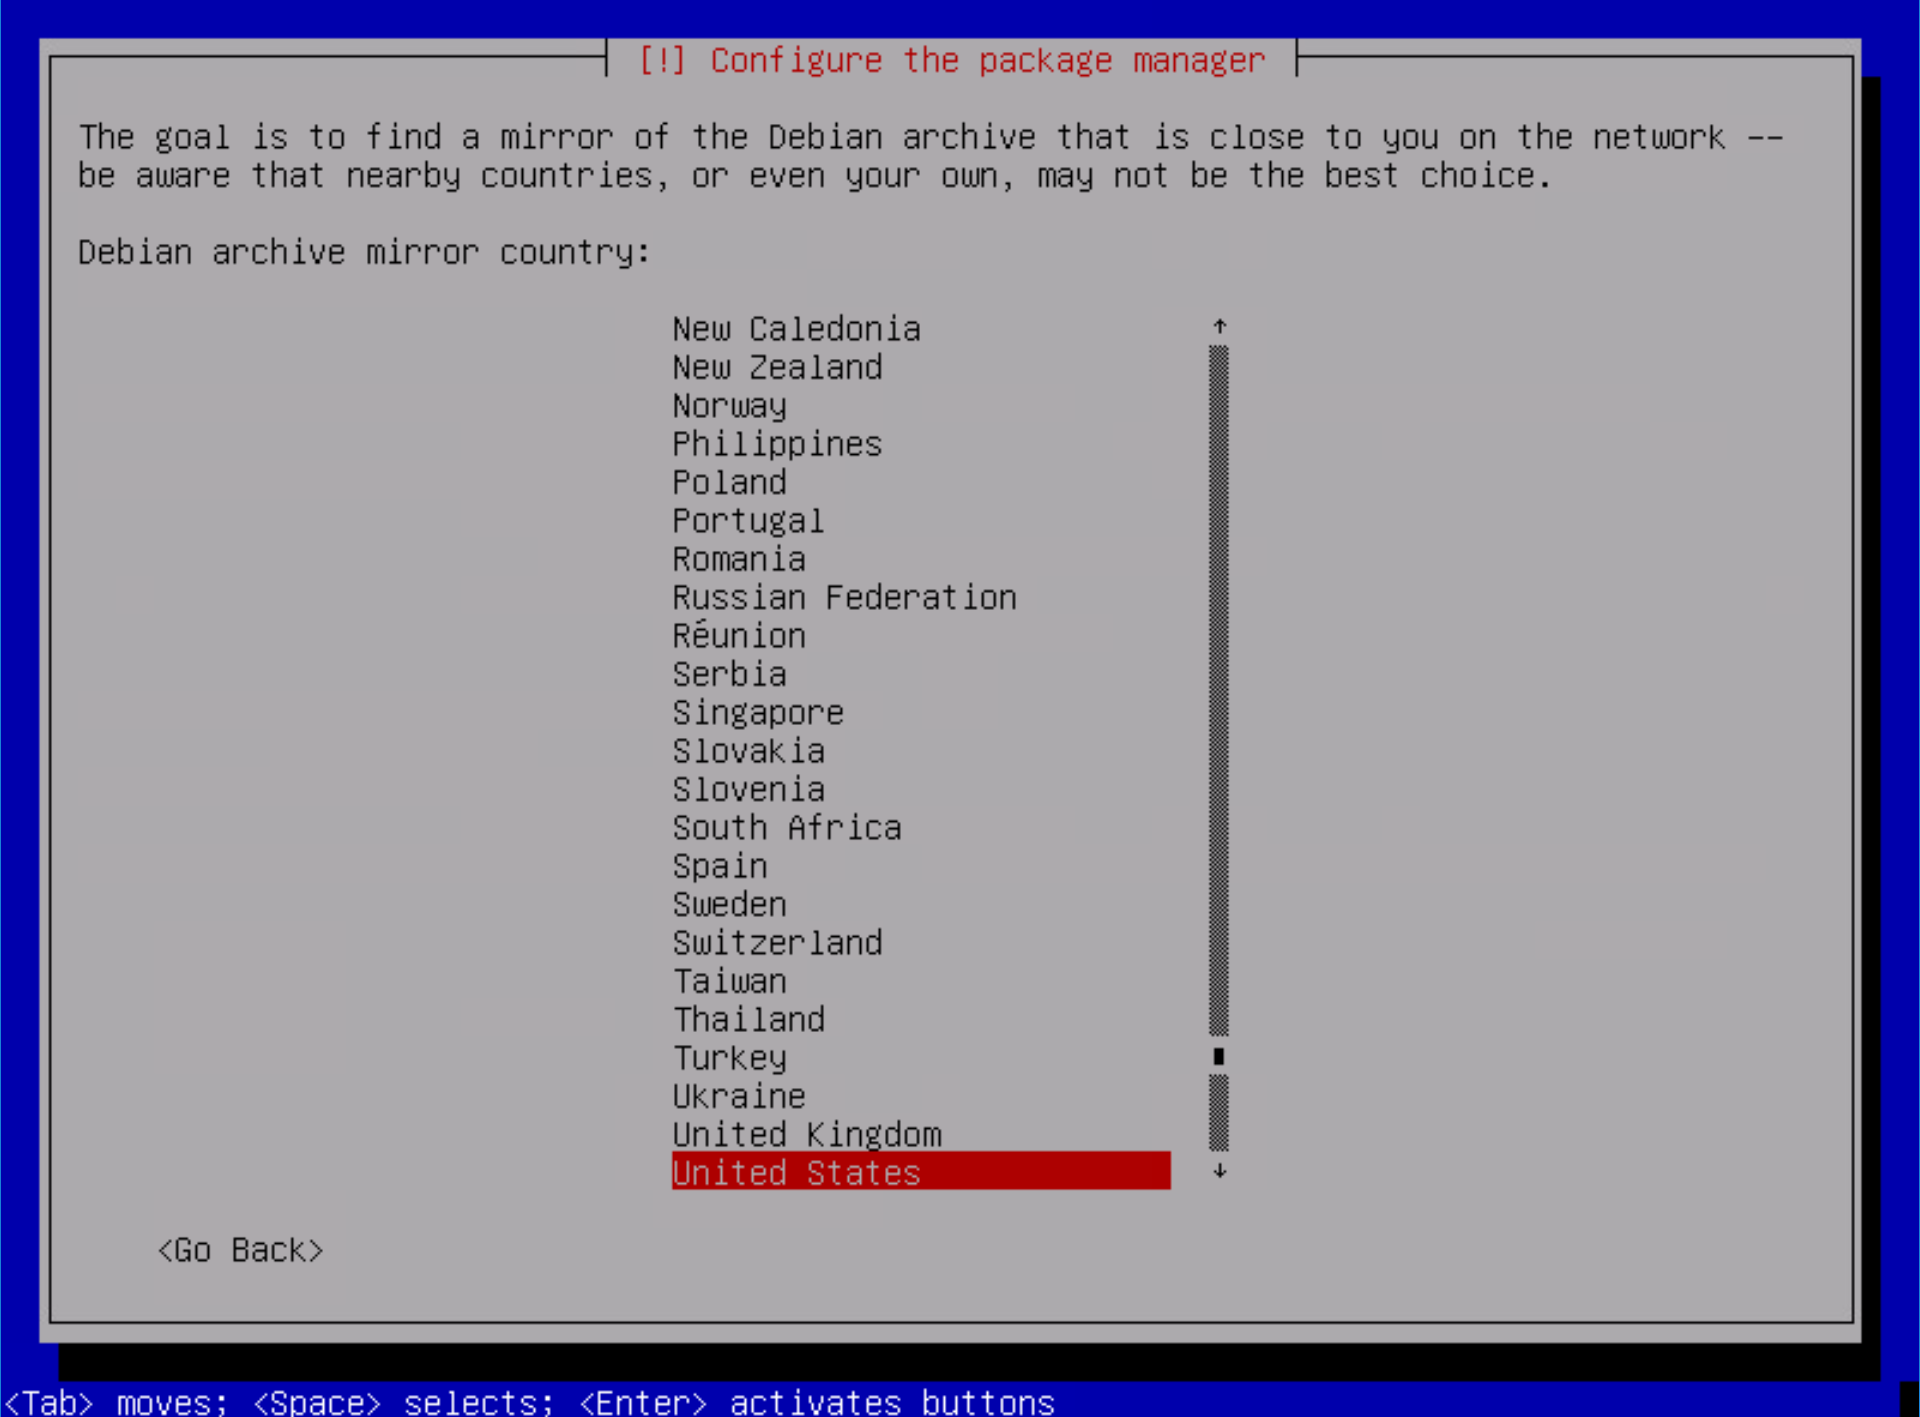
Select the country you would like to use for your package manager mirror:
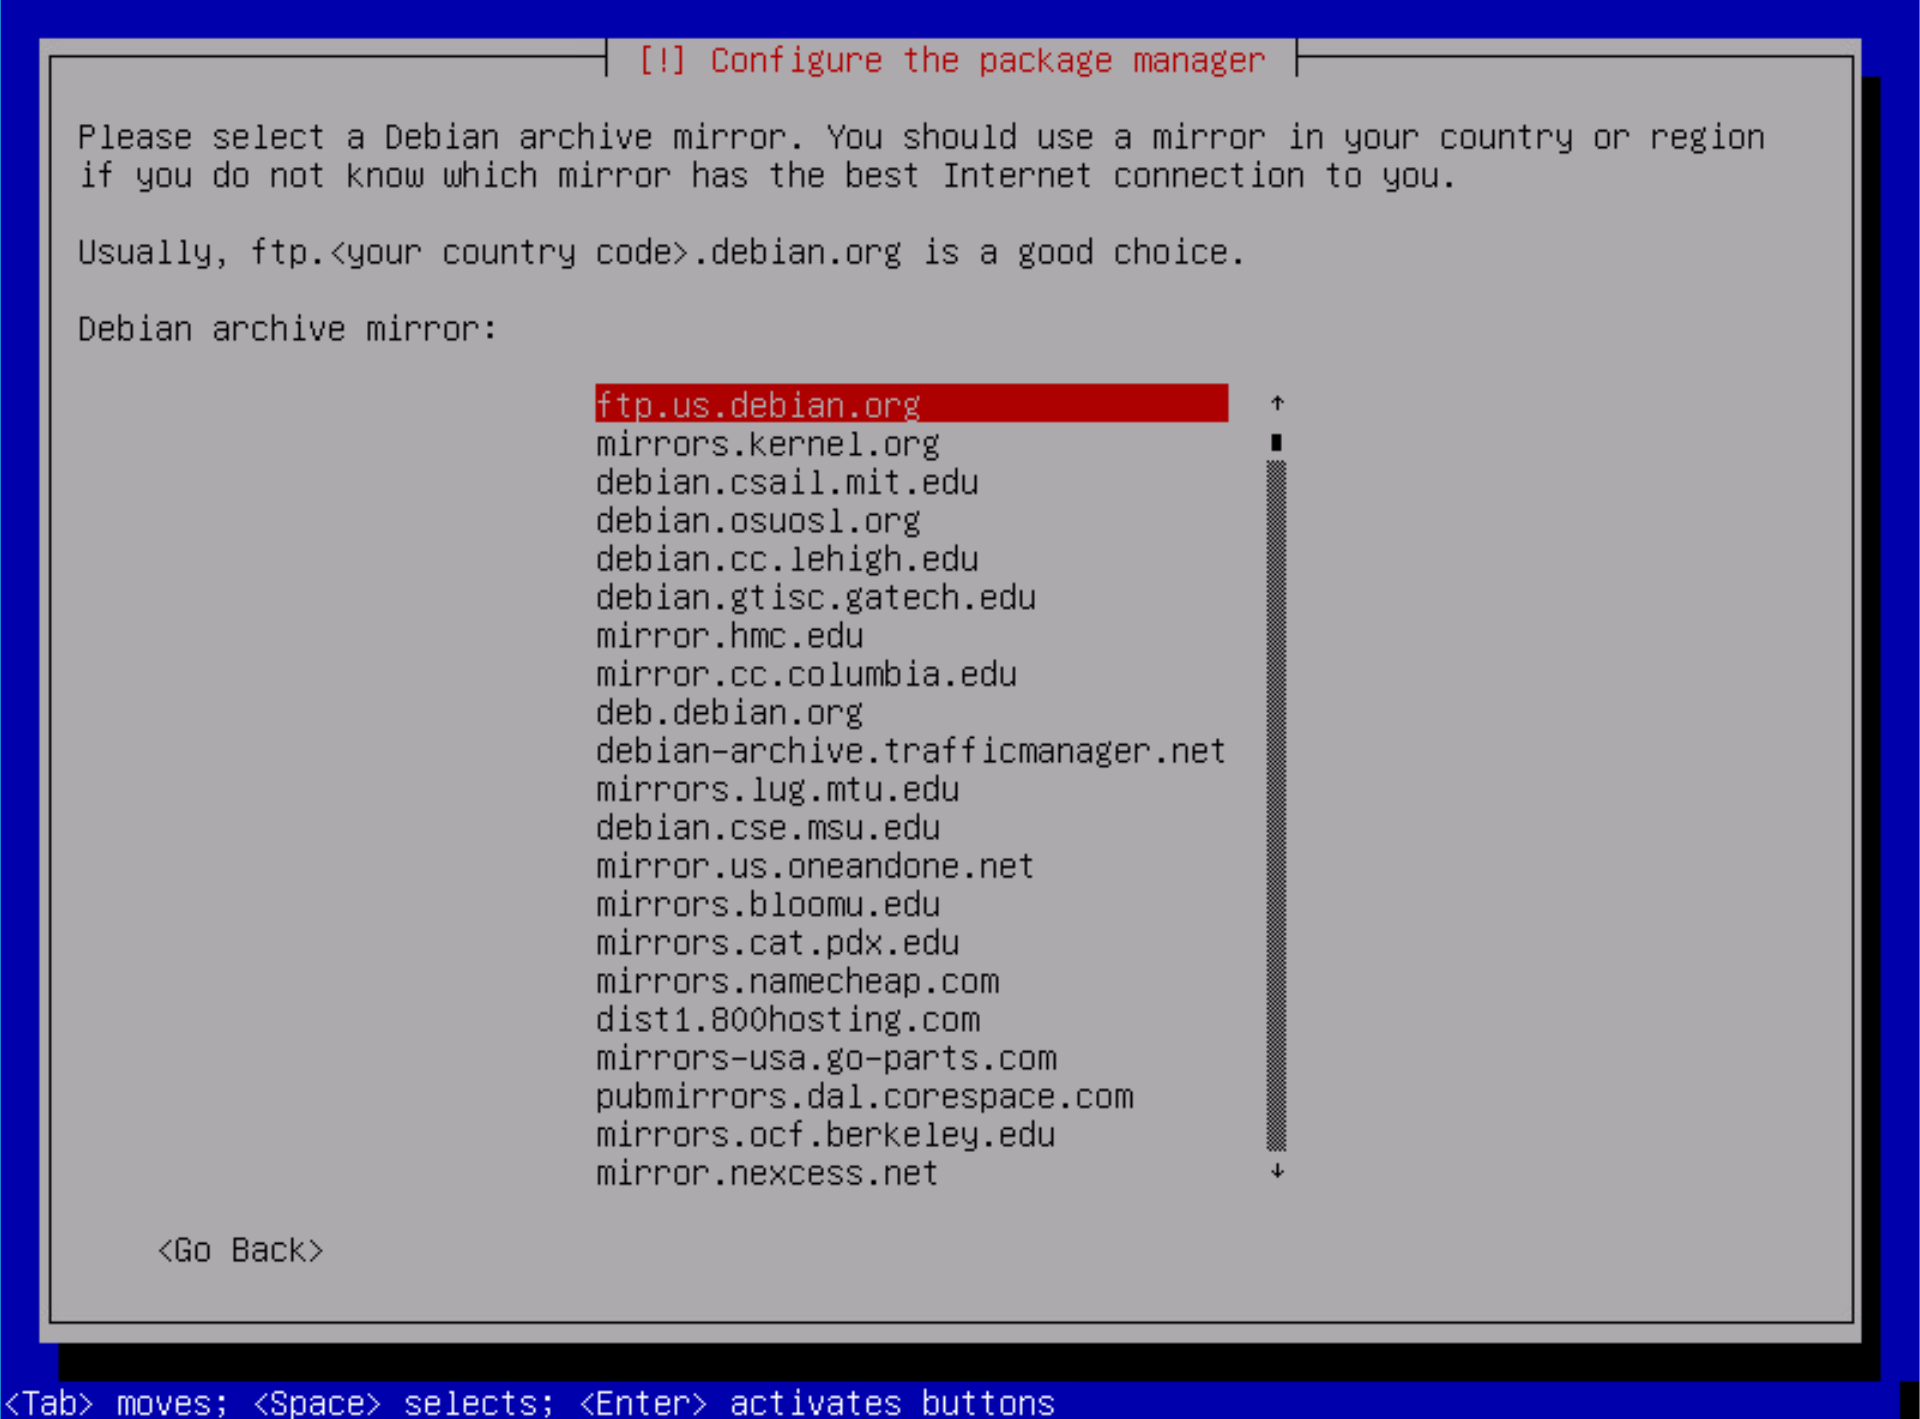
Select your favorite mirror:
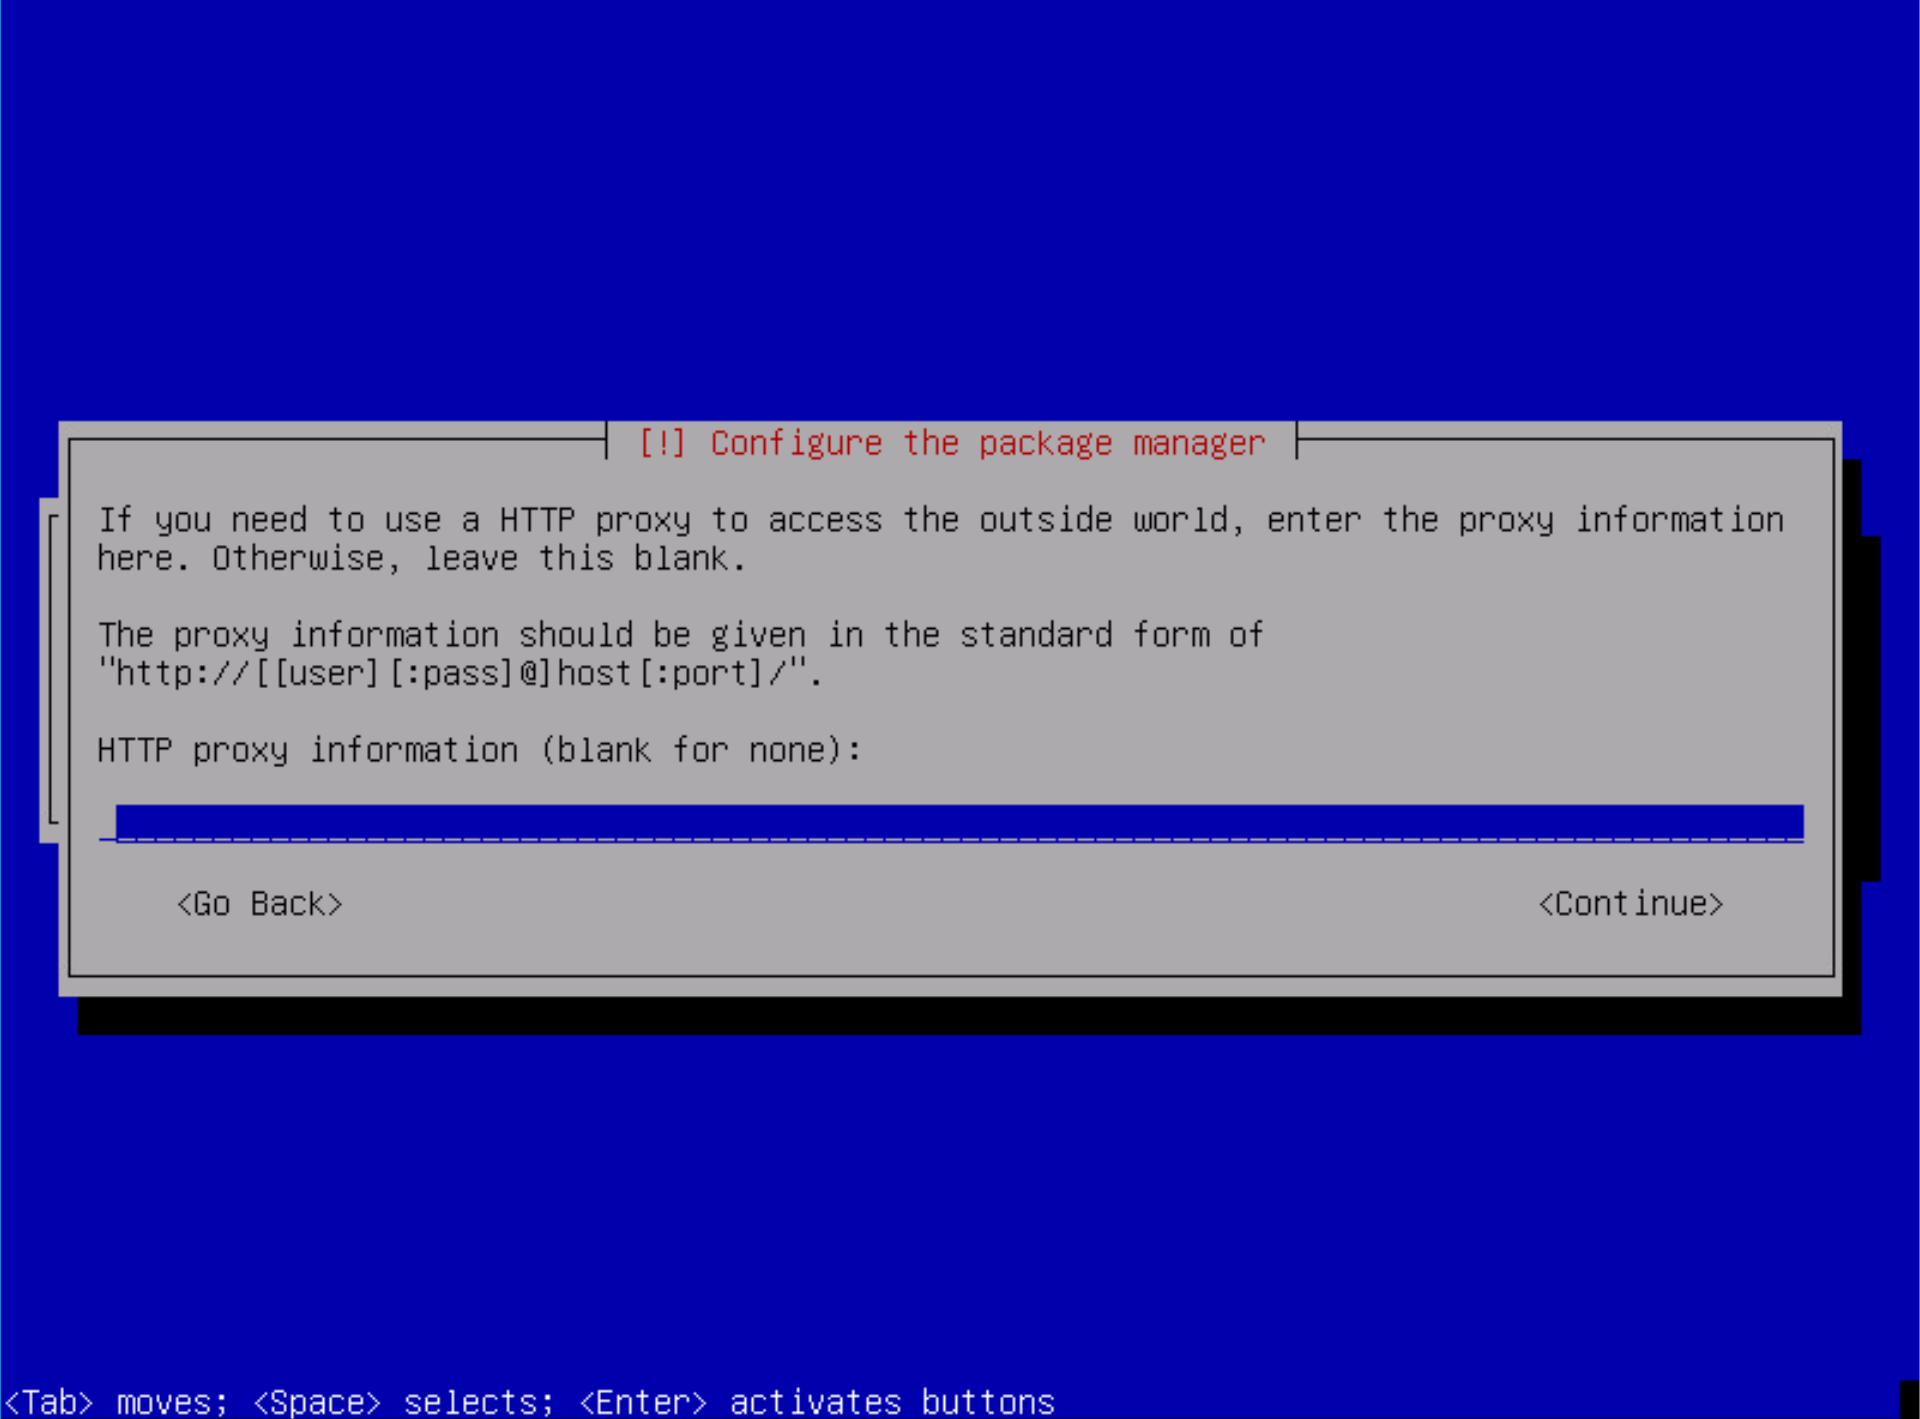
Enter a proxy if you use one in your homelab:
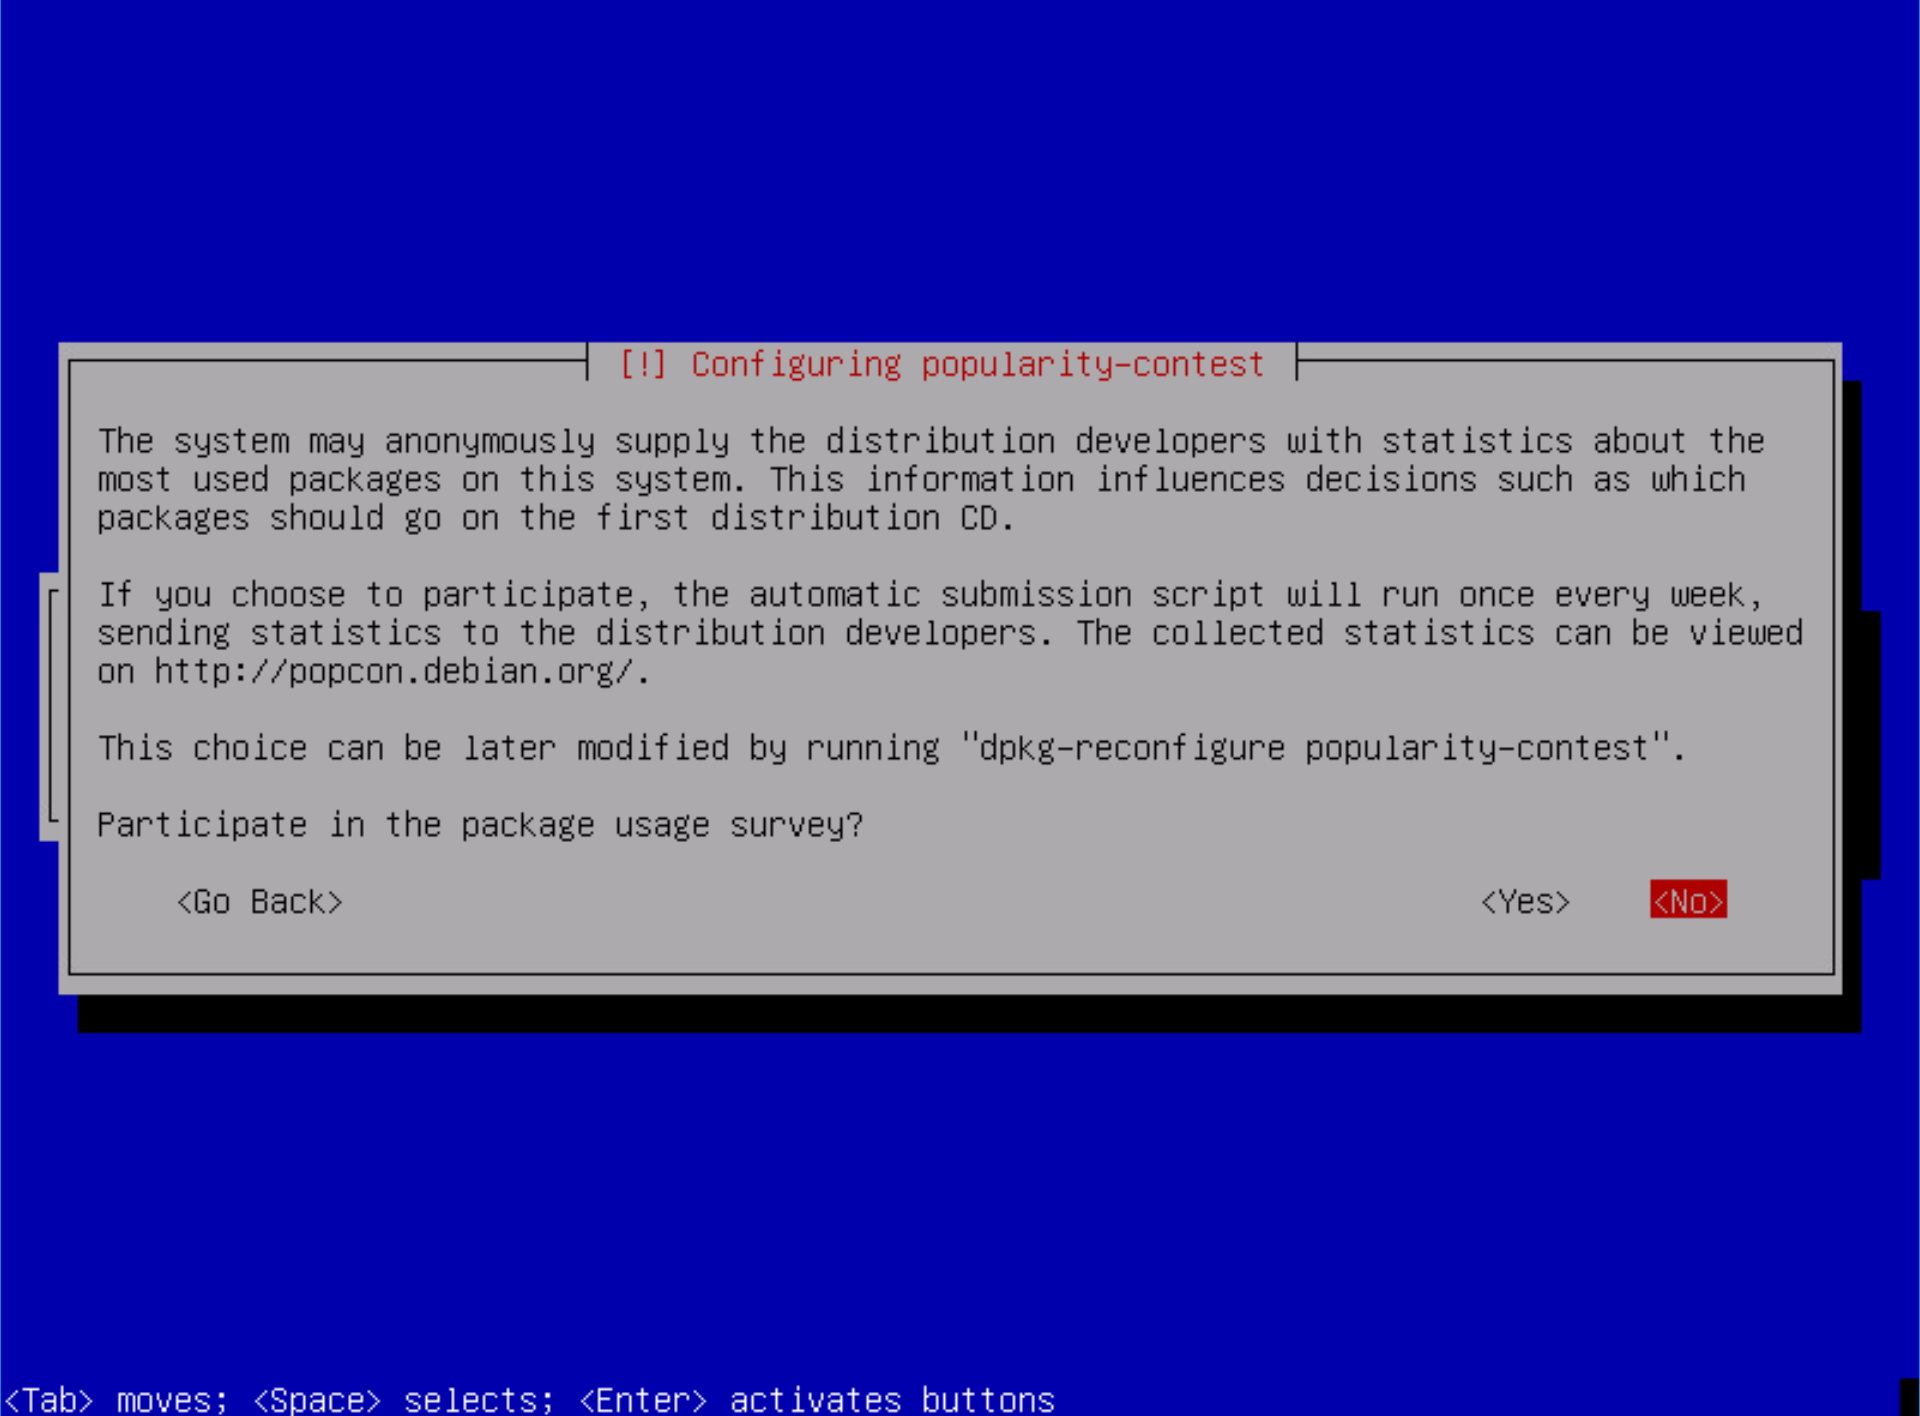
Opt in…or out of the survey:
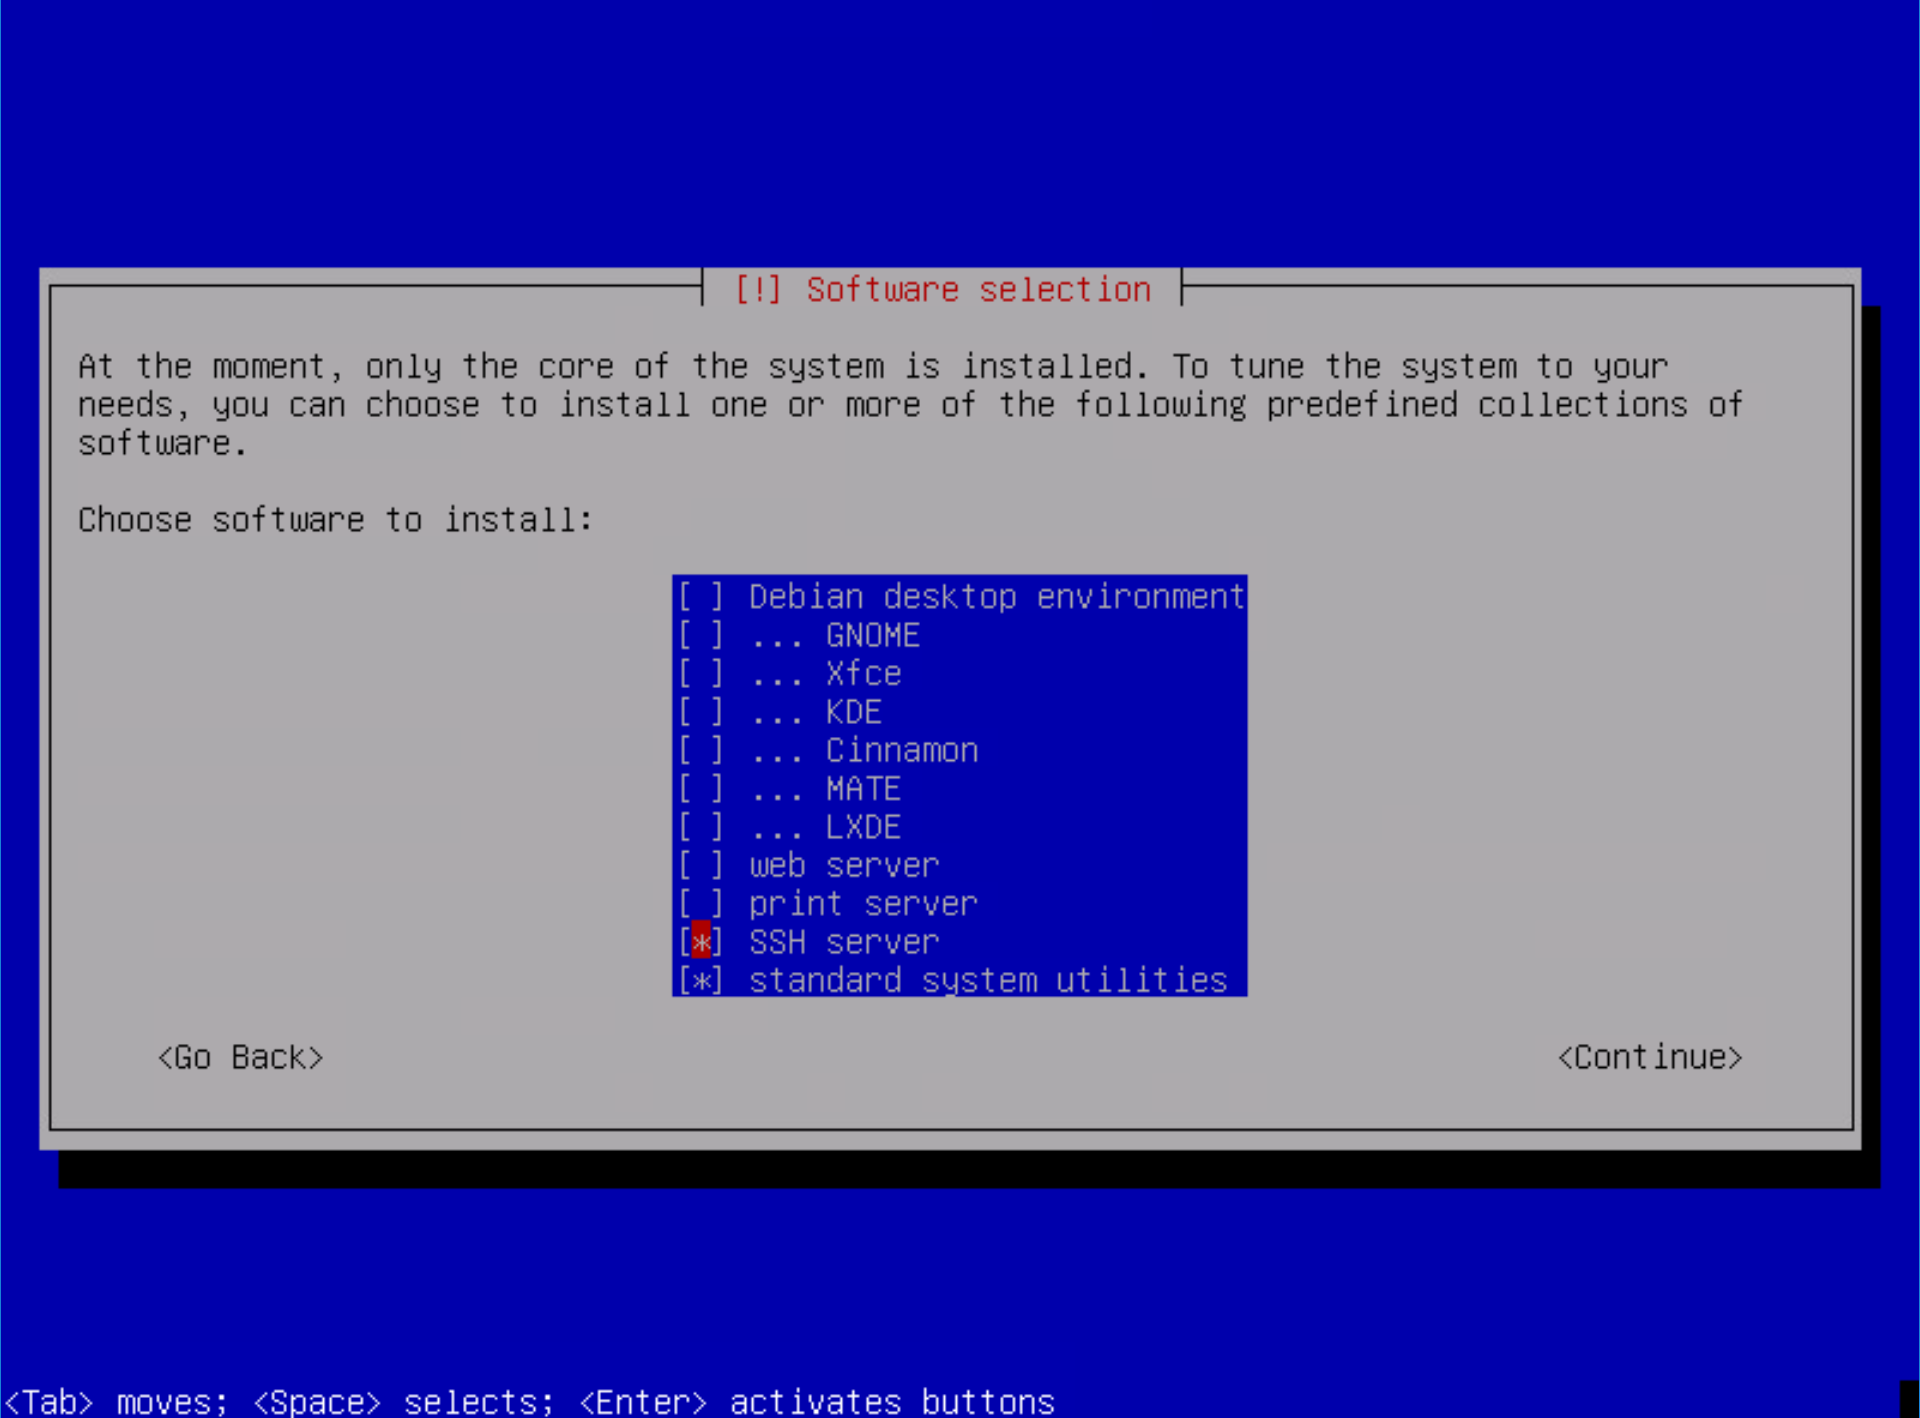
Select SSH and standard system utilities (this will give us a very basic install):
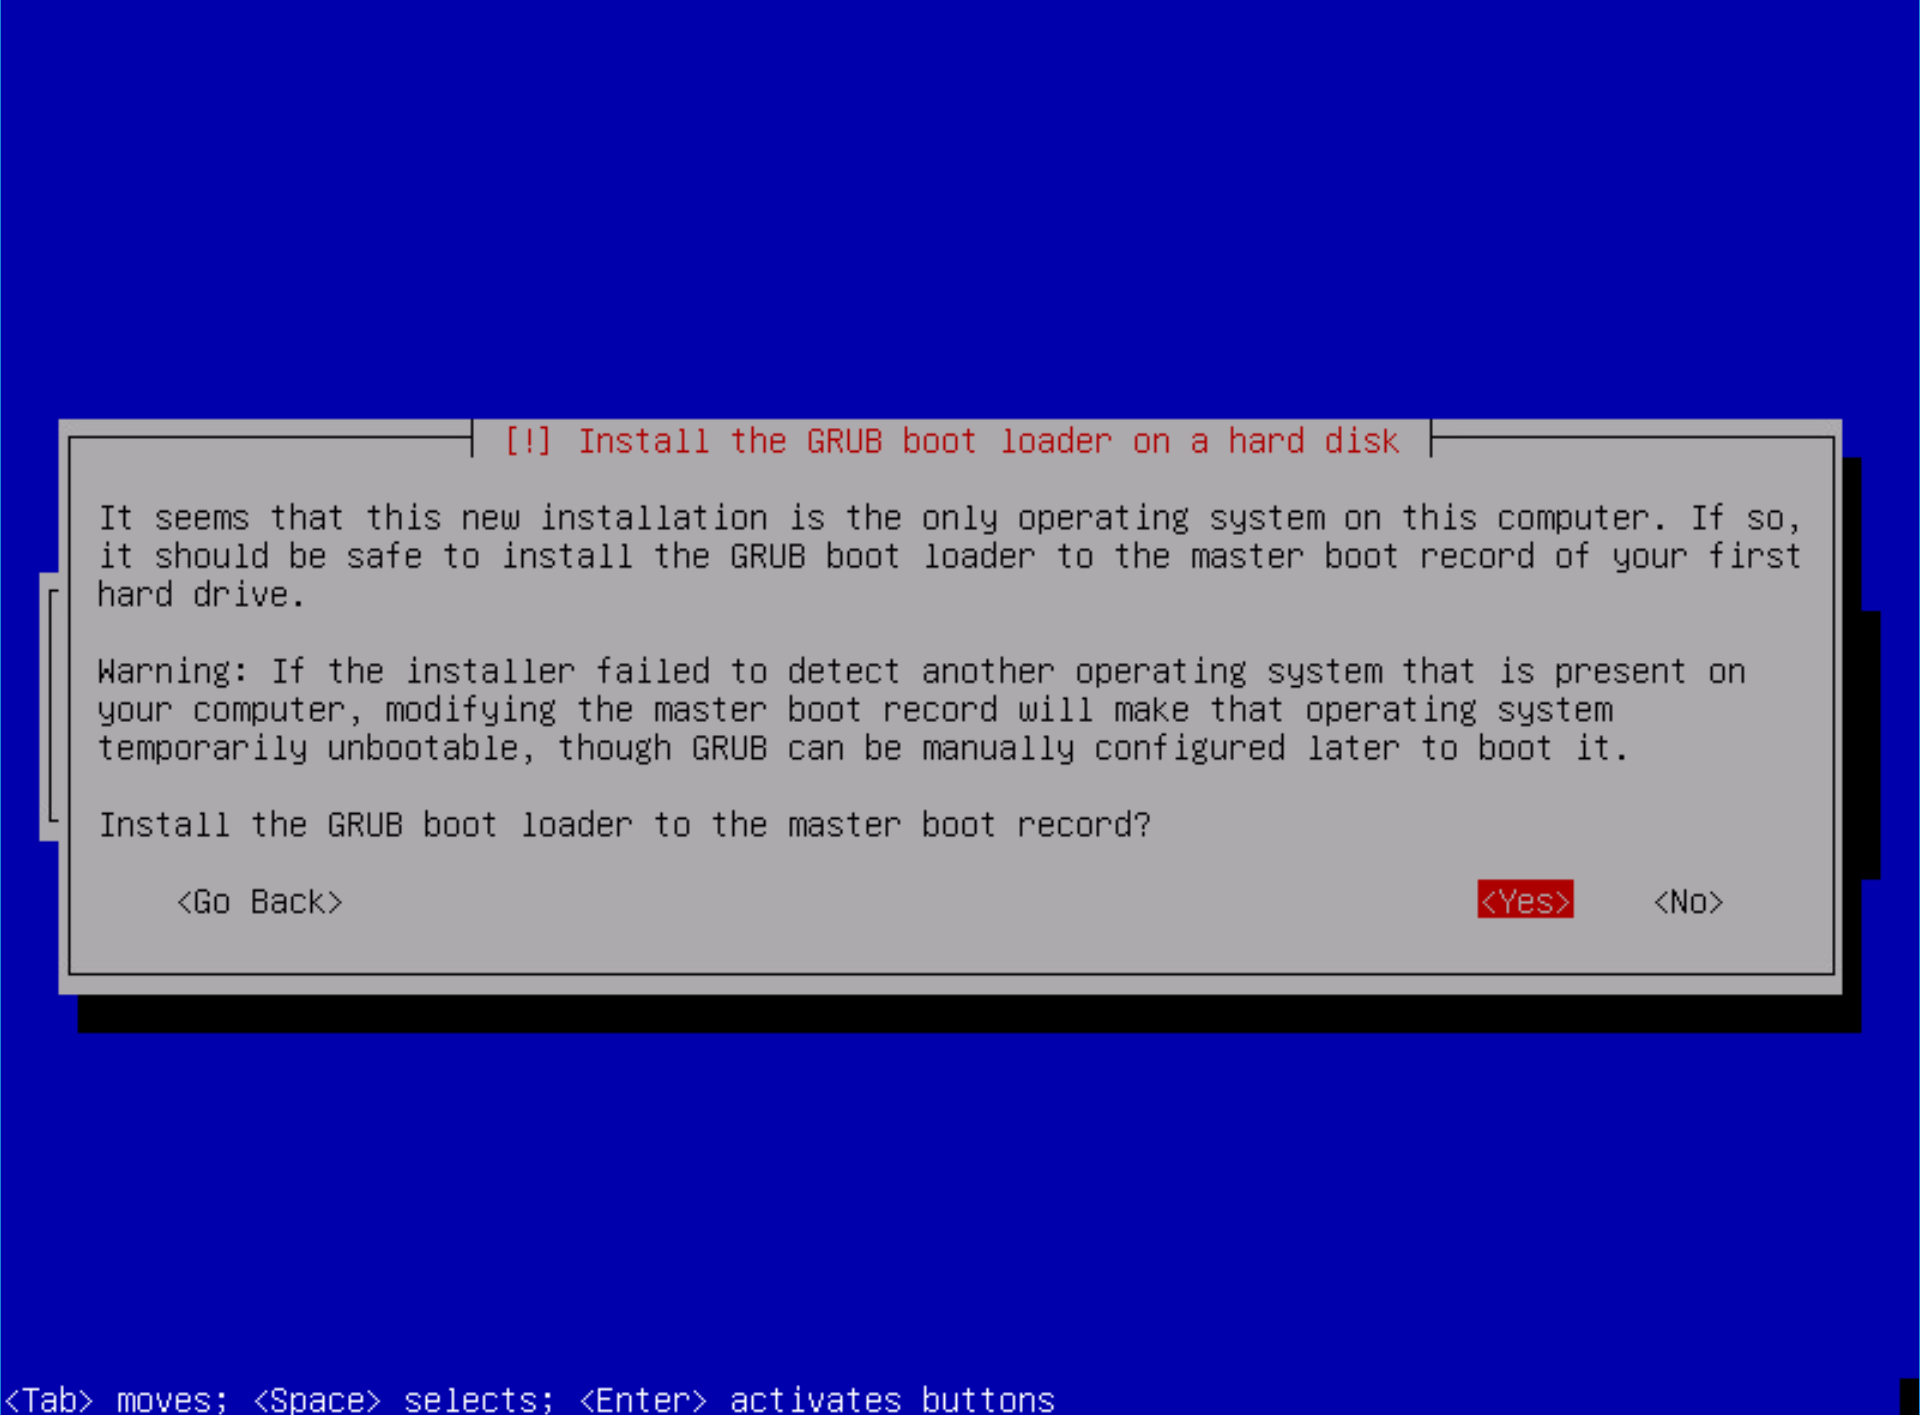
Next, select yes to install GRUB:
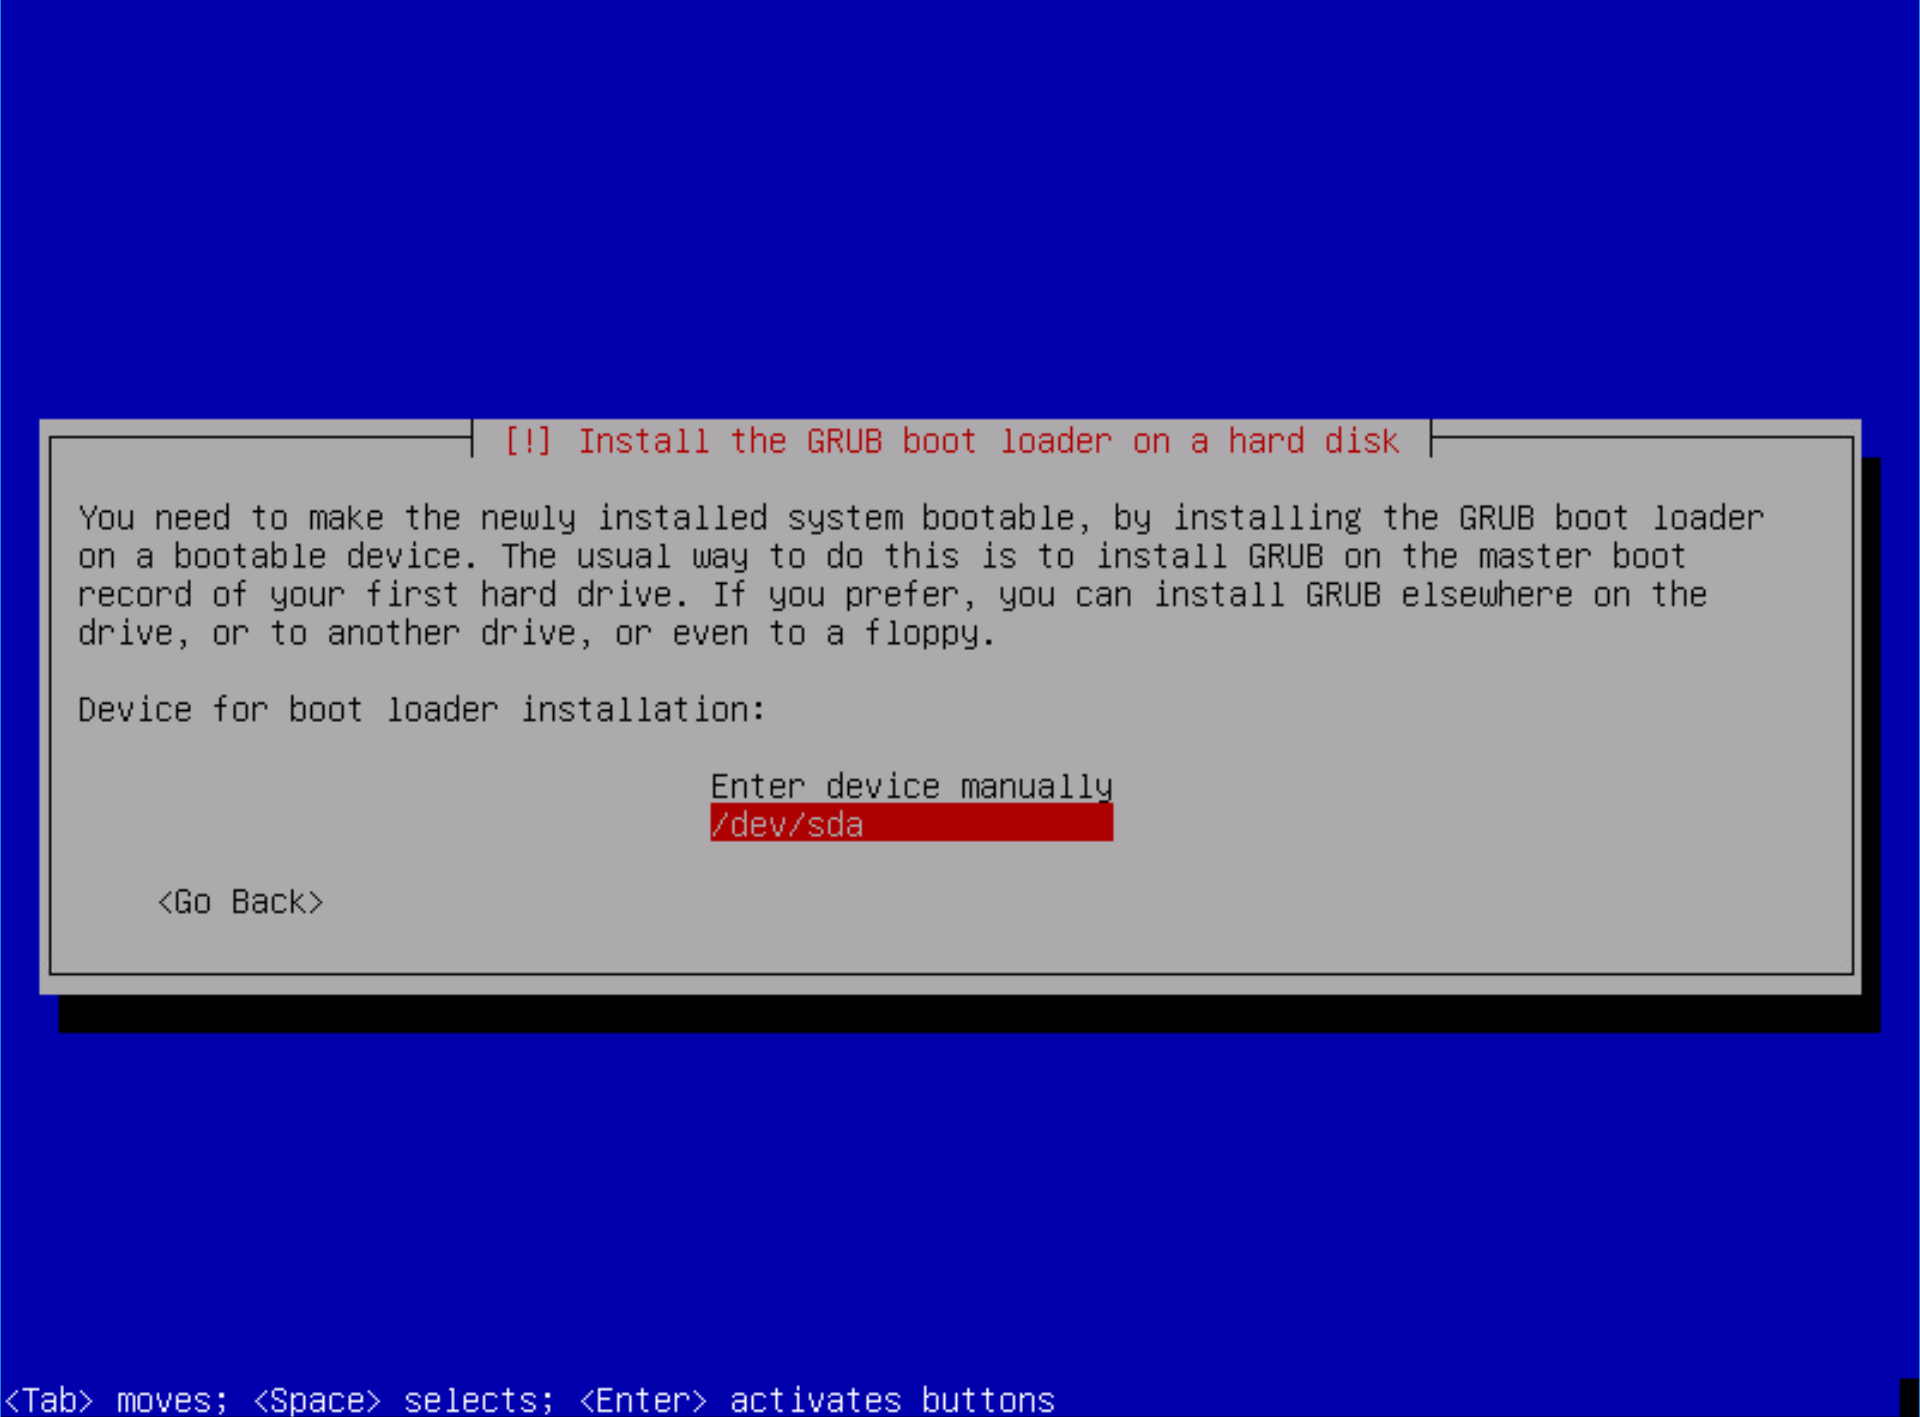
Select the device on which to install GRUB:
Let it go (my kids are really into Disney, so this will be stuck in my head for the remainder of this post):

You have officially installed Debian Linux. Throw some type of small celebration if this is a big deal for you…otherwise proceed to configuration.
Linux Configuration
Before we install Organizr, let’s get our Linux OS configured the way we want it. Basically we will install sudo, change our ssh configuration, and update our network settings. Once we do that, we’ll be ready to install Organizr.
Install sudo
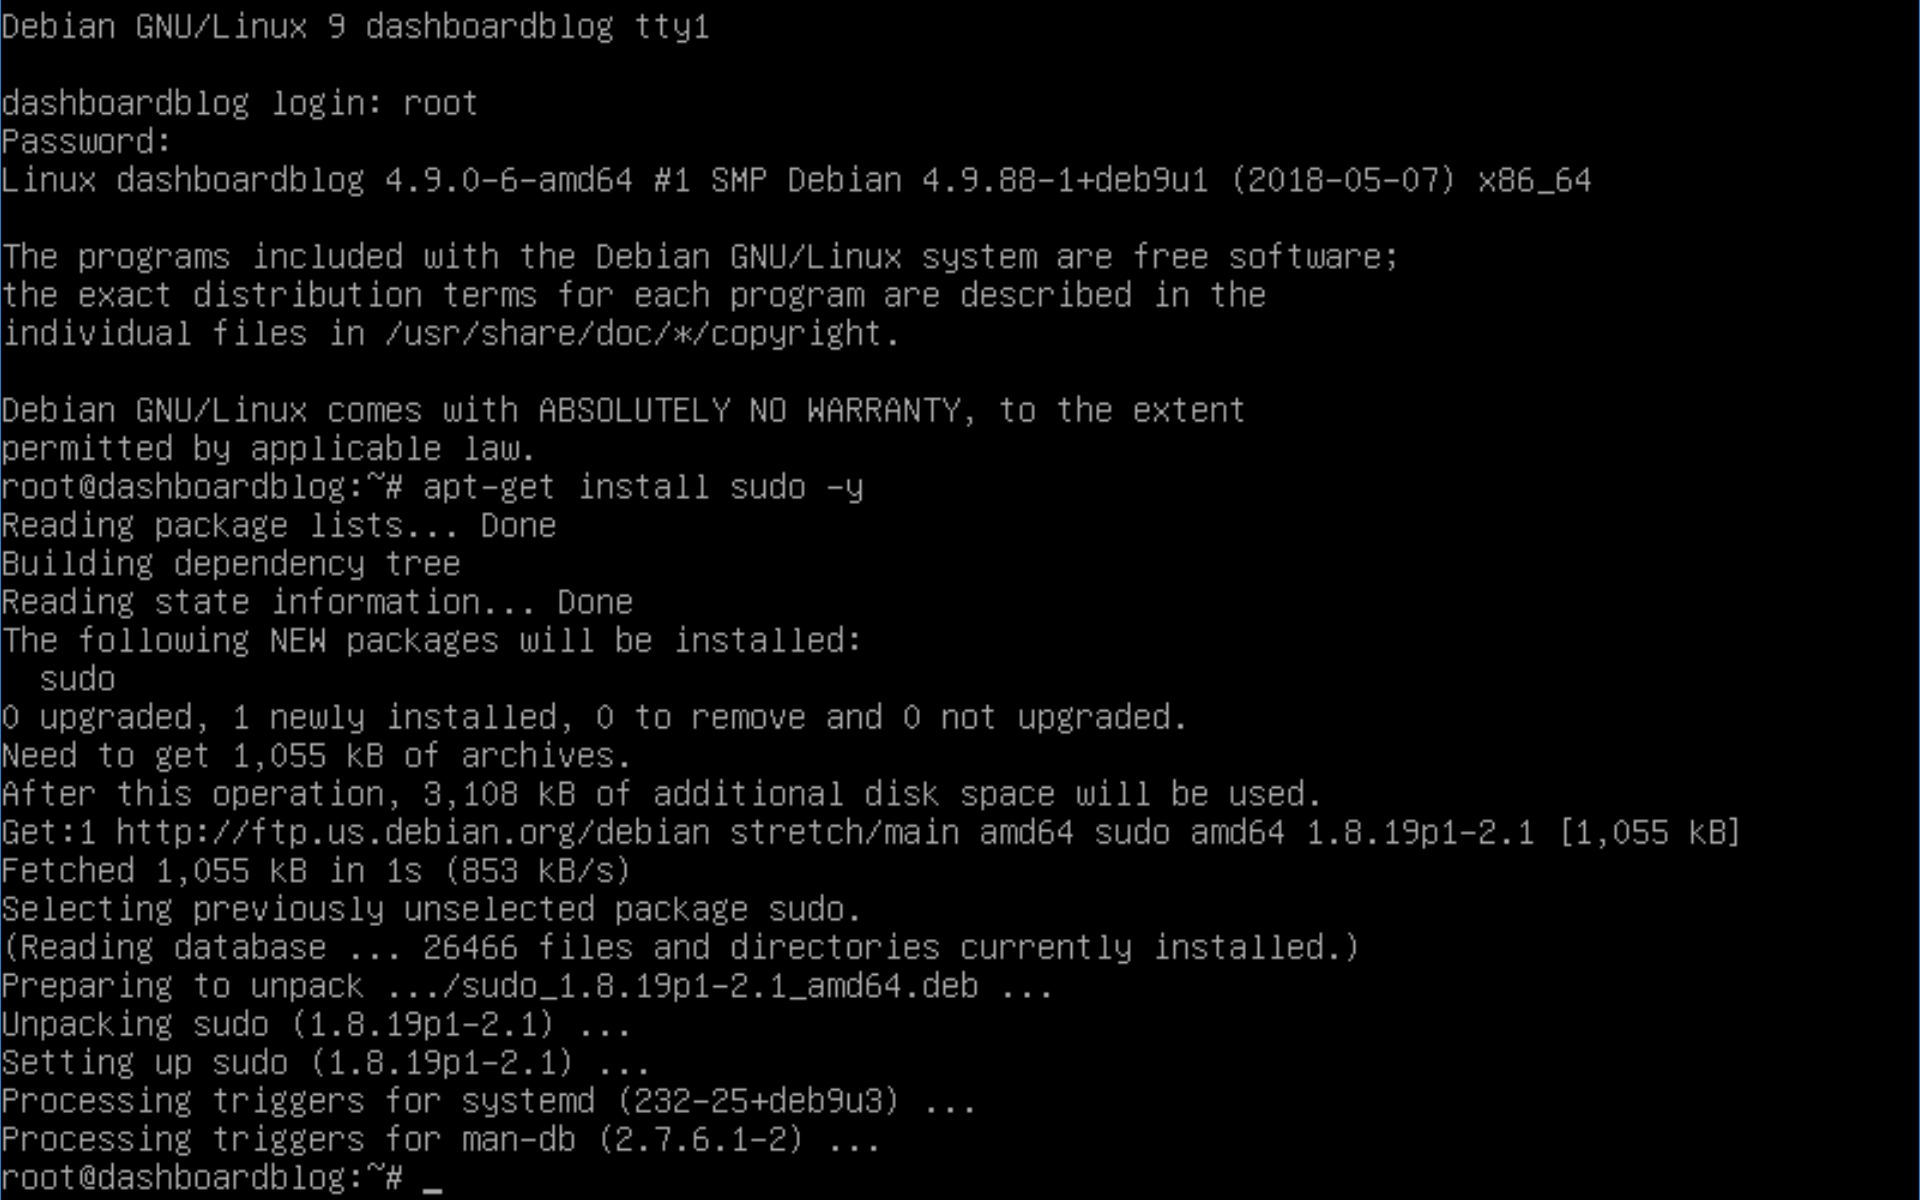
Log into your system as root and issue this command:
apt-get install sudo -y
Which should look something like this:
Sudo
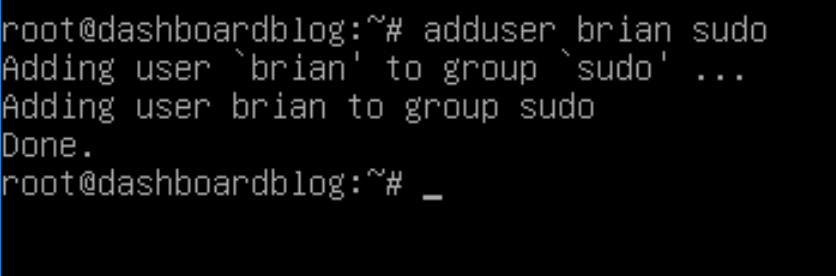
Rather than using our root username and password with SSH, we’ll grant the user that we created during our Linux installation access to sudo. Sudo essentially executes a single command as root. Here’s the command:
adduser brian sudo
This should look like this:
Update Network Configuration
Now we are ready to change our network settings. By default, everything is set to use DHCP. In my lab, everything has a static IP, so this system will be no different. Issue this command:
nano /etc/network/interfaces
Change the adapter to auto (ens192), change from dhcp to static, and enter your network information (address, netmask, and gateway):
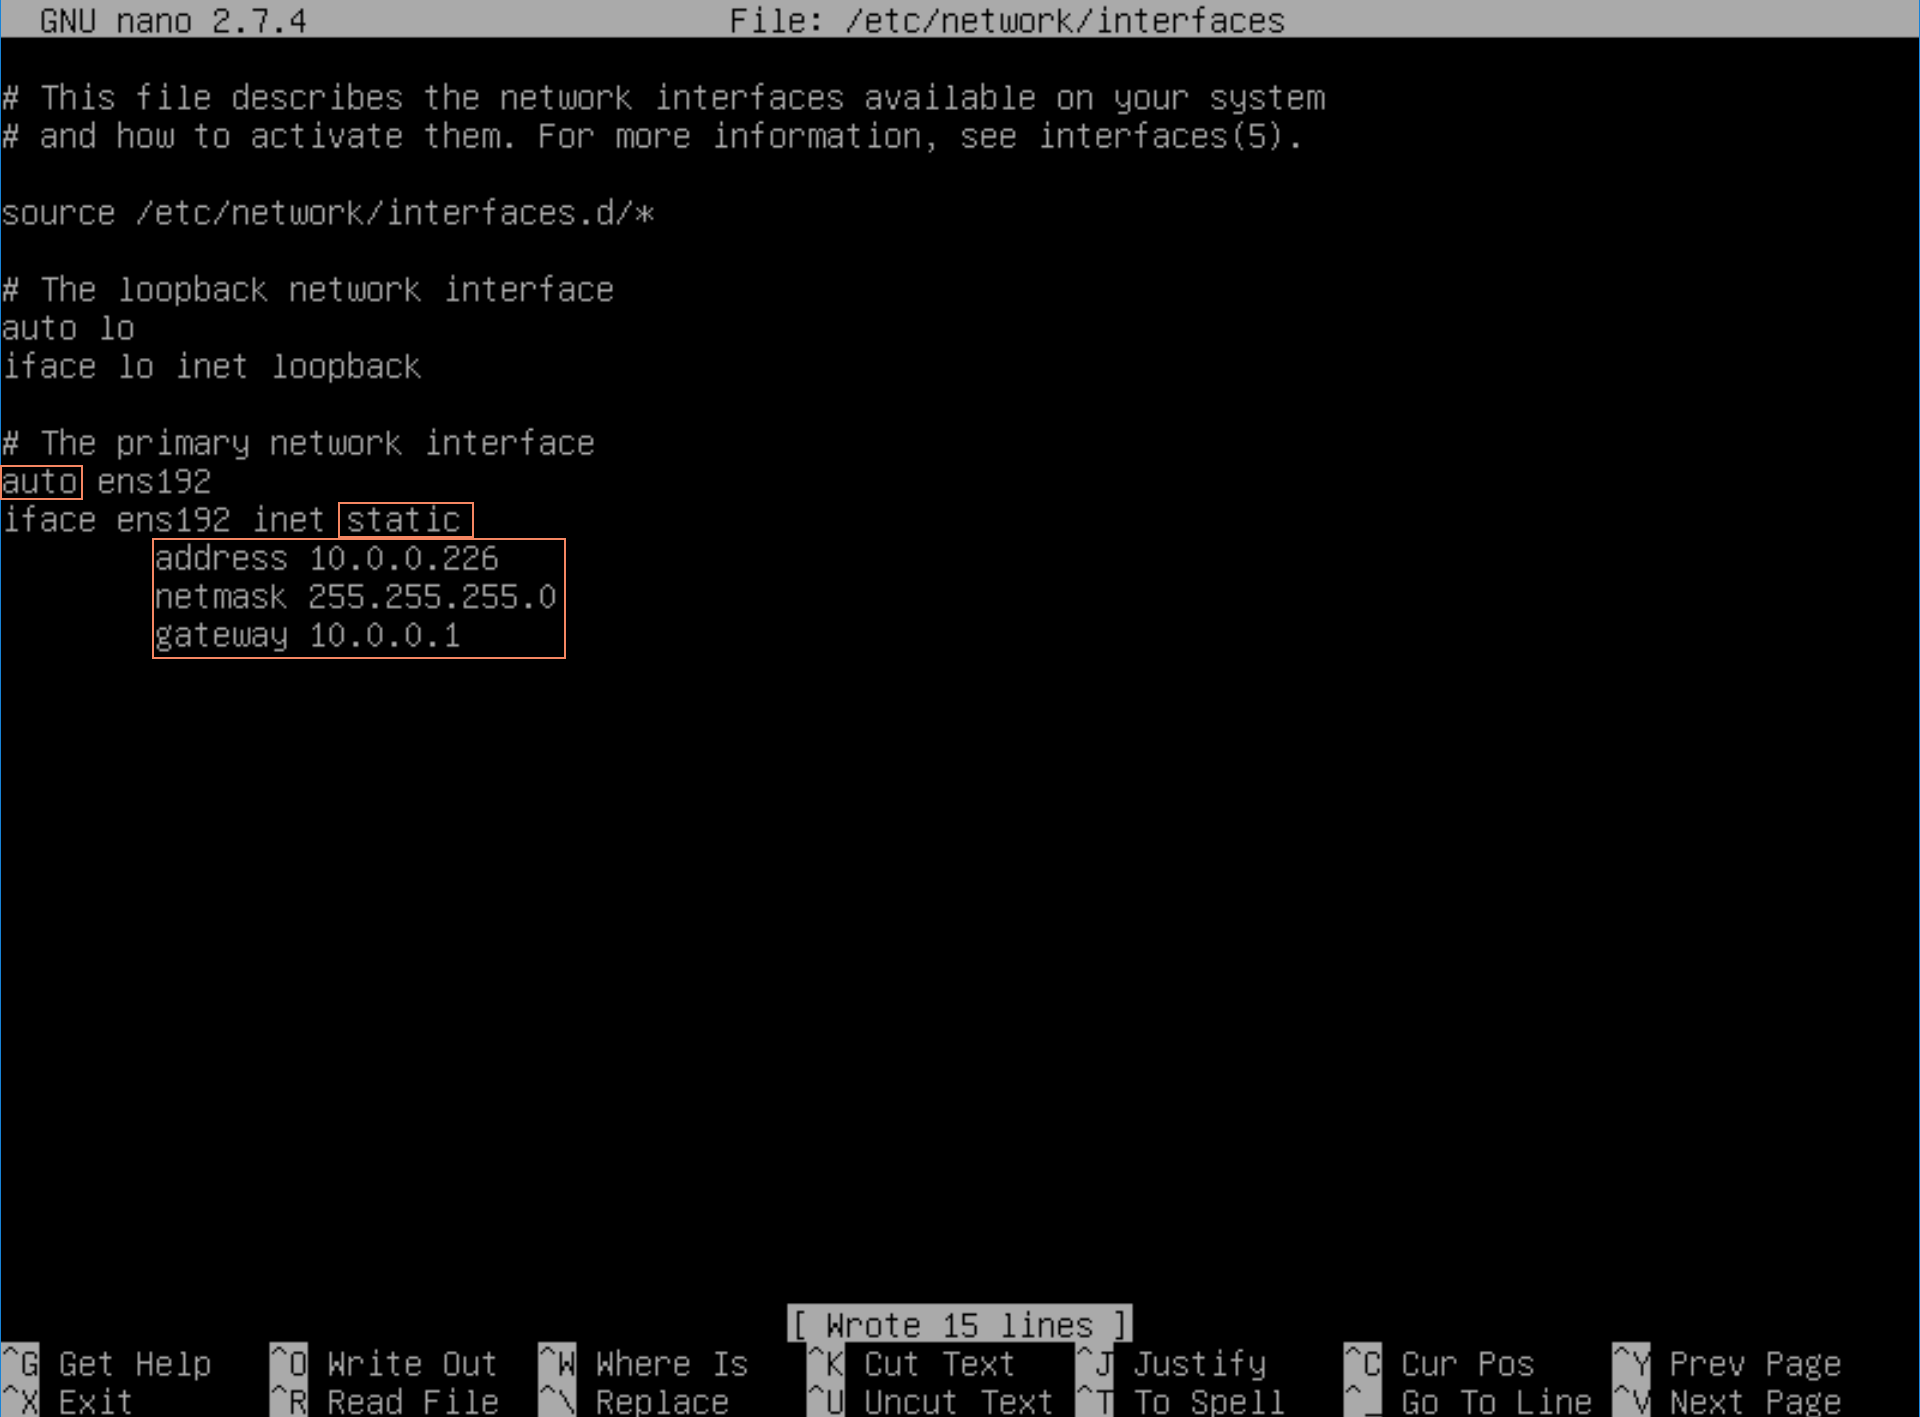
Hit control-o to save the changes and control-x to exit nano.
Now let’s restart our network services by issuing this command:
service networking restart
Oranizr Pre-Requisites
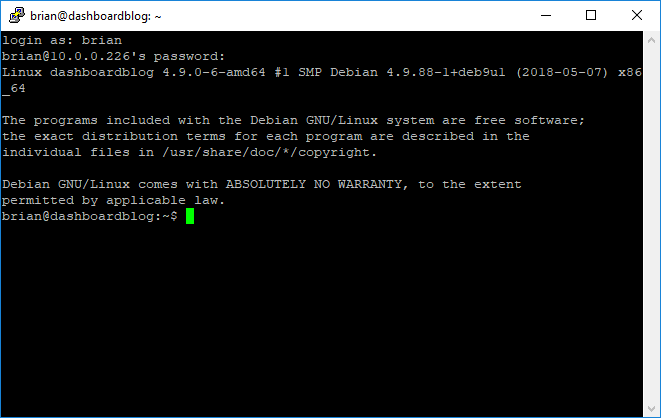
Organizr has very few pre-reqs. But, let’s get everything ready. I’m switching from the console now over to PuTTY. If you aren’t familiar with SSH, PuTTY is the easiest way to connect to your server. You can download it here:
https://www.chiark.greenend.org.uk/~sgtatham/putty/latest.html
Once you have PuTTY installed, you can connect to your new Linux box using our user account:
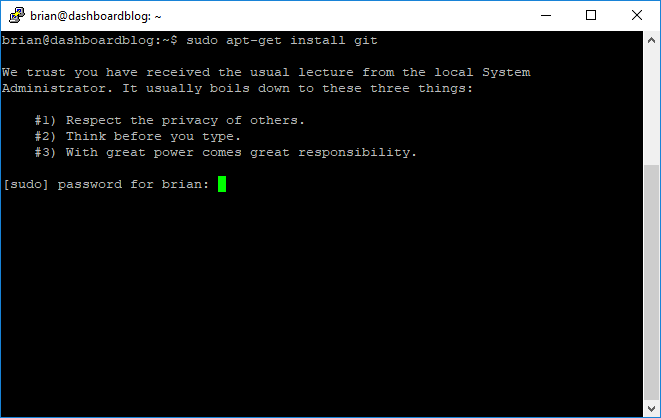
Now that we are connected, we can install git:
sudo apt-get install git
Notice that we are prompted for our password:
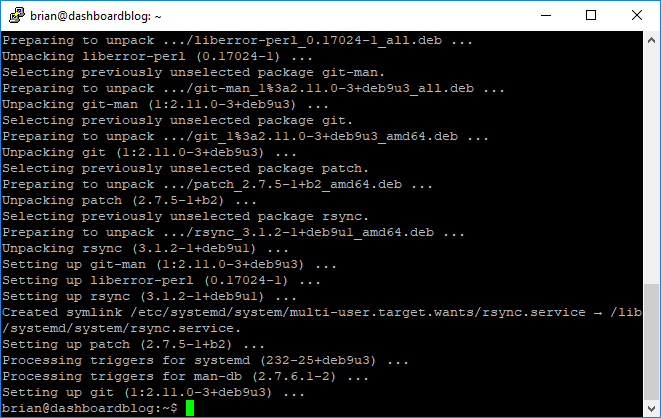
Now we should see this:
Installing Organizr
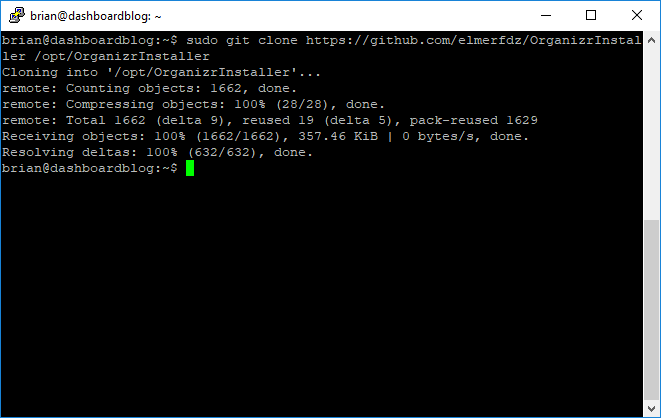
We can now finally begin the installation of Organizr. We’ll start by cloning the git repository:
sudo git clone https://github.com/elmerfdz/OrganizrInstaller /opt/OrganizrInstaller
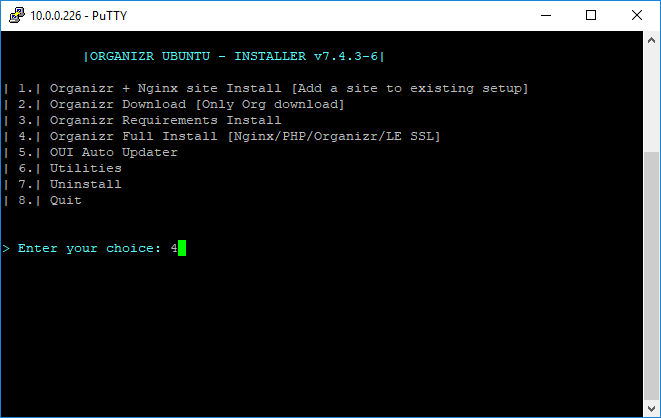
Now we will go into the proper directory and start the installer:
cd /opt/OrganizrInstaller/ubuntu/oui
sudo bash ou_installer.sh
The installer will start up and we can select option 4, which will install everything:
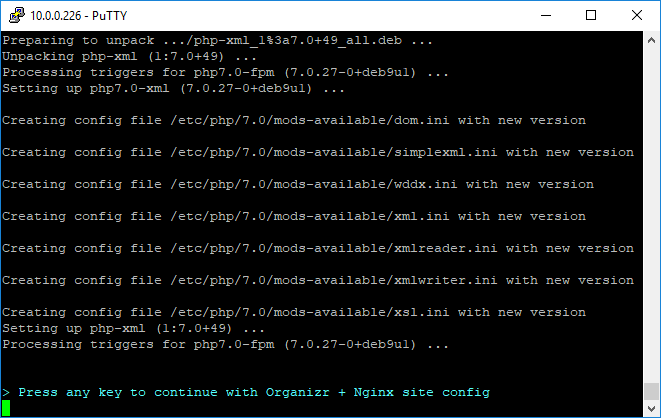
The installer will now download everything and prompt you to continue:
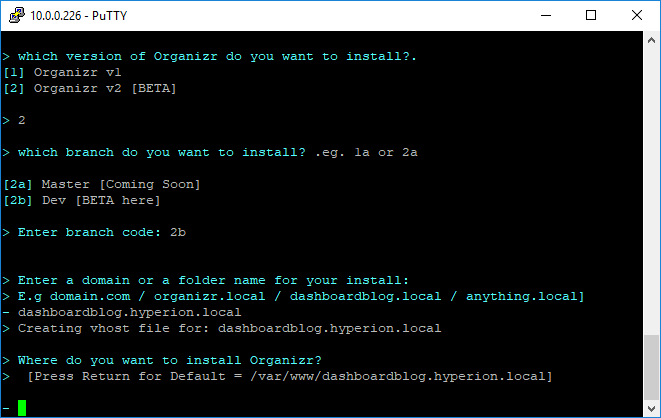
Now we can select our version of Organizr (2 for the beta), which branch to install (2b, since this is a beta), a domain name and directory:
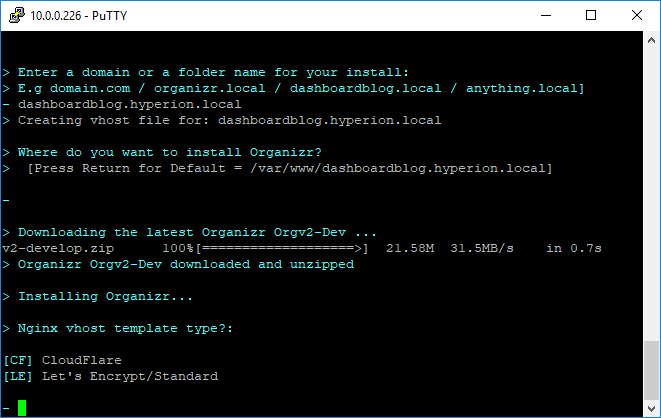
Finally the installer will download the beta and install everything. When prompted for the Nginx vhost template type… I just hit enter:
Assuming everything completed successfully, we’re all done:
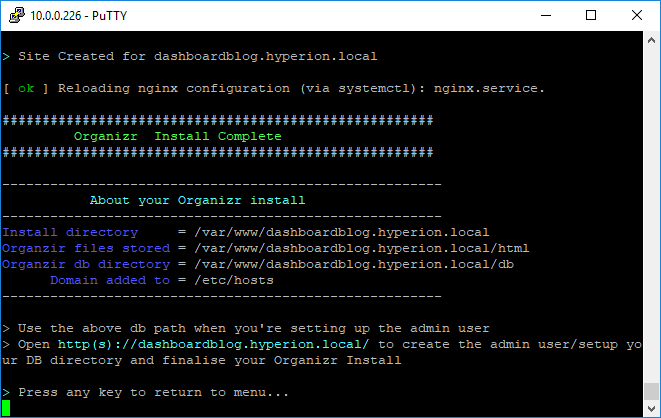
Now we can visit our freshly created Organizr site to complete our configuration.
Organizr Configuration
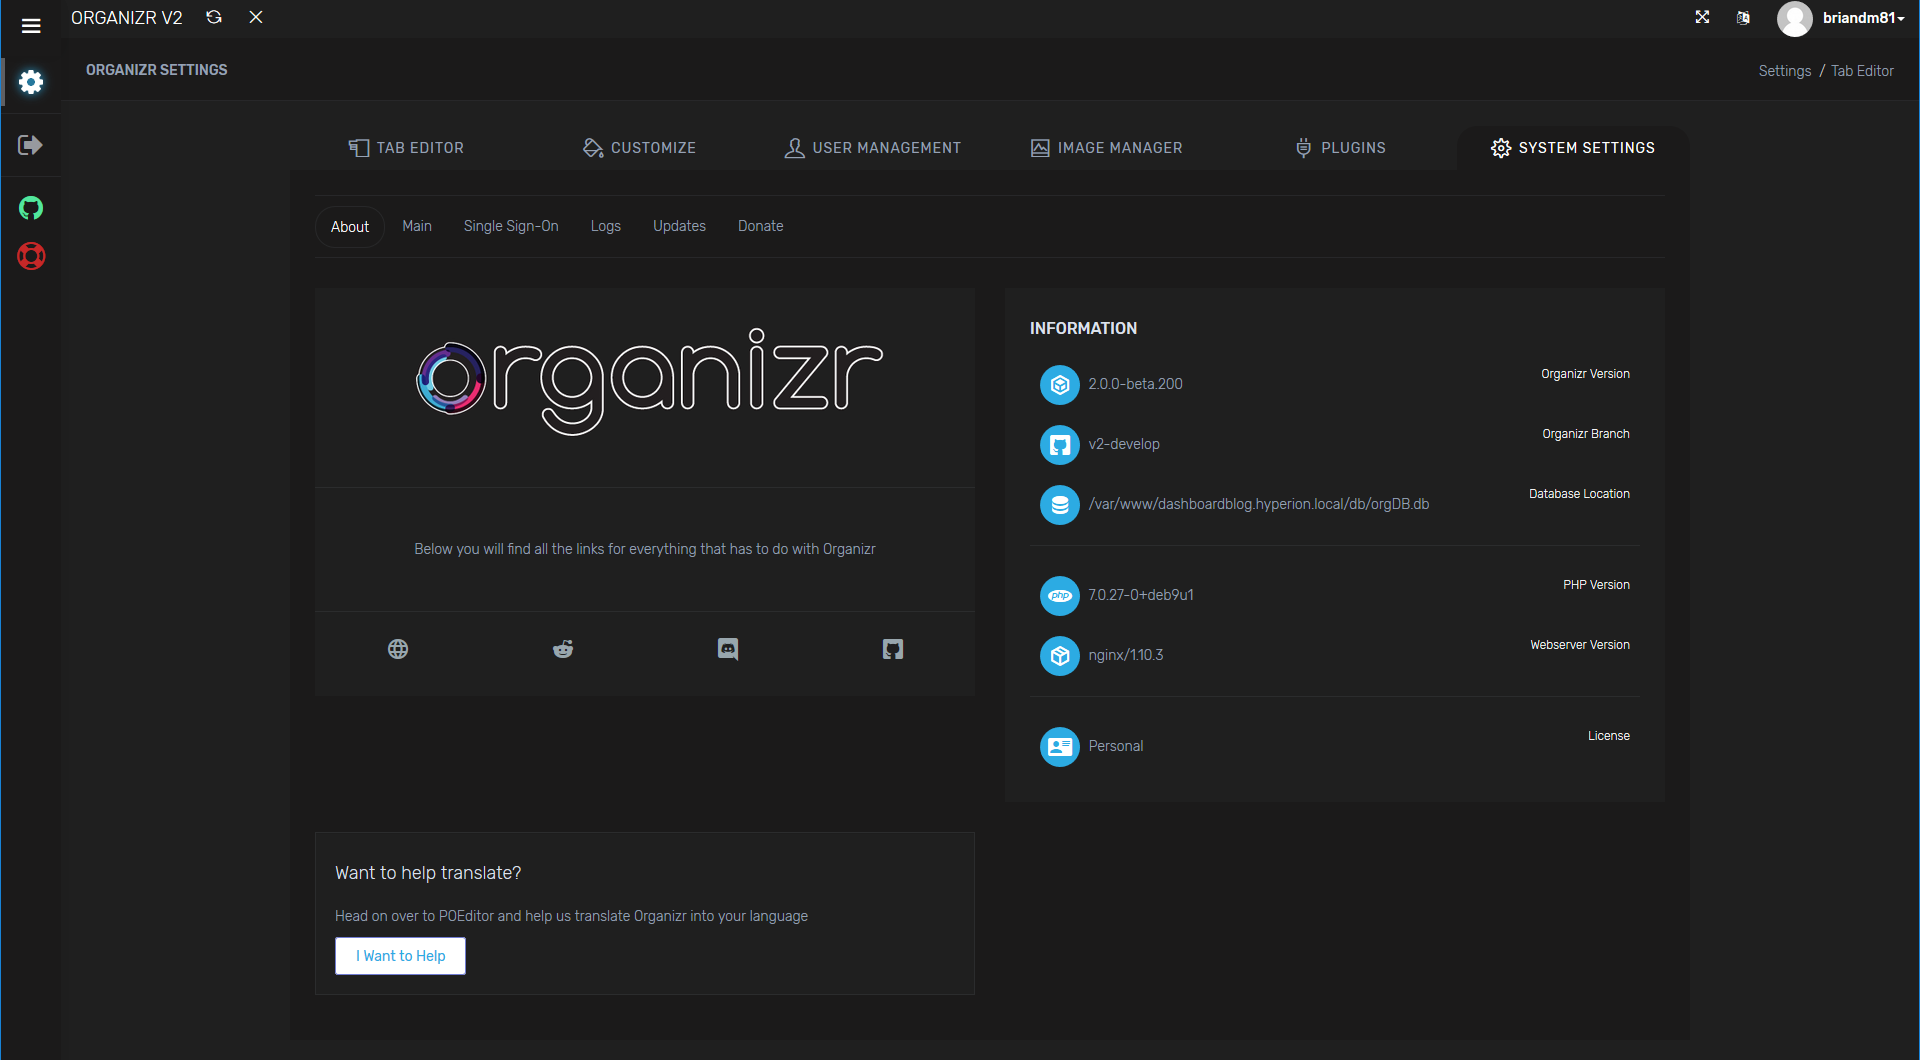
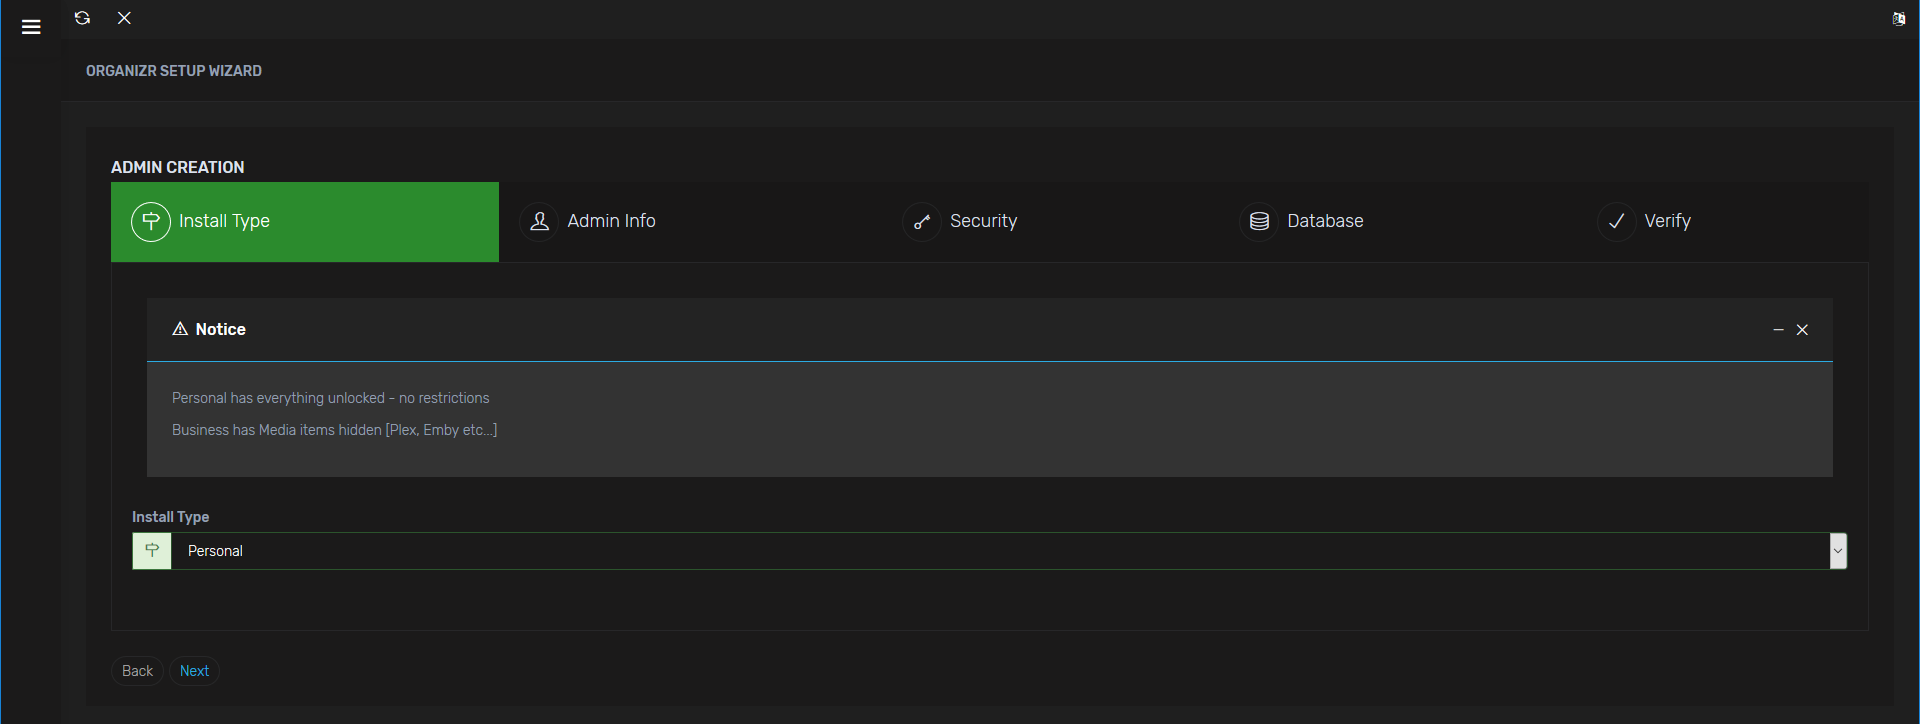
Once again, assuming everything has gone well, we are ready to configure Oranizr. First we’ll select a license type. This is new and tells me that the Organizr team has their sites set on a wider audience in the future. Very interesting…and could be great for the project. So I selected Personal:
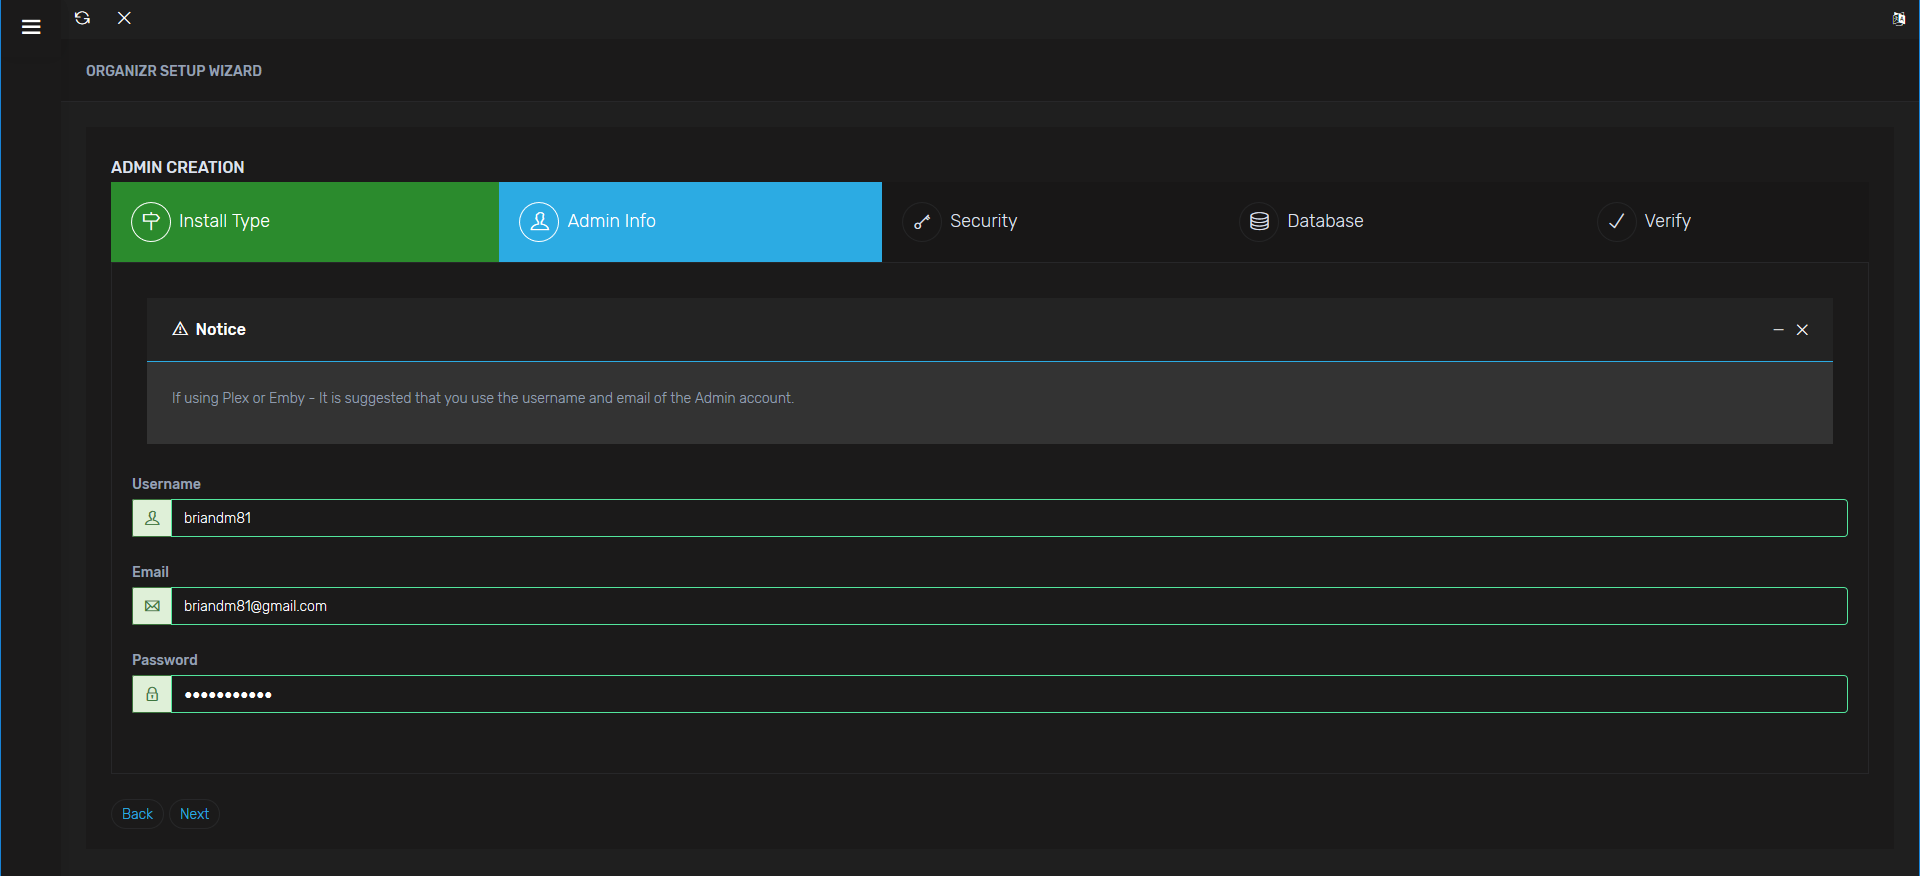
I entered my username, e-mail, and password:
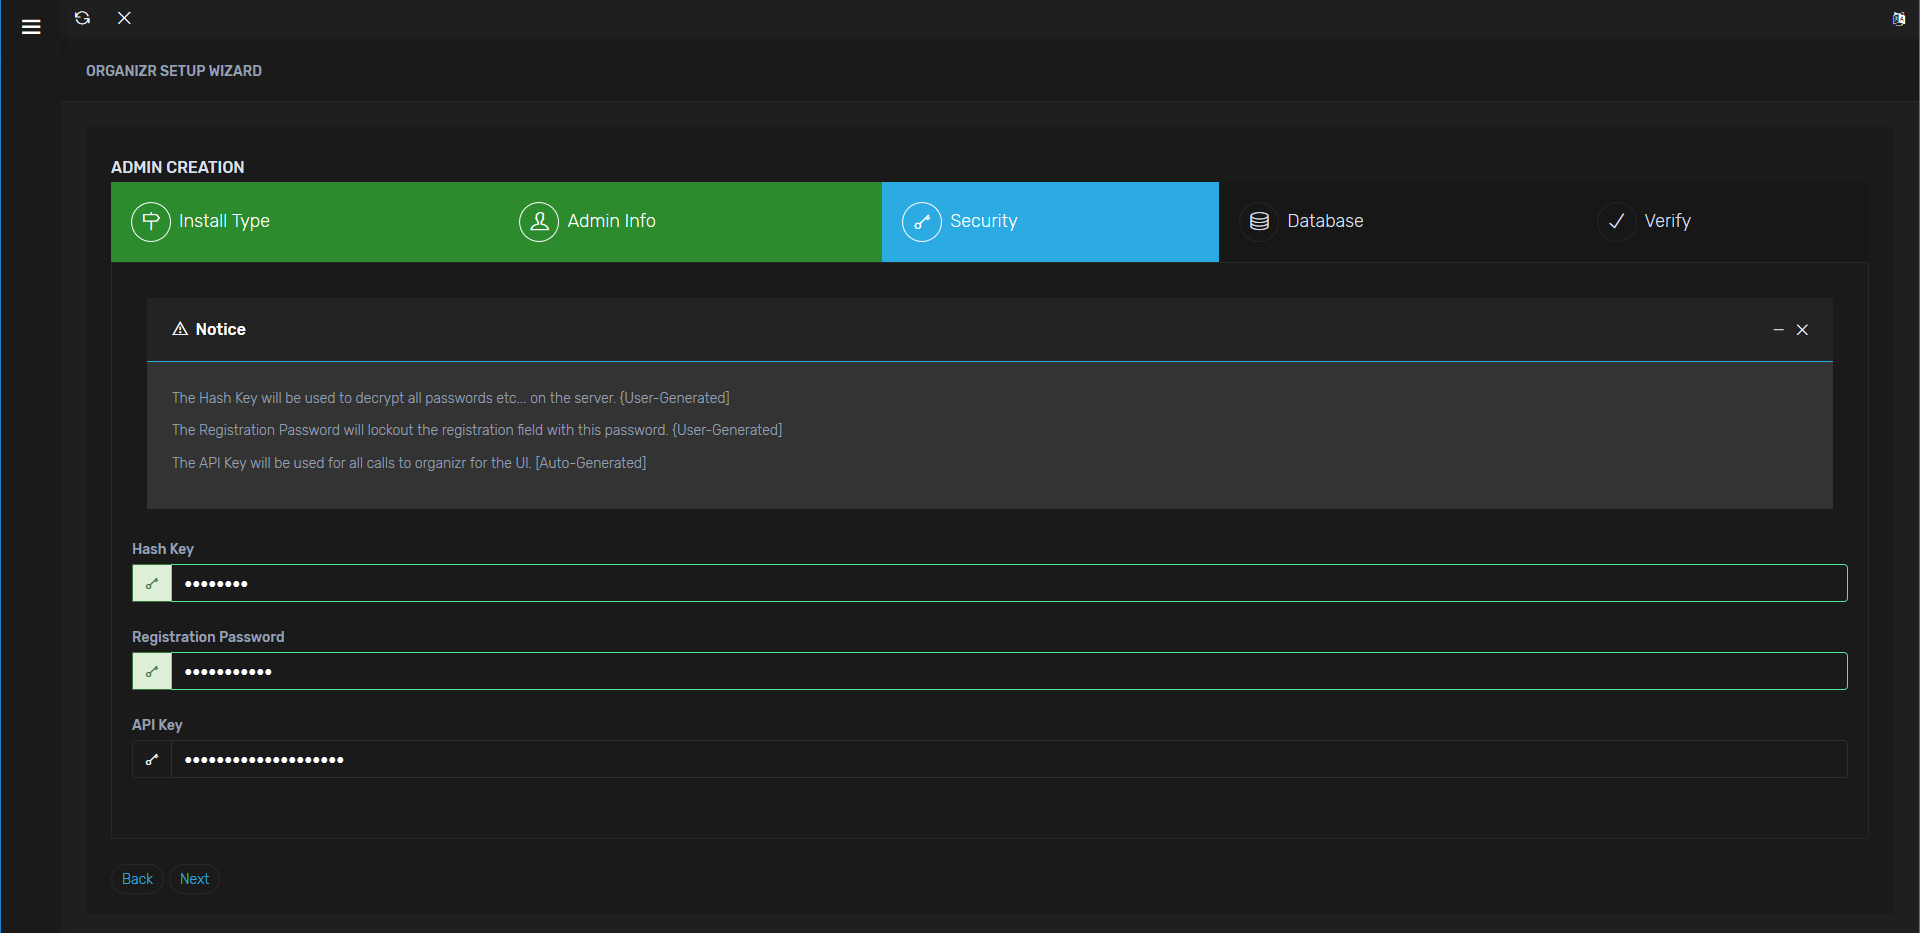
Next, come up with a hash key and a registration password:
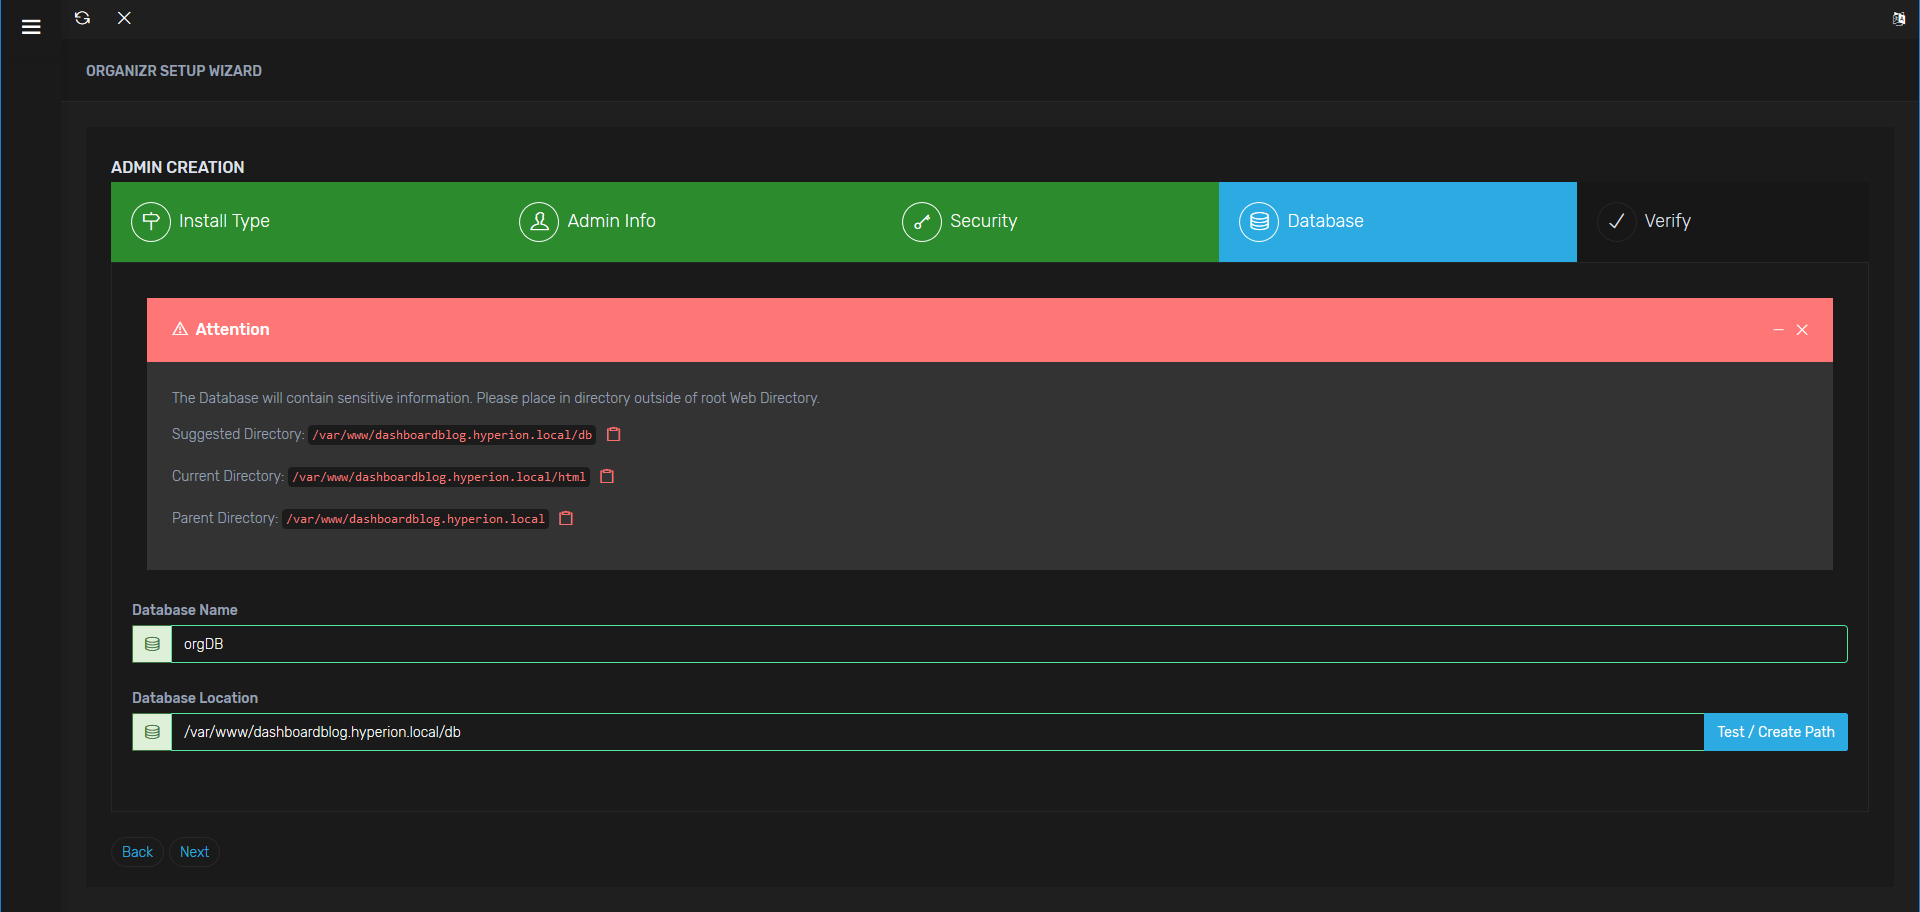
Name your database and select a location from the options or select your own:
Finish off your installation:

And there we have it:
Conclusion
That’s it! Ogranizr is now ready to use. This is of course beta, but it is a little prettier and a bit better administrative interface than V1. Next up we can move on to laying the foundation for our statistics and reporting using InfluxDB.
Chris
July 5, 2018 - 1:50 pm
Hey mate,
i tried to follow your instructions but my installer seems to be broken.
it does not create the config files for vhost.
also i cant access the dashboard after install via other machines from the same network.
Brian Marshall
July 8, 2018 - 10:39 am
Can you provide some screenshots? I encountered issues with the installer if I didn’t make a valid selection. For instance I selected 2 instead of 2a or 2b. It didn’t tell me invalid selection, it just failed miserably.
Bard
July 7, 2018 - 6:18 pm
Nice, now to wait for the next part, since I failed to understand how to configure it 😀
Brian Marshall
July 8, 2018 - 10:37 am
Hi Bard, the next post should be up tomorrow morning!
Paul
July 14, 2018 - 11:04 pm
Did you install this as a VM somewhere? What resources did you dedicate to the VM to handle this? Assuming they could be minimal.
Eric
August 30, 2018 - 11:00 am
I have the same questions. Did you install this as a VM somewhere? What resources did you dedicate to the VM to handle this?
Brian Marshall
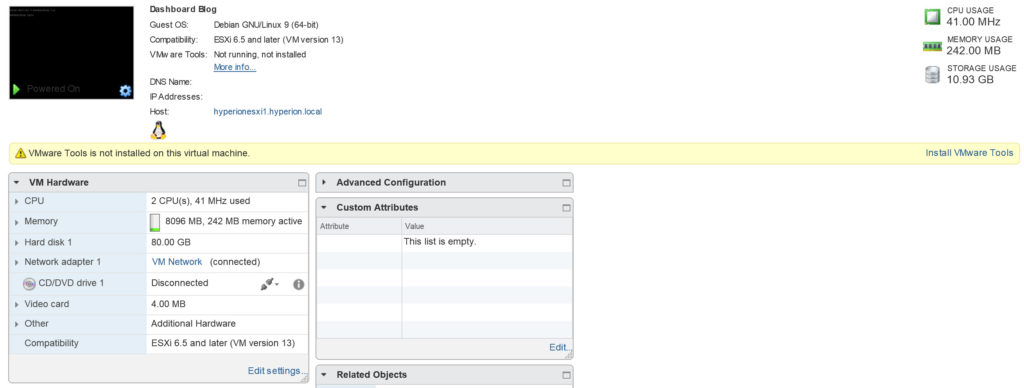
August 30, 2018 - 3:14 pm
This is a virtual machine on one of my ESX boxes. It has 2 vCPU’s and 8GB of RAM. Clearly the RAM is way overboard based on the 242MB of usage. I may eventually move all of this to a Raspberry PI for all of my monitoring. Here are the specs: